Nutter Butter Halloween Cookies


You probably think Nutter Butters are just an old fashioned storebought cookie, right? Guess again! We can use them to make the most adorable (and easy!) Nutter Butter Halloween cookies. They’re just the kind of Halloween treat that’s just as fun to make as it is to eat.
You don’t need an oven, a mixer, or even measuring cups. Just a few easy-to-find ingredients and a little imagination. They’re great for school parties, last-minute classroom snacks, or a quick weekend craft with kids.

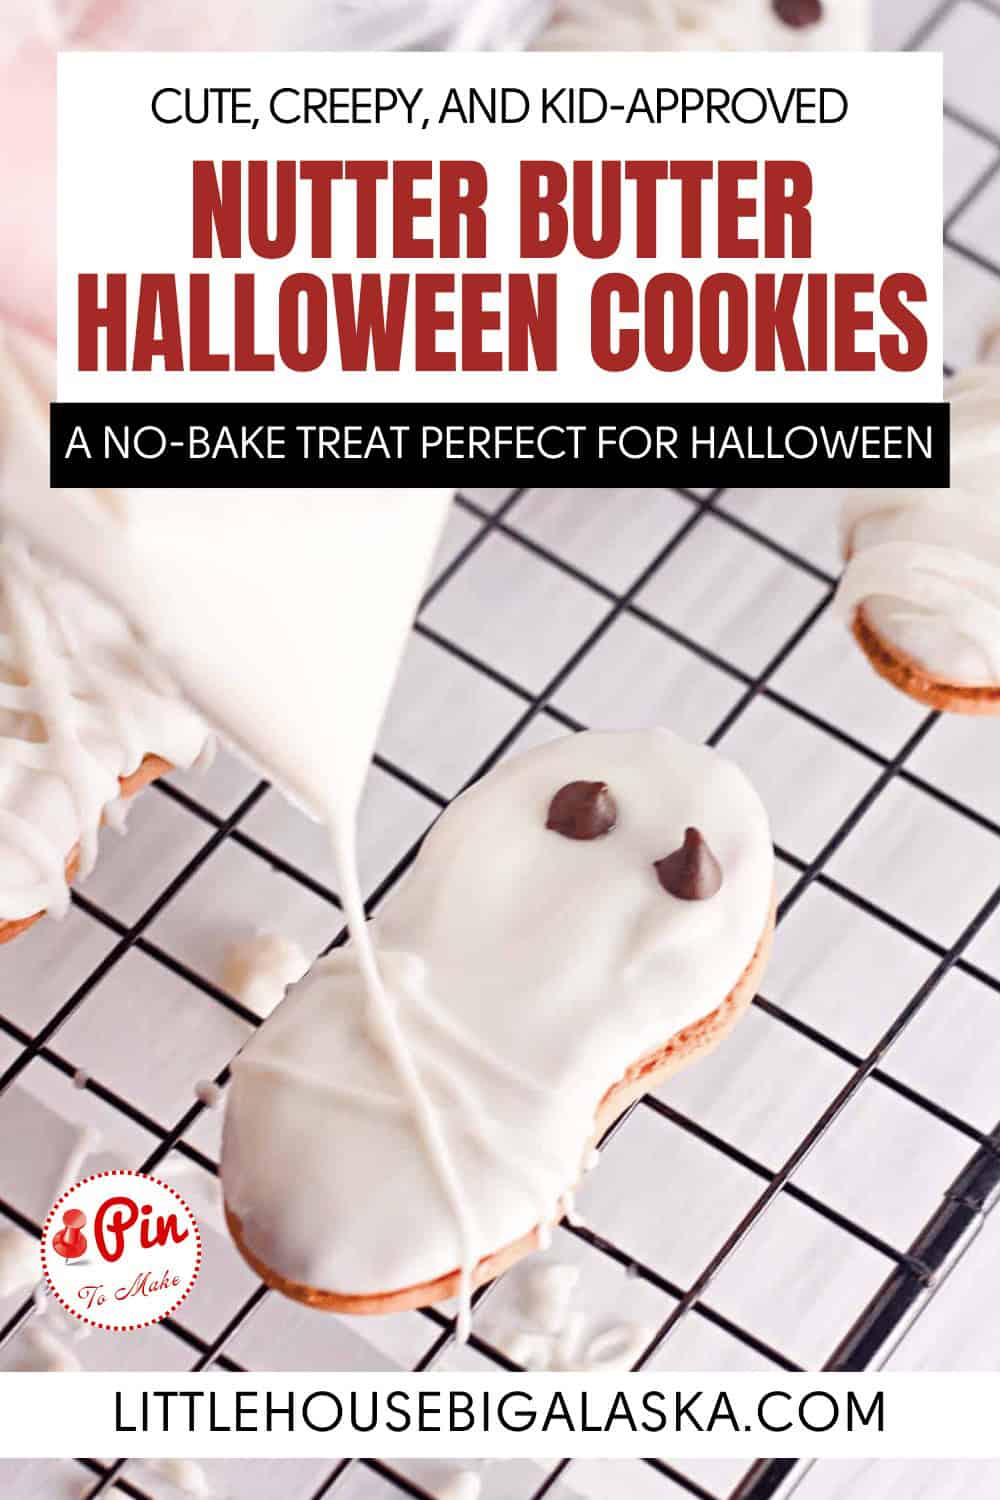
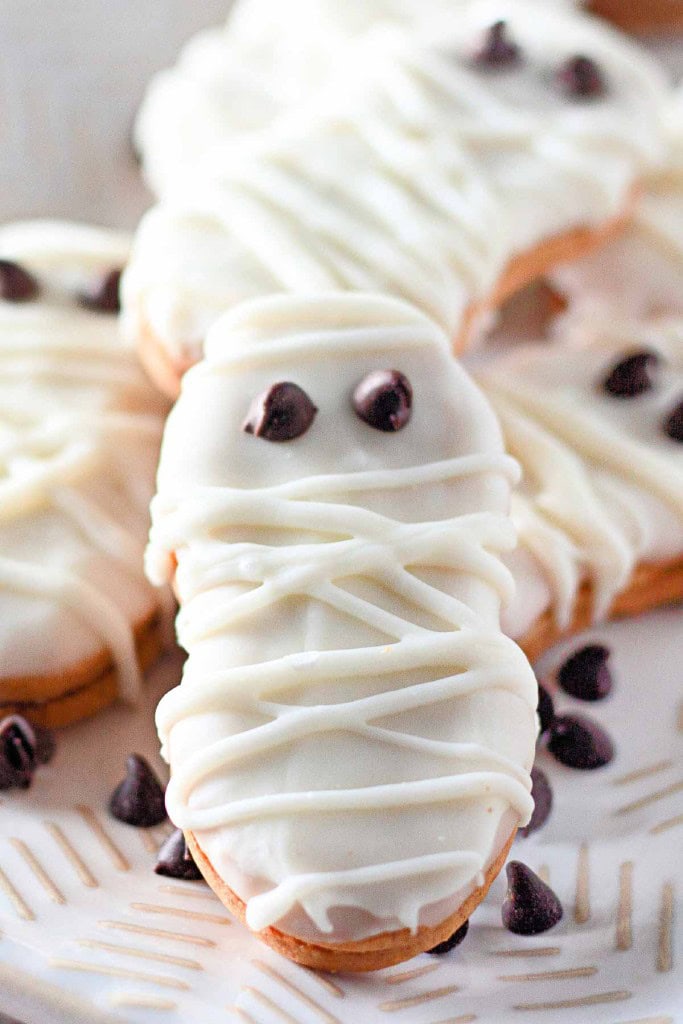
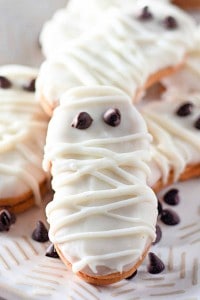
Each cookie starts with a classic Nutter Butter dipped in melted white chocolate candy coating to become the ghost “body.” Mini chocolate chips or candy eyes give each ghost a spooky face. They’re creamy, sweet, and just a little salty—plus they look adorable on a party tray.
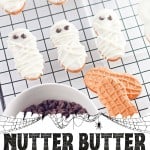
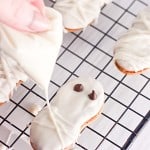
And here’s the fun twist: with the same ingredients you can make both ghosts and mummies. Simply drizzle extra white chocolate across the coated cookie to create mummy “bandages” and add candy eyes. It’s a two-for-one recipe that doubles the fun without any extra effort.
Halloween Party Fun
This is a great no-bake activity for kids at any Halloween party or Fall inspired birthday party. The dipping, decorating, and “face-making” are easy enough for little hands, and there’s no wrong way to make a ghost or mummies. Plus kids can make AND eat their own snack for the party!
As a bonus clean-up is quick and easy. Plus you can make a big batch fast if needed.

What You Need To Make These Cookies
Stock up on the ingredients ahead of Halloween season if you want to avoid last-minute shopping. You can usually find Nutter Butters, white melting chocolate, and mini chips year-round, so they’re easy to keep on hand.
- Nutter Butter cookies
- White chocolate or almond bark
- Mini chocolate chips or candy eyes
- Mini M&Ms (optional)
- Parchment or wax paper
- Baking racks
- frosting bag or ziploc
You can use candy eyes instead of mini chocolate chips if you want a more cartoony look. Mini M&Ms work too, and you could even add a mouth or use sprinkles to give each ghosts and mummies a little personality.
More Halloween Fun
We’re huge fans of these spider web donuts, Reese’s ghost bark, and donut hole eyeballs. Fun party food that everyone loves to see show up at parties.
How To Store These Halloween Cookies
These keep well in an airtight container for several days. Store them in a cool, dry place, no need to refrigerate unless your kitchen is warm enough to melt the coating.
Nutter Butter Halloween Cookies
Equipment
- Zip-top plastic bag
- Scissors
- Wire Cooling rack
- Parchment or wax paper
Ingredients
- 16 oz vanilla candy coating or white melting chocolate
- 16 oz Nutter Butter cookies (family-size package)
- 2 tbsp mini chocolate chips or candy eyes
- Mini M&Ms or Candy Eyeballs (optional)
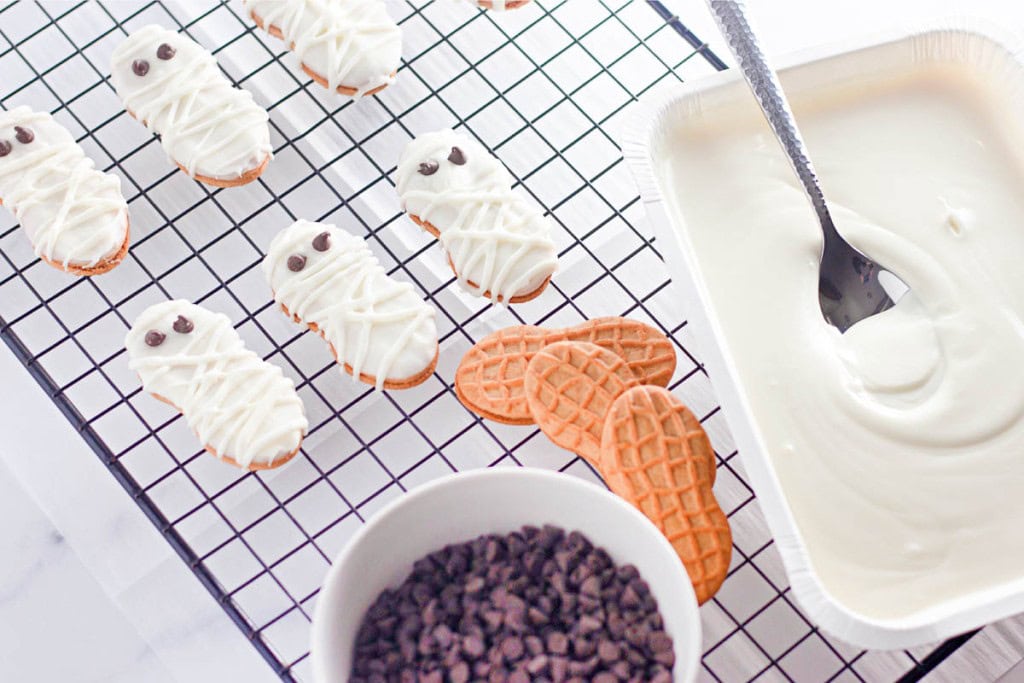
Instructions
- Melt the white chocolate candy coating according to package directions
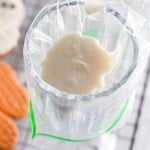
- Scoop about ⅓ cup into a small zip-top plastic bag and set aside (place the bag in warm water to keep it from hardening)
- Dip one side of each Nutter Butter into the melted coating

- For ghosts, dip about ⅔ of the front side, leaving the bottom ⅓ uncovered
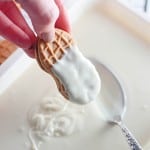
- Let excess drip off on a wire rack

- Snip a tiny corner off the zip-top bag to create a piping tip
- For ghosts, pipe a small base at the bottom of the coated section to make them appear floating

- Add mini chocolate chips for ghost faces (eyes and mouth), and just eyes for mummies

- For mummies, once the coating is firm to the touch, pipe random lines across mummy cookies for bandages
- Let the cookies set at room temperature until completely dry

Video
Notes
- Only use melting chocolate or candy coating (not chocolate chips or bars) for smooth results.
- Work in small batches to prevent the candy coating from setting too fast.
- Wait until the dipped layer is set before adding mummy “wrappings” for the best texture.
- Swap chocolate chips for candy eyes if preferred.