Chocolate Pinecone Truffles


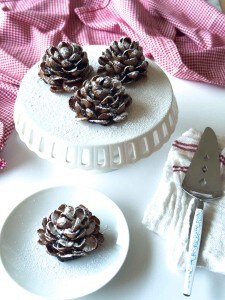
Edible Chocolate Pine Cones look like something out of a winter woodland spread, but they’re made from everyday ingredients and come together without baking. They’re the kind of holiday project that makes people stop, stare, and ask how on earth you pulled them off.
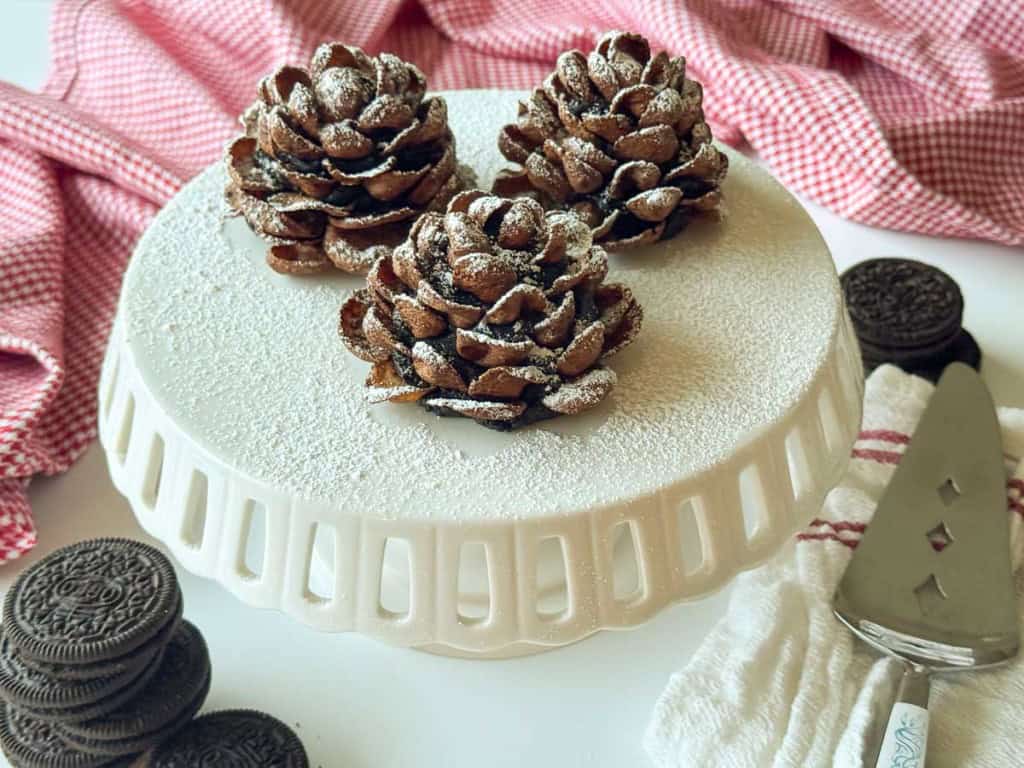
We all know and love the basic Oreo truffle or it’s peppermint brethren, and these are no different. They’re essentially a rich chocolaty truffle blended molded into cones. The scales of the pinecone are made from chocolate flake cereal.

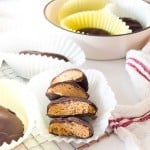
These are fool-the-eye desserts that fit right in with playful holiday tables. They pair perfectly with Santa meringues, meringue Christmas trees, and any spread where you want something fun, unexpected, and completely edible.
What You Need To Make These Edible Pinecones
For this one, a short ingredient check helps a lot since everything gets used in full. Make a quick list before you shop so you don’t run out of ingredients once you commit to making these truffles. Grab my Christmas Grocery and Meal Planning sheet for free!
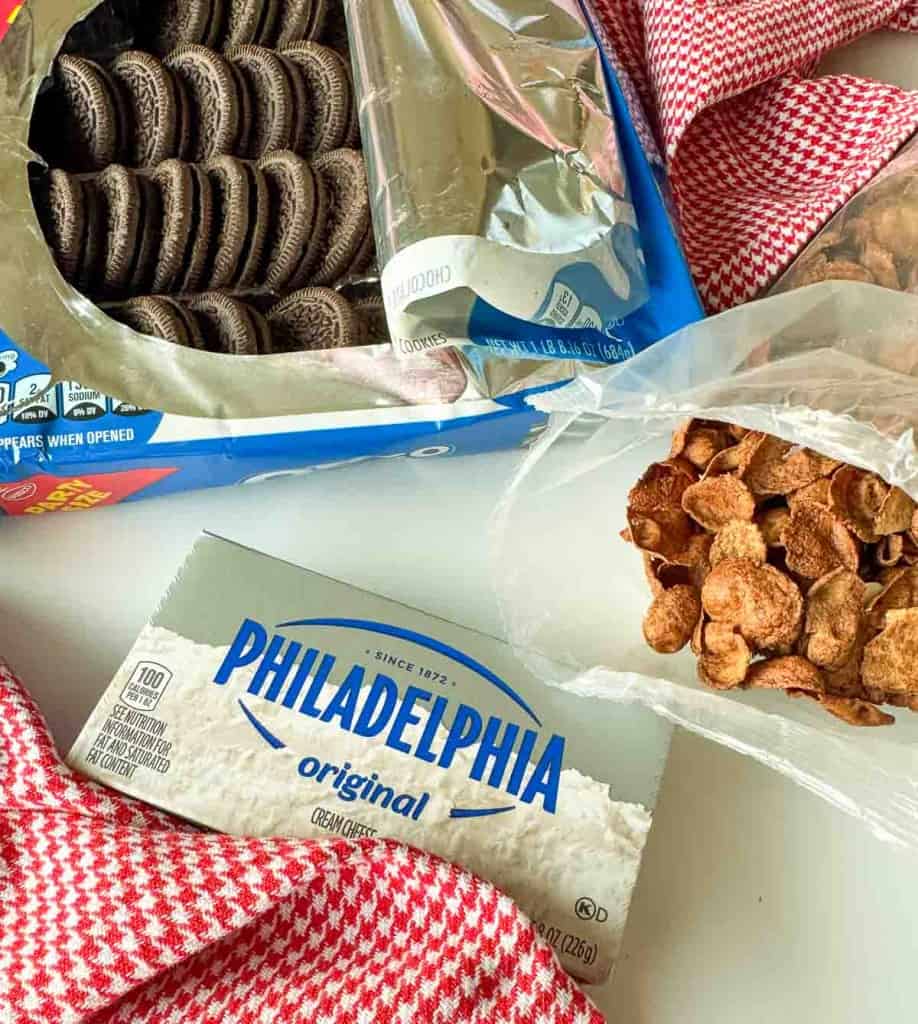
- oreos
- cream cheese, be sure to let it soften at room temperature for a couple hours
- chocolate flake cereal–see notes below
- powdered sugar for dusting
What kind of chocolate flakes did I use? Premier protein chocolate flakes, I realize looking at the photos they don’t LOOK chocolately BUT they are. The other choices I found at my local grocery store include chocolate frosted flakes, chocolate cinnamon toast crunch, and cocoa pebbles. I think the Premier Protein worked just fine and look just fine.
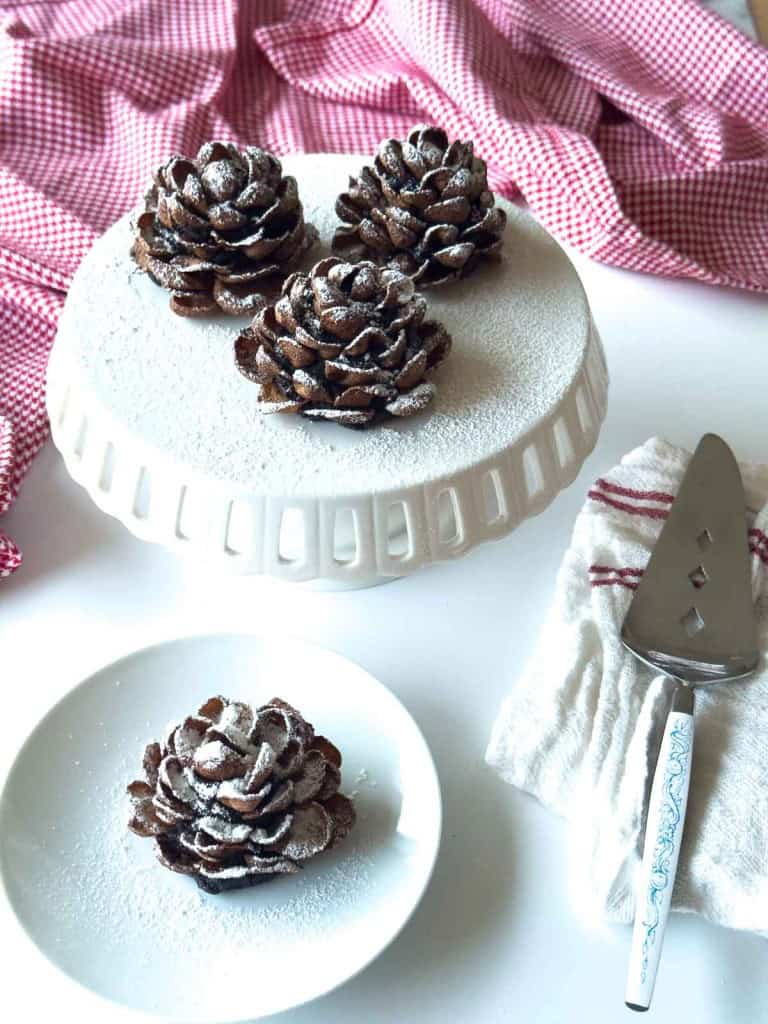
Add these edible pinecones to any holiday dessert board, tuck them around a Bûche de Noël, or scatter them across a party table as edible decorations. They hold their shape fairly well and add a cozy winter look wherever they go. And they’re completely edible!
To Store Leftovers
Keep the finished cones in a covered container in the fridge and only dust them with powdered sugar only when you’re ready to set them out. This keeps the “snow” fresh and crisp. It will melt if you add it to the pinecones and then refrigerate them. They will collect moisture in storage.
EDIBLE CHOCOLATE PINECONES
Yield; 8 edible pine cones
Prep Time: 45 minutes
Cooling Time: 1 hour
Total Time: 45 minutes
Ingredients;
35 oreos
6 ounces cream cheese
chocolate flake cereal
Powdered sugar for dusting
Instructions;
- Line a baking tray with parchment or foil
- Using a food processor, crush the oreos
- drop the cream cheese into the food processor and pulse to combine
- scoop out the dough with a 1/4 cup measuring cup
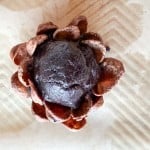
- Form each portion into a cone shape with the pointy end at the top
- Place on the lined baking tray and repeat the process with the remaining dough
- Chill for 15-20 minutes
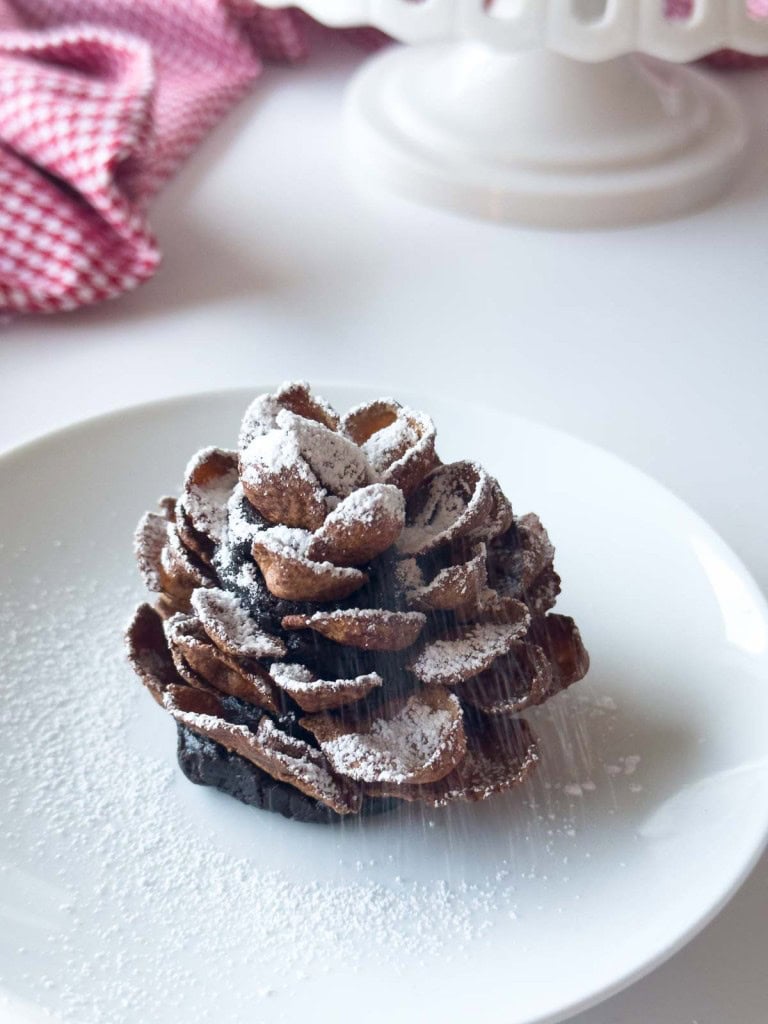
- working in batches of two, leave the other cones in the fridge while working on two of the cones, starting at the bottom and working your way up press cereal into one of the cones, working in concentric circles up the cone
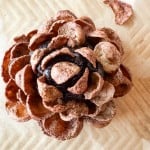
- top each cone with 2-3 smaller flakes pointed in together
- use bigger flakes and add one final circle around the bottom of the cone, the pine cones don’t have to be perfect, the powdered sugar covers a multitude of sins
- chill while working on the other cones
- once finished chill for another hour to set everything in place
- Before serving dust each pinecone with powdered sugar to make the appearance of snow
EDIBLE CHOCOLATE PINECONES
Equipment
- Baking sheet
- parchment
Ingredients
- 35 oreos
- 6 ounces cream cheese
- chocolate flake cereal I used premier protein for the scales on the pinecones
- powdered sugar for dusting
Instructions
- Line a baking tray with parchment or foil
- Using a food processor, crush the oreos
- drop the cream cheese into the food processor and pulse to combine

- scoop out the dough with a 1/4 cup measuring cup
- Form each portion into a cone shape with the pointy end at the top
- Place on the lined baking tray and repeat the process with the remaining dough
- Chill for 15-20 minutes
- working in batches of two, leave the other cones in the fridge while working on two of the cones, starting at the bottom and working your way up press cereal into one of the cones, working in concentric circles up the cone
- top each cone with 2-3 smaller flakes pointed in together
- use bigger flakes and add one final circle around the bottom of the cone, the pine cones don’t have to be perfect, the powdered sugar covers a multitude of sins
- chill while working on the other cones
- once finished chill for another hour to set everything in place
- Before serving dust each pinecone with powdered sugar to make the appearance of snow


Looks awesome! How far in advance can these cones be made?
1-2 days in advance : ) They keep ok in the fridge. I would not add the cereal until you have to add it.