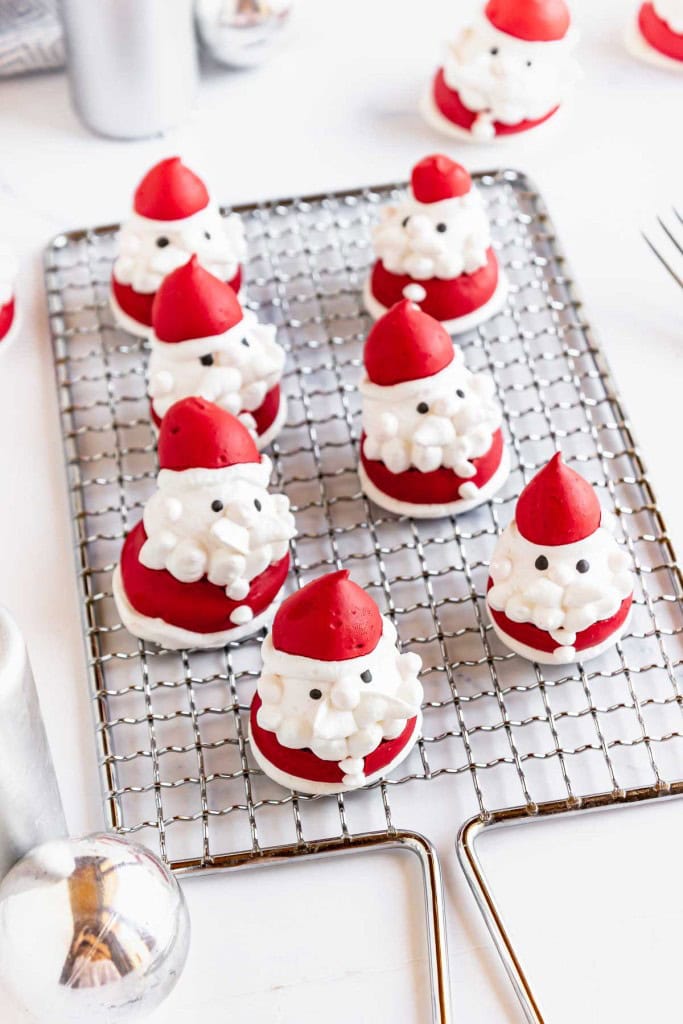
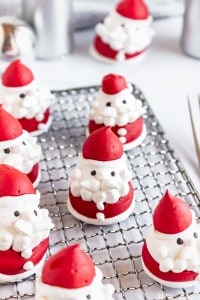
Santa Meringues


Santa Meringue Cookies are a fun, whimsical treat that bring a bright bit of holiday cheer to your dessert table. They’re light, crisp, and cute enough to make anyone smile. If you’re looking for a festive project that feels special without being too complicated, these little Santa Meringues are just the thing.
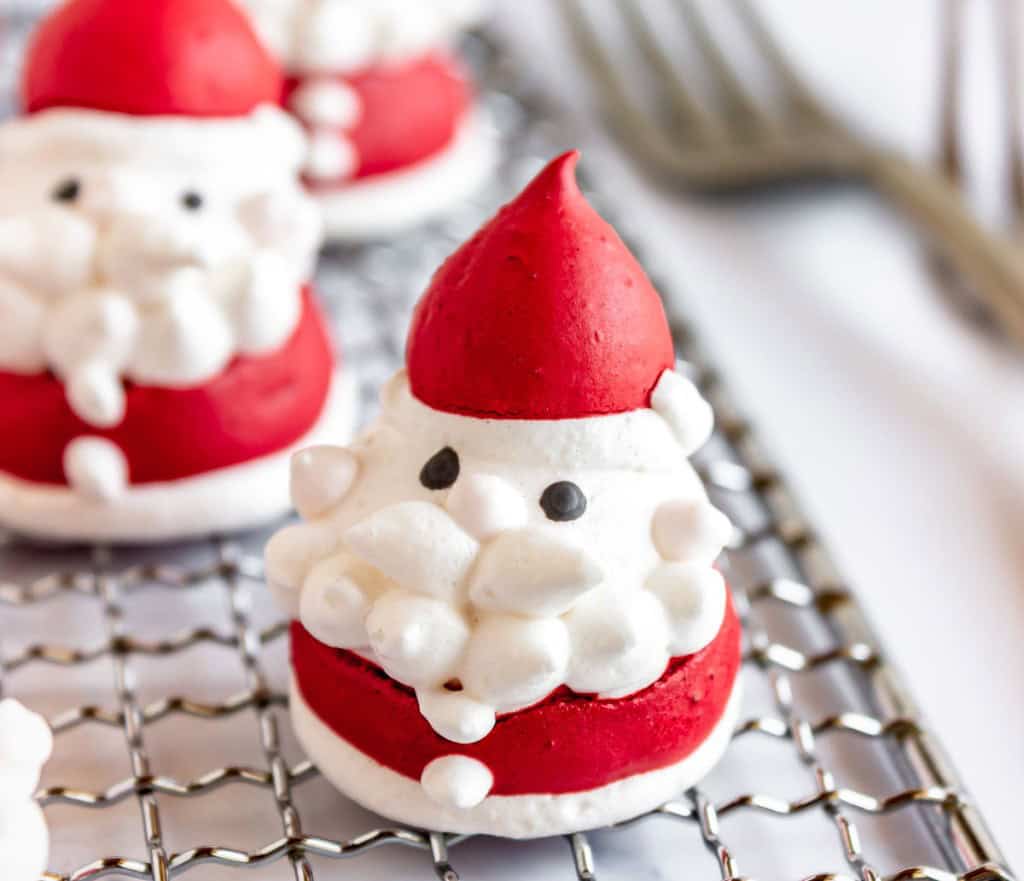
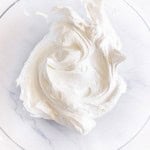
Meringues are sweet, airy, and crunchy, with that classic melt-in-your-mouth texture. The simple flavored base gives them a clean sweetness, and the playful Santa shapes make them extra fun to serve. They look detailed, but the steps are straightforward once the meringue is whipped and colored.
These are perfect when you want a holiday cookie that stands out from the rest. They’re great paired with the Christmas Tree Meringues for cookie trays, classroom treats, gift boxes, and holiday parties. Or plop them on top of cupcakes for super cupcake topper!
Meringues Are Gluten Free
Since they’re naturally gluten free, they’re also a nice option when you need something festive that works for different dietary needs. If you normally bake and cook with gluten be sure you talk to the intended recipient to make sure tools are sufficiently free of gluten.

What You Need To Make Meringues
A quick shopping list helps keep holiday baking organized so you don’t have to stop mid-recipe to hunt for something. This recipe uses simple ingredients and a few piping bags to keep the colors clean and separated. Grab my free all in one shopping/meal planning/coloring sheet if you need a one. That link leads to my Christmas edition which I think is super cute. It’s hand drawn by an artist I hired myself, not made with Ai.
- egg whites
- sugar
- red food coloring
- black food coloring
- pink food coloring
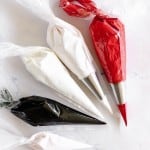
- piping bags
- round piping tips
you will also need a few tools:
- a good mixer, a stand mixer is nice here
- lemon juice, to wipe down your tools to make sure they’re free of grease, see notes below on cleaning your tools before hand
- scissors
A note On Making Meringue
Any trace of grease can keep meringue from whipping up the way it should. Fat interferes with the egg whites and makes it harder for them to form the structure you need for stiff peaks. Even a light film left behind from everyday use of tools can cause the mixture to stay flat and loose. Taking a moment to make sure your tools are completely grease free gives your meringue the best chance to turn out high, glossy, and stable.
How To Prepare Your Tools To Make Meringue
One easy way to clean everything is to wipe down your mixer bowl, beaters, spatulas, and any other tools with lemon juice before you start. The natural acidity helps cut through leftover oils that regular washing might miss.
Just dampen a clean cloth or paper towel with lemon juice, wipe the surfaces well, and let them dry completely. It’s a simple step that helps your meringue whip up properly every time.

How To Store Meringue Cookies
Store the cooled cookies in an airtight container at room temperature. They keep crisp for several days, as long as they stay dry. Avoid refrigerating them, as meringues soften in moisture, and refrigerators can be moist.
Santa Meringues
Equipment
- 5 5 piping bags
- 2 Large Round Piping Tips
Ingredients
- 3 egg whites
- 6 oz sugar
- Red gel food coloring water based
- Black gel food coloring water based
- Pink gel food coloring water based
Instructions
- Preheat the oven to 215°F (100°C)
- Fill a medium pot with at least 1 1/2 inches of water and bring to a boil then reduce heat to a gentle simmer
- Combine the egg whites and sugar in a clean heatproof bowl

- Set the bowl over the simmering water stirring and scraping with a flexible spatula until the mixture reaches 175°F (79°C) about 8 to 10 minutes
- Remove from heat and whisk with an electric mixer until cooled and glossy about 8 to 10 minutes
- You may also transfer to a stand mixer fitted with a whisk and whip on high until glossy
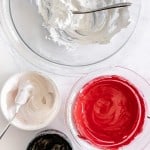
- Divide the meringue and tint portions red black and a very pale pink for the body parts
- Fit piping bags with large round tips for the red and pale pink meringue
- Prepare three more piping bags of pale pink black and white meringue without piping tips
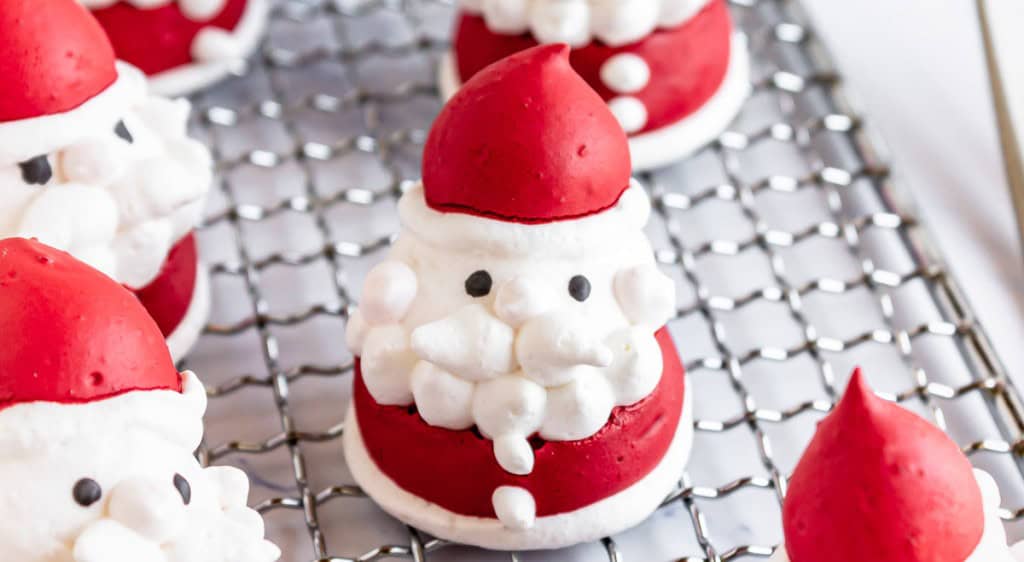
- Pipe small Santa shapes onto a baking sheet starting with a white circle then a red body
- Add pale pink head
- Use white meringue for buttons and mustache
- Use pale pink again for nose and ears
- Add eyes with black meringue
- Finish by piping the hat
- Bake for 1 hour 15 minutes at 215°F
- Turn off the oven and let the meringues cool inside for 2 hours until crisp


Video
Notes
- These work best on a dry low humidity day since meringue absorbs moisture
- Gel food coloring must be water based for the best texture


