Crunchy Peanut Butter Eggs
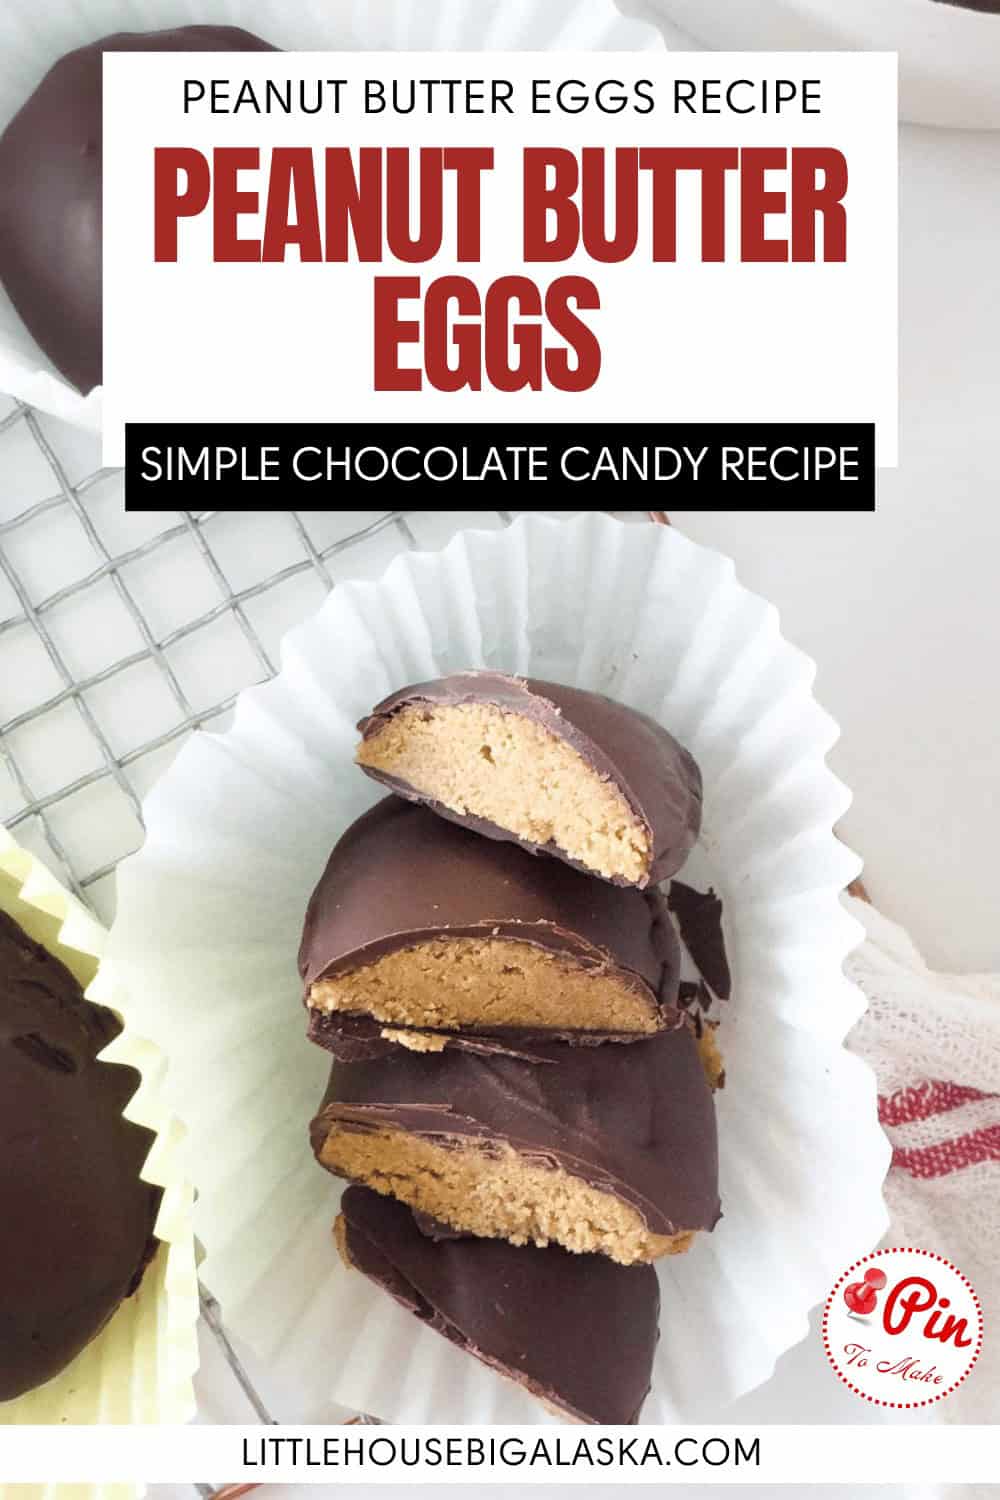

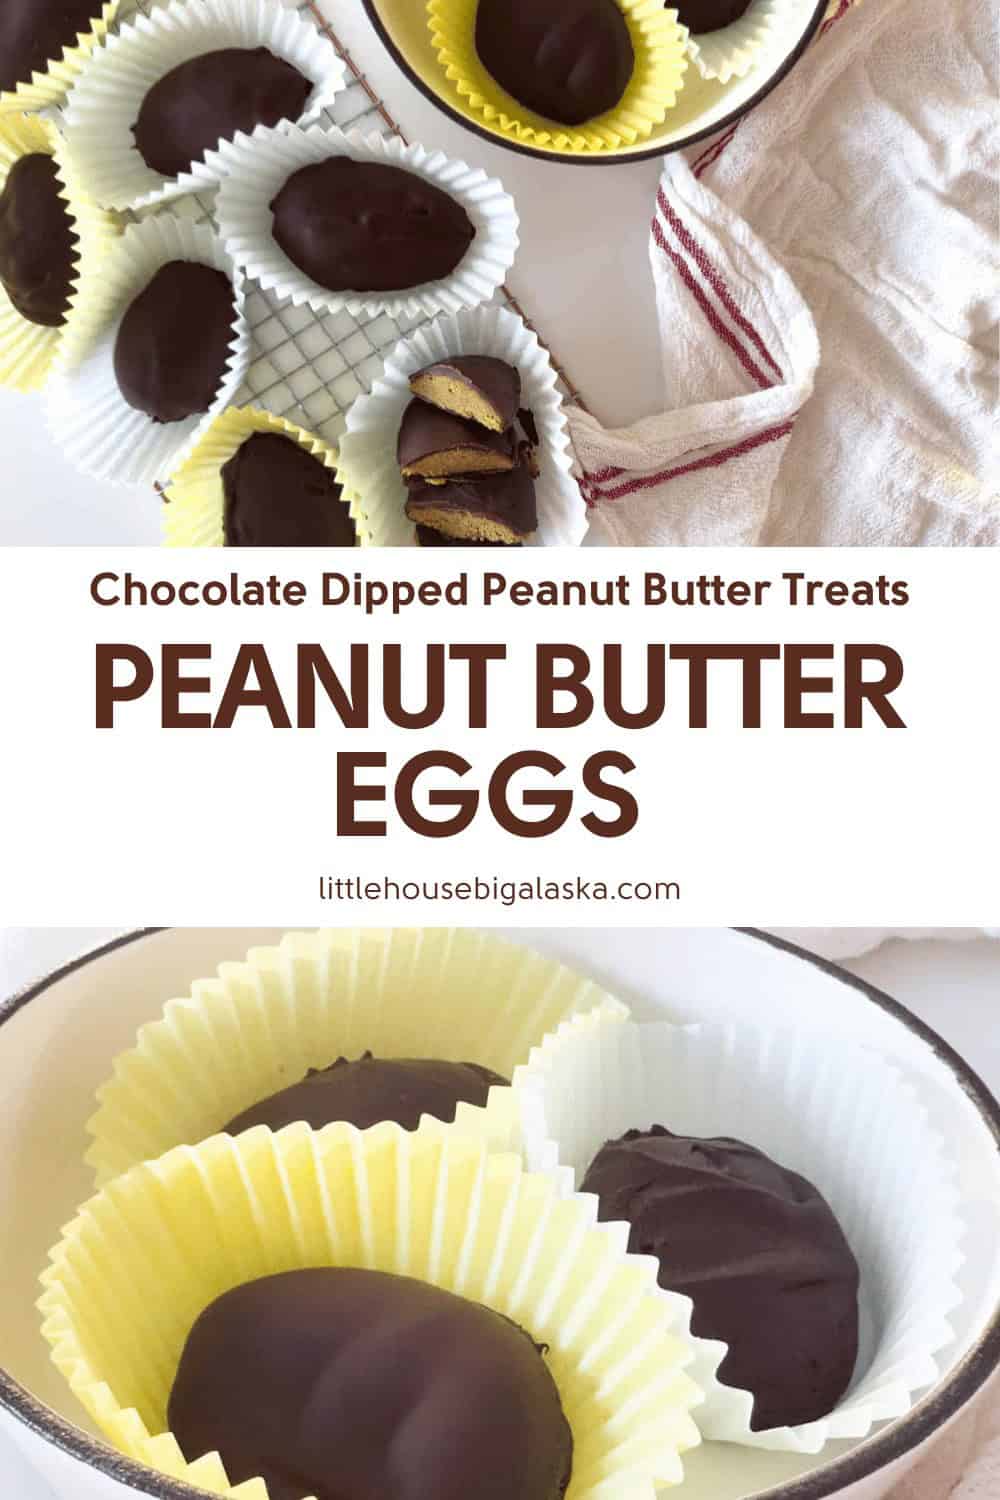

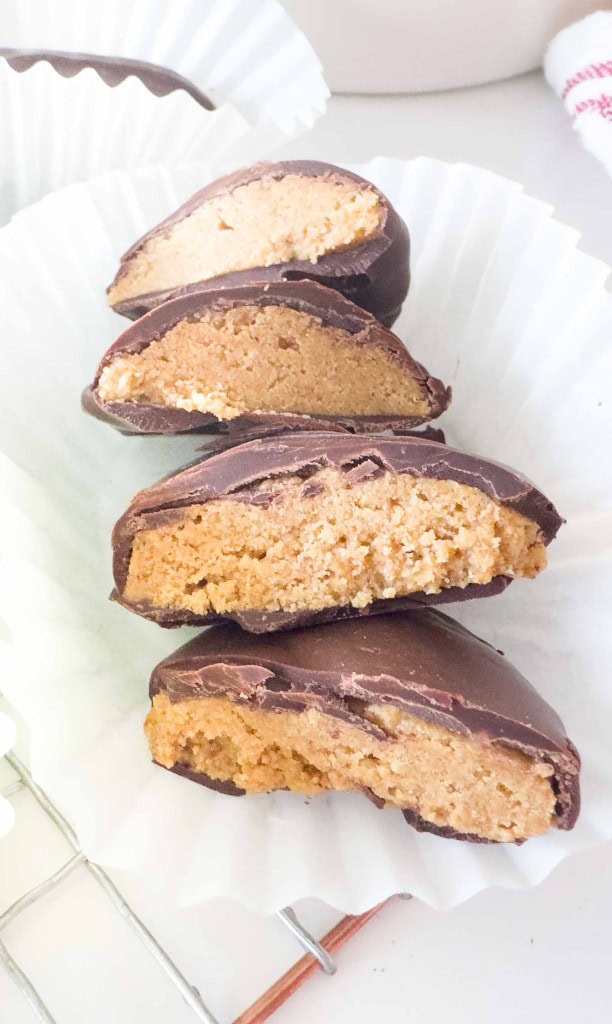
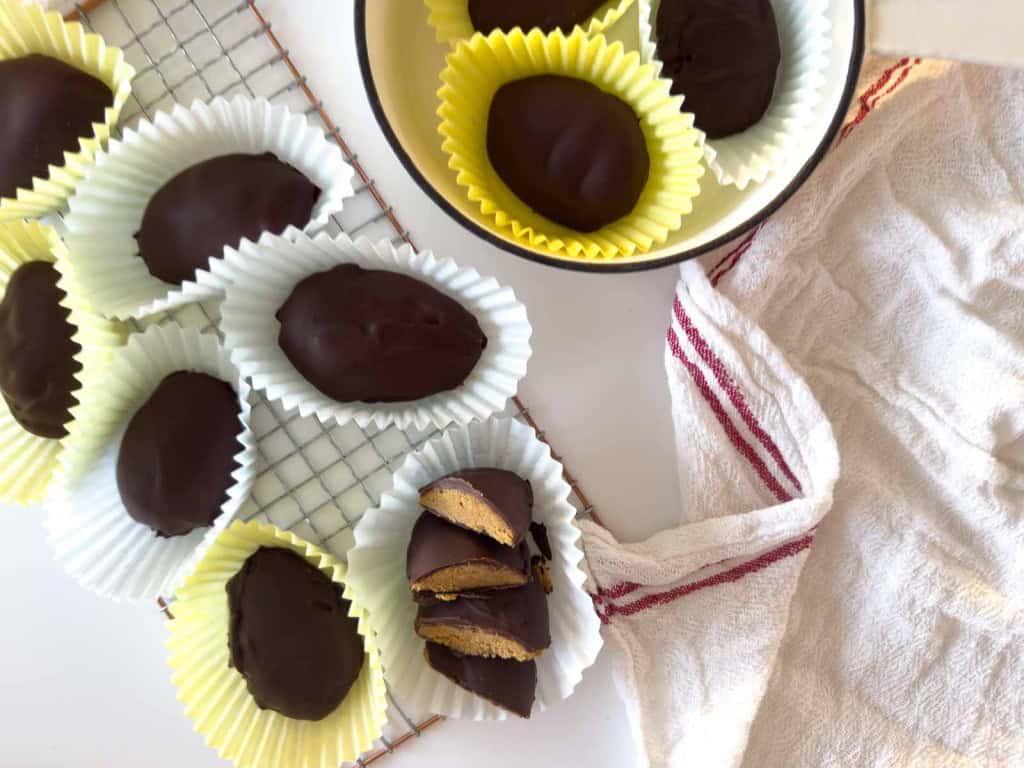
These homemade Crunchy Peanut Butter Eggs are so much better than anything you can get in the store. They bring that classic candy shop feeling right into your kitchen. They have a firm, chocolatey shell and a slightly textured peanut butter center that feels homemade in the best possible way. They look impressive on a platter or tucked into baskets, yet they are surprisingly simple to pull together.

Why not just buy Reese’s Peanut Butter Eggs?
I don’t know if you’ve heard or not but some seasonal Reese’s eggs and shaped candies have really changed this year. They’re now using chocolate-flavored coatings made with vegetable oils instead of true milk chocolate. And the filling is now peanut-butter-style rather than classic peanut butter. These changes help manufacturers control costs and improve shelf stability, but many longtime fans say the flavor and texture feel different.
But THESE Homemade Peanut Butter Eggs??
With these Homemade Peanut Butter Eggs start with a snap of chocolate before giving way to a peanut butter filling that is sweet, salty, and lightly crisp from the graham cracker crumbs. The texture is what makes them memorable. They feel richer and more substantial than most store versions. Plus they’re made with more real ingredients than name brand eggs.
They are perfect for Easter parties, dessert trays, or filling baskets with something handmade. Kids and adults both recognize the flavor combination right away. They also travel well and can be made ahead, which helps when holiday schedules get busy.
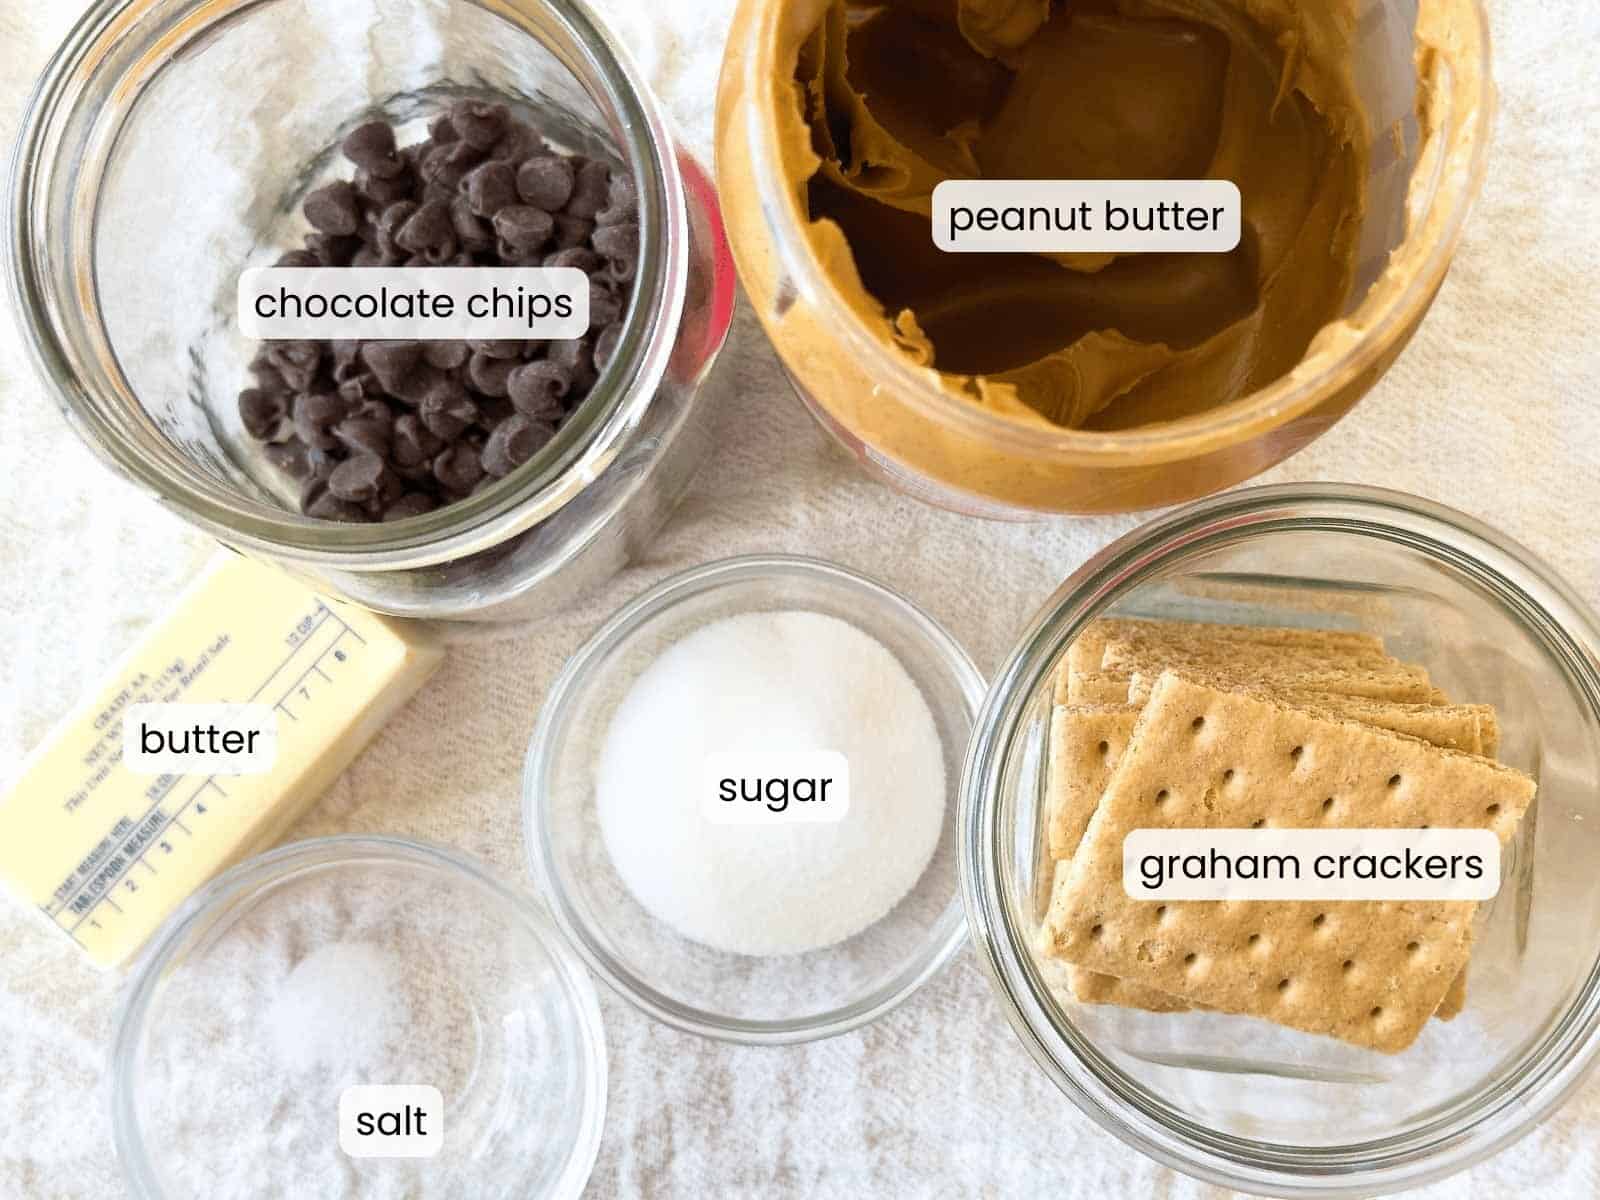
Ingredients For Crunchy Peanut Butter Eggs
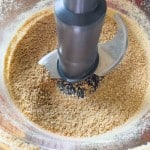
These ingredients are pantry friendly and easy to find all year round. Using fine crumbs and smooth peanut butter helps the filling hold together and shape neatly, which means nice looking finished eggs.
- smooth peanut butter
- fine graham cracker crumbs
- butter
- sugar
- salt
- chocolate chips or baking chocolate or almond bark
Melting Directions for Three Different Kinds of Chocolate
Getting the chocolate melted smoothly makes dipping much easier. The biggest rule is to keep all bowls, spoons, and surfaces completely dry. Even a drop of water can cause melted chocolate to seize and turn grainy and streaky.
I call for chocolate chips but if you don’t want to use those here are the direction for melting chocolate chips, almond bark, and baking chocolate. I’ve also included directions for tempering baking chocolate as well!
Melting Chocolate chips
Double Boiler Method
• Place chips in a dry heatproof bowl over gently simmering water
• Stir slowly until melted and smooth
• Remove from heat before fully melted and continue stirring
Microwave Method
• Heat in short 20–30 second bursts
• Stir well between each burst
• Stop heating when mostly melted and stir to finish
Pros: easy to find and affordable
Cons: slightly thicker coating when dipping
Storage Directions:
- Store dipped eggs in an airtight container in the refrigerator
- Separate layers with parchment or wax paper
- Best eaten within about 5–7 days
- Let sit at room temperature 10–15 minutes before serving for better texture
Almond Bark
Double Boiler method
• Break into chunks and melt gently
• Stir until fully smooth
Microwave Method
• Melts quickly in short bursts
• Stir often to prevent overheating
Pros: very forgiving and great for dipping
Cons: flavor is sweeter and less chocolate forward
Storage Directions:
- Store in an airtight container at cool room temperature if your kitchen is not warm
- If the house runs warm, refrigerate to prevent softening
- Keeps about 1–2 weeks
- Serve straight from room temperature or after a short rest if chilled
Melting Baking Chocolate
Double Boiler Method
• Chop into small even pieces
• Melt slowly over low steam heat
• Stir often to prevent scorching
Microwave method
• Use low power setting
• Heat in short intervals and stir frequently
Pros: melts very smoothly and coats evenly
Cons: requires chopping and closer attention and tempering for best results
Storage Directions:
- Keep in an airtight container in the refrigerator
- Layer with parchment so the coating does not stick or smudge
- Use within about 1 week for best quality
- Bring to room temperature briefly before serving
To Temper Baking Chocolate
If you want shiny glossy chocolate coating, temper it. It’s a bit of work but not hard work. Most kids don’t care if the covering is shiny or glossy but you might. You will need a digital thermometer, baking chocolte, and about 30 extra minutes.
- Chop chocolate very finely so it melts evenly and predictably
- Melt two-thirds of the chocolate gently over a double boiler or in short microwave bursts until it reaches 110–115°F for dark chocolate or 105–110°F for milk or white chocolate
- Remove from heat and add the remaining chopped chocolate to “seed” the mixture
- Stir constantly while the temperature drops to 88–90°F for dark chocolate or 86–88°F for milk or white chocolate
- Test temper by dipping a spoon or strip of parchment. Properly tempered chocolate will set firm, shiny, and snap cleanly within 3–5 minutes at room temperature
- If chocolate thickens too much while working, gently rewarm only to no more than 90°F (dark) or 88°F (milk/white) to keep temper intact
Tempering chocolate troubleshooting
Tempering chocolate makes the chocolate glossy and professional looking. If you go through the trouble of tempering chocolate and have less than stellar results, you are not alone. More often than not I mess up tempering which is why I choose to use chocolate chips for a lot of dipping needs.
- Chocolate looks dull instead of shiny. The chocolate likely fell out of temper or was overheated. Re-melt gently and repeat the tempering steps with fresh chopped chocolate to seed it.
- Chocolate has white streaks or spots after setting. This is called bloom and happens when chocolate temperature swings too much or wasn’t tempered correctly. It is still safe to eat but may look less smooth.
- Chocolate becomes thick or hard to work with. The temperature probably dropped too low. Warm very gently in short bursts or over warm water, stirring constantly, and do not exceed tempering temperatures.
- Chocolate will not set at room temperature. The chocolate is not properly tempered or the room is too warm. Chill briefly to help it firm up, then allow it to finish setting at room temperature.
- Chocolate seized and turned grainy. Even a tiny drop of water can cause this. You cannot fix seized chocolate for dipping, but you can stir in cream or butter and use it for sauce or baking.
- Chocolate coating slides off dipped candies. The filling may be too warm or have condensation from the freezer. Make sure centers are cold but dry before dipping.
- Chocolate cracks after setting. Centers may be too frozen or chocolate layer too thin. Let fillings sit at room temperature a few minutes before dipping and coat evenly.
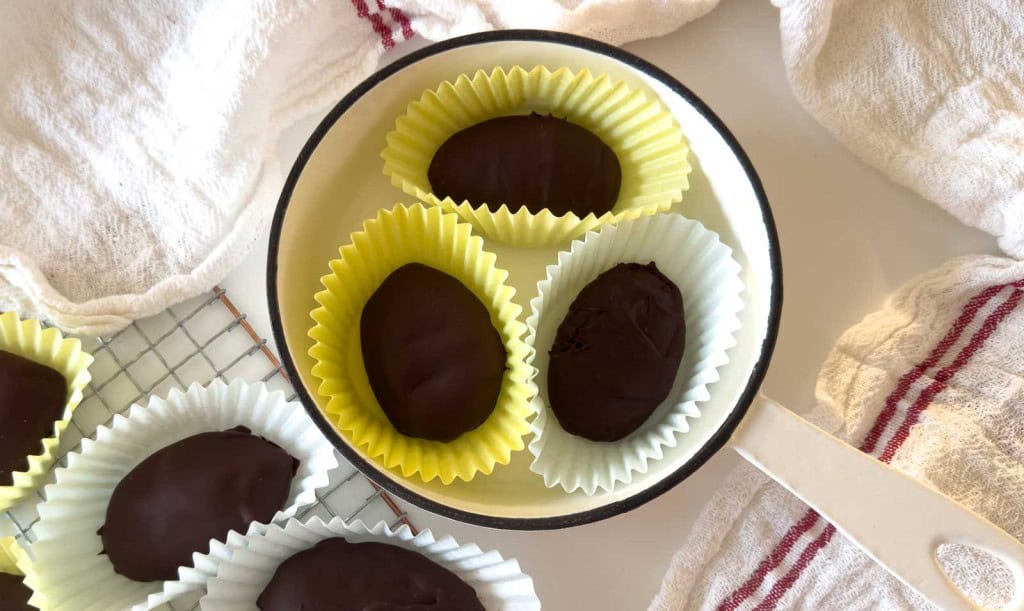
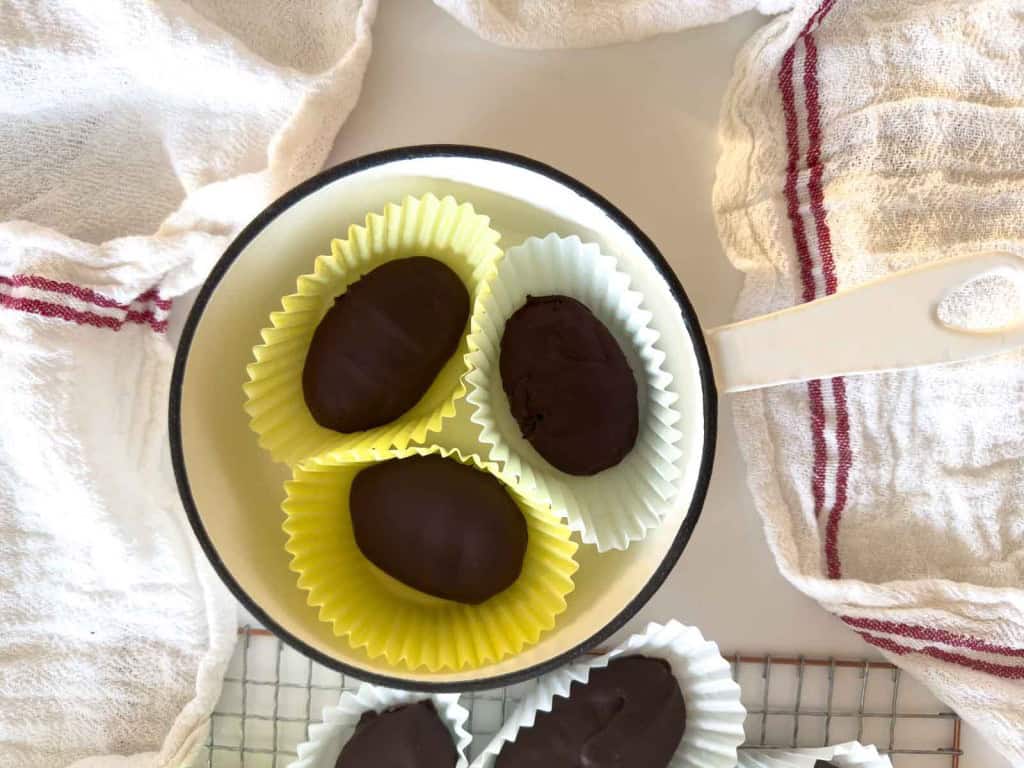
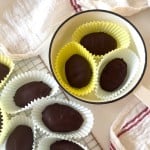
To Store Homemade Peanut Butter Eggs
Keep the finished eggs in the refrigerator in a tub, not covered tightly, we don’t want any condensation. Place parchment or wax paper between layers so they do not stick together. They hold well for several days and are best served slightly chilled.

Crunchy Peanut Butter Eggs
Ingredients
- 1/2 cup smooth peanut butter
- 2/3 cup graham cracker crumbs finely crushed about 6 crackers
- 1 tbsp butter
- 1/4 cup granulated sugar
- 1/4 tsp salt
- 8 oz chocolate chips about 1 1/4 c or use baking chocolate or almond bark
Instructions
- If needed crush graham crackers into fine crumbs using a food processor or sealed bag
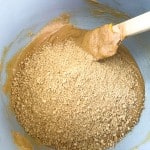
- In a small saucepan over low heat melt the peanut butter and butter together

- Add the graham cracker crumbs sugar and salt and stir to combine
- Use a spoon to shape the mixture into 12 to 14 egg shapes

- Place on a lined baking sheet and adjust shape as needed
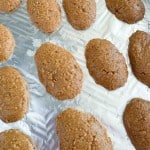
- Freeze until solid for several hours
- Prepare a double boiler using a saucepan with a heatproof bowl over medium heat

- Add the chocolate chips and stir until melted and smooth
- Remove from heat once fully melted
- Place a few frozen eggs onto a second lined baking sheet
- Dip each egg into the melted chocolate using a fork

- Turn to coat fully and lift allowing excess chocolate to drip off

- Place onto the lined sheet

- Repeat in batches until all eggs are coated

- Refrigerate until the chocolate is set

- Store in the fridge until ready to serve
Video
Notes
- Make sure all tools are dry when melting chocolate to prevent seizing
- Work in small batches to keep the eggs firm while dipping Store in an airtight container with parchment between layers