1914 Pecan Pie (A Vintage Recipe From Over 100 Years Ago)

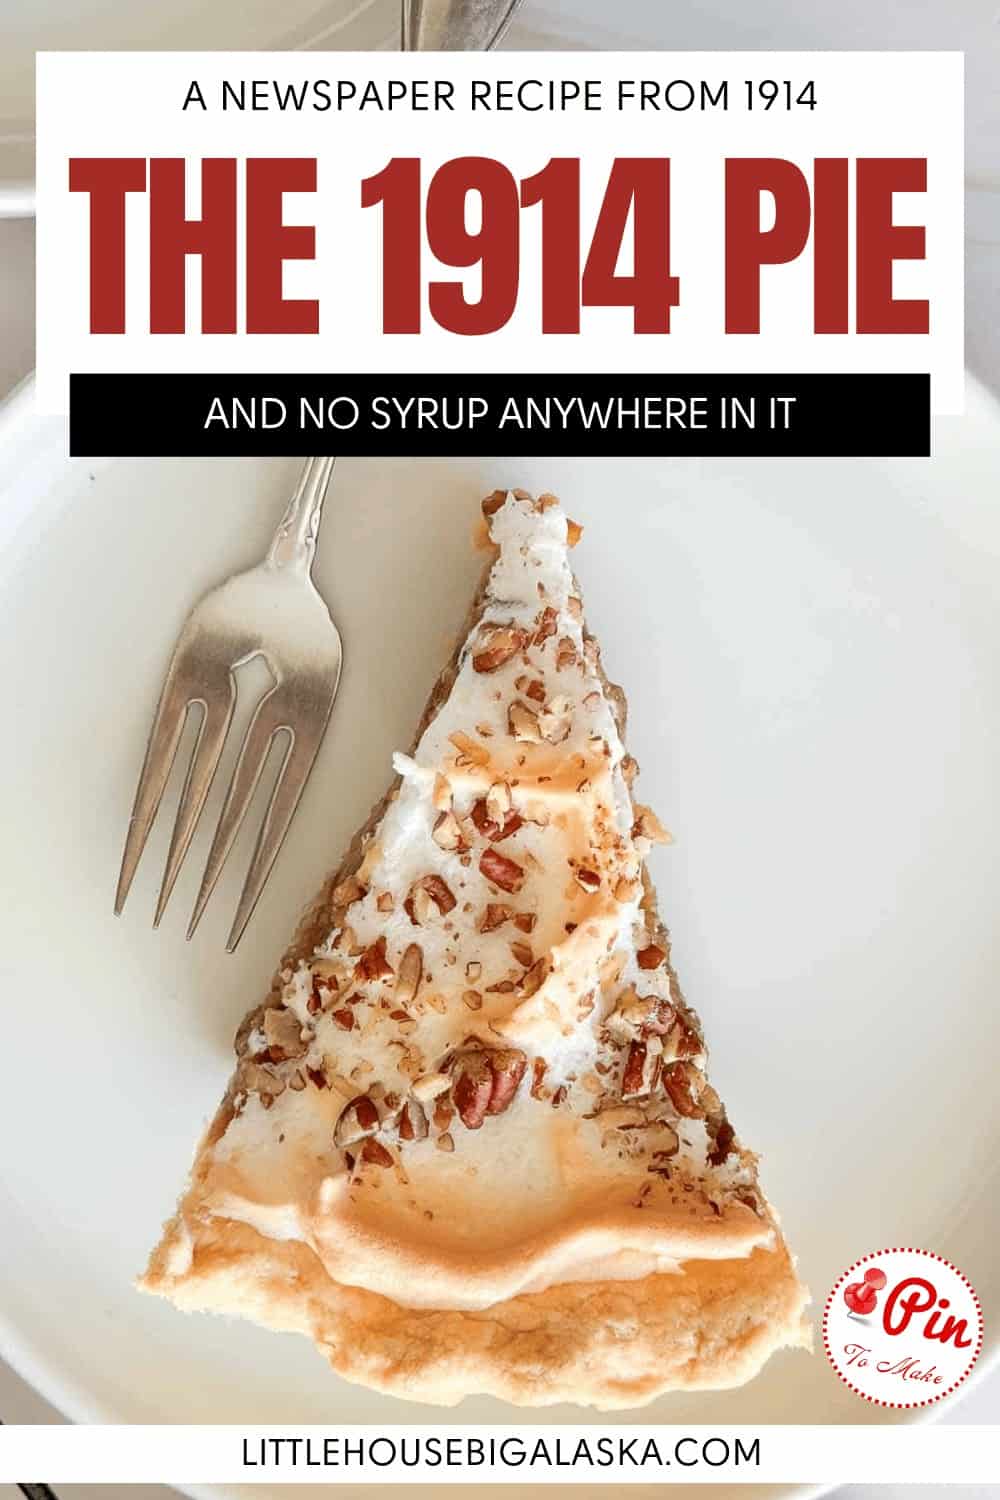

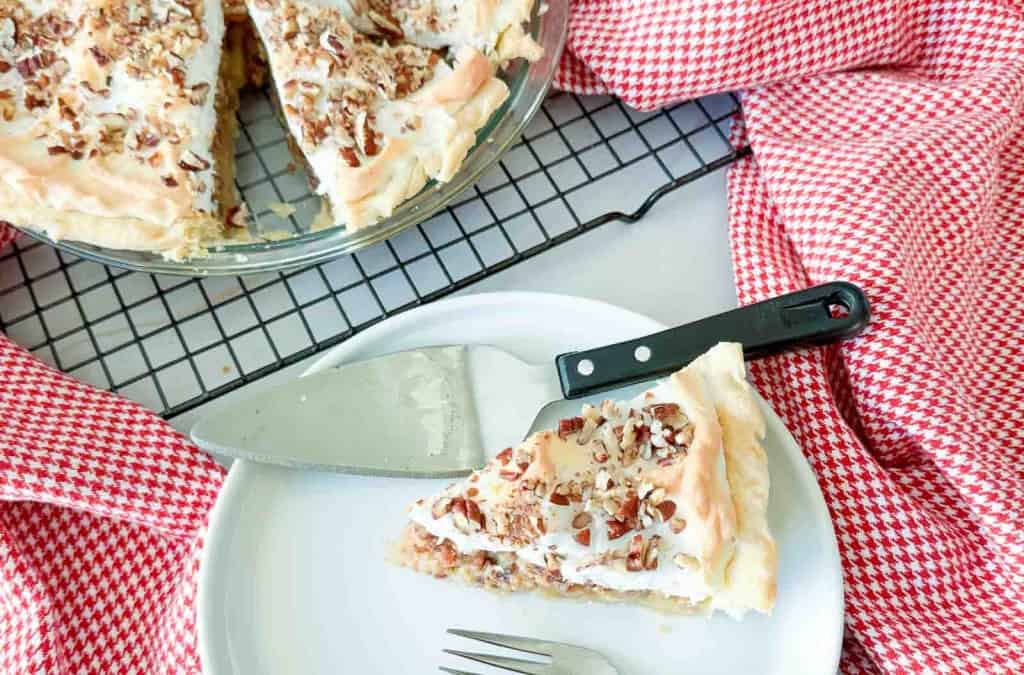
The 1914 Pie is the pecan pie bakers made before the corn syrup version took over. If you can stir a pot of custard and whip a few egg whites, you can make it! There’s no Karo, no fancy ingredients, and nothing you’ll have to hunt down at the store. It’s a piece of pecan pie history that you can bake in your own kitchen. I think every pie lover should try it at least once!
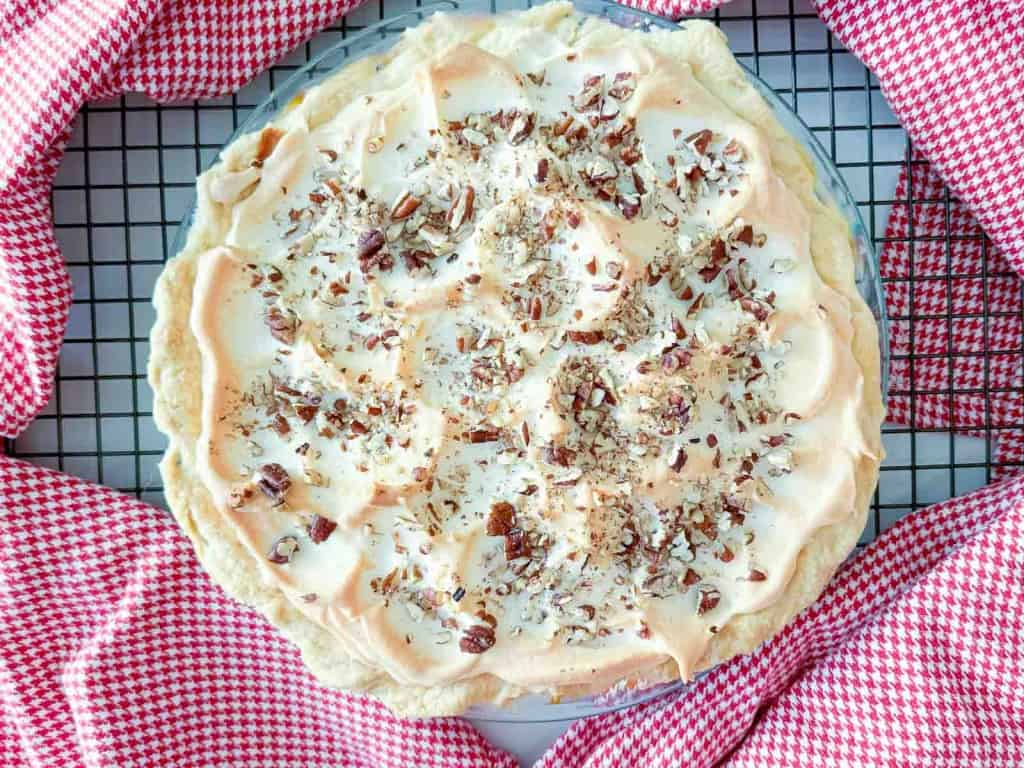
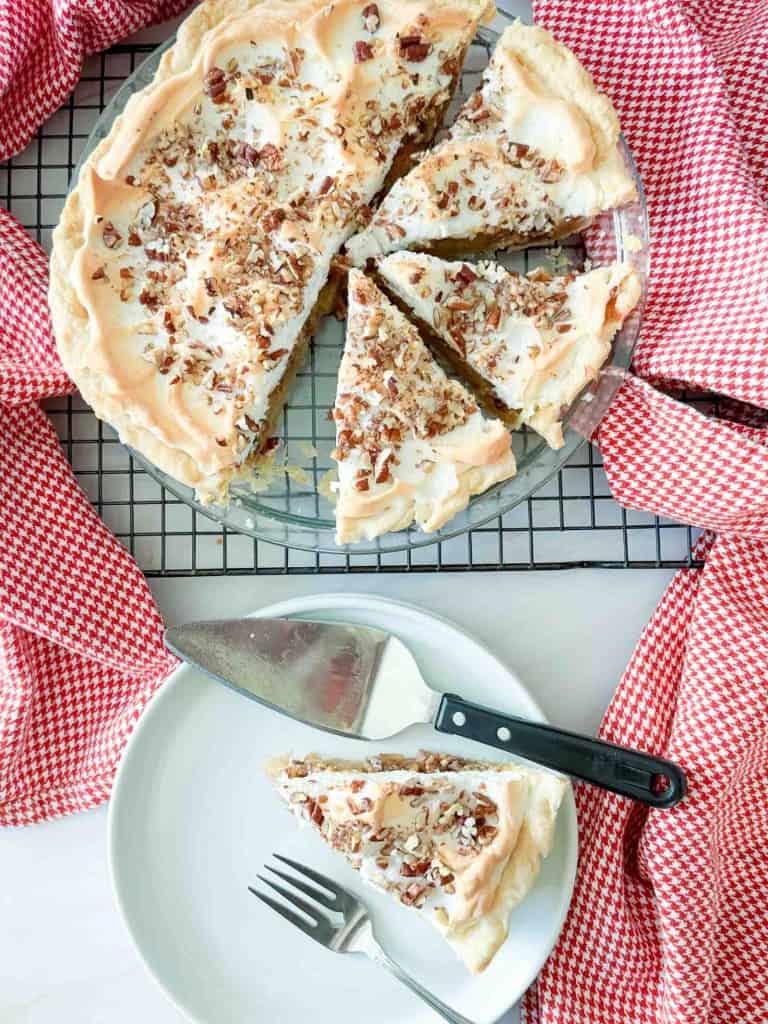
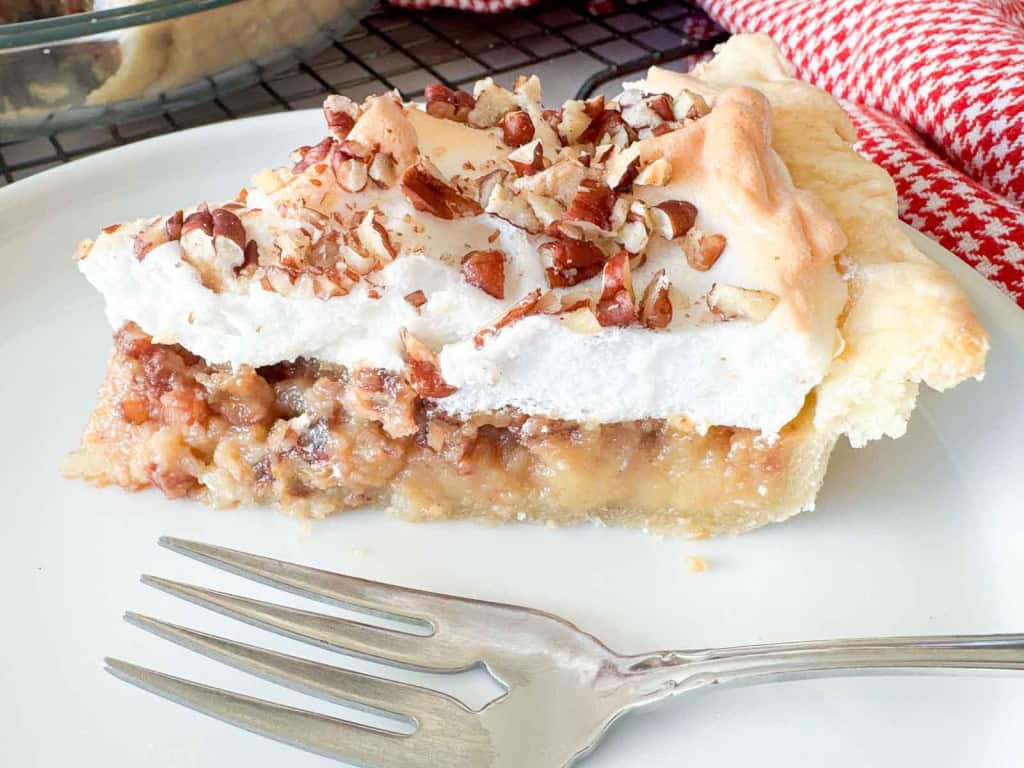
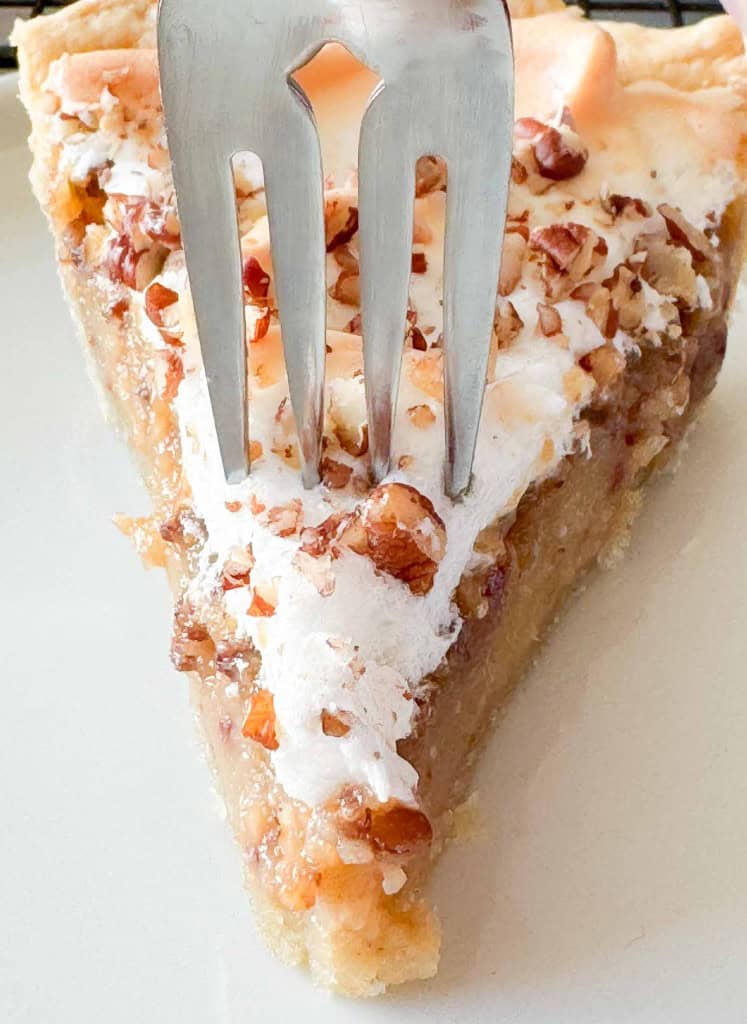
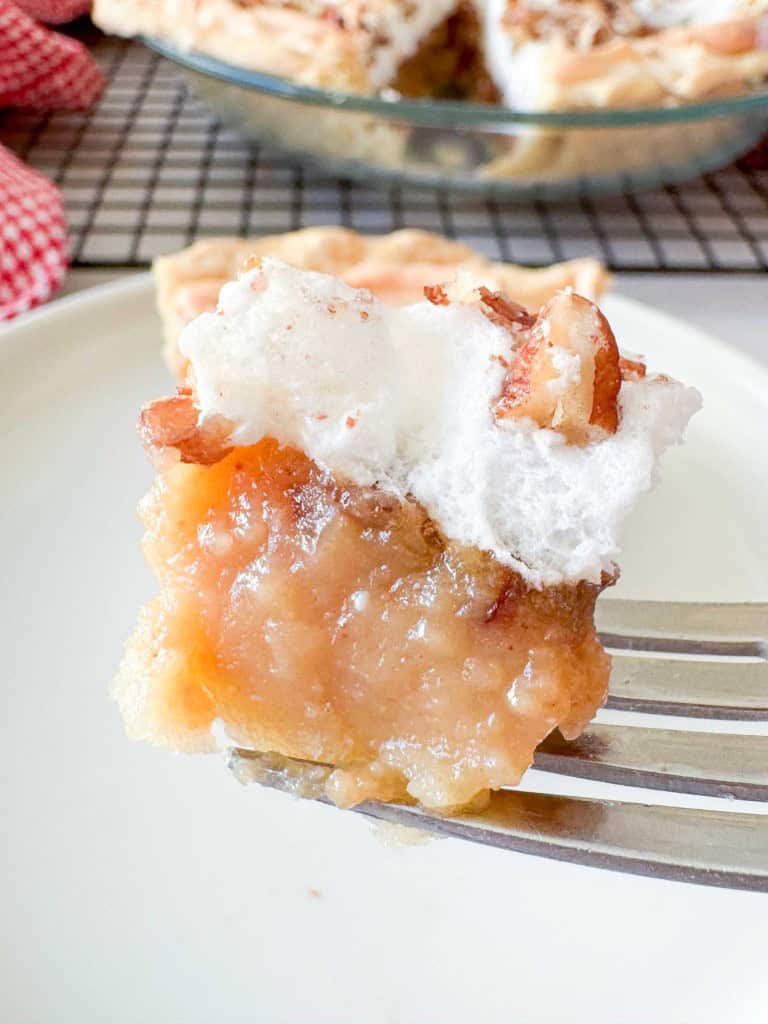
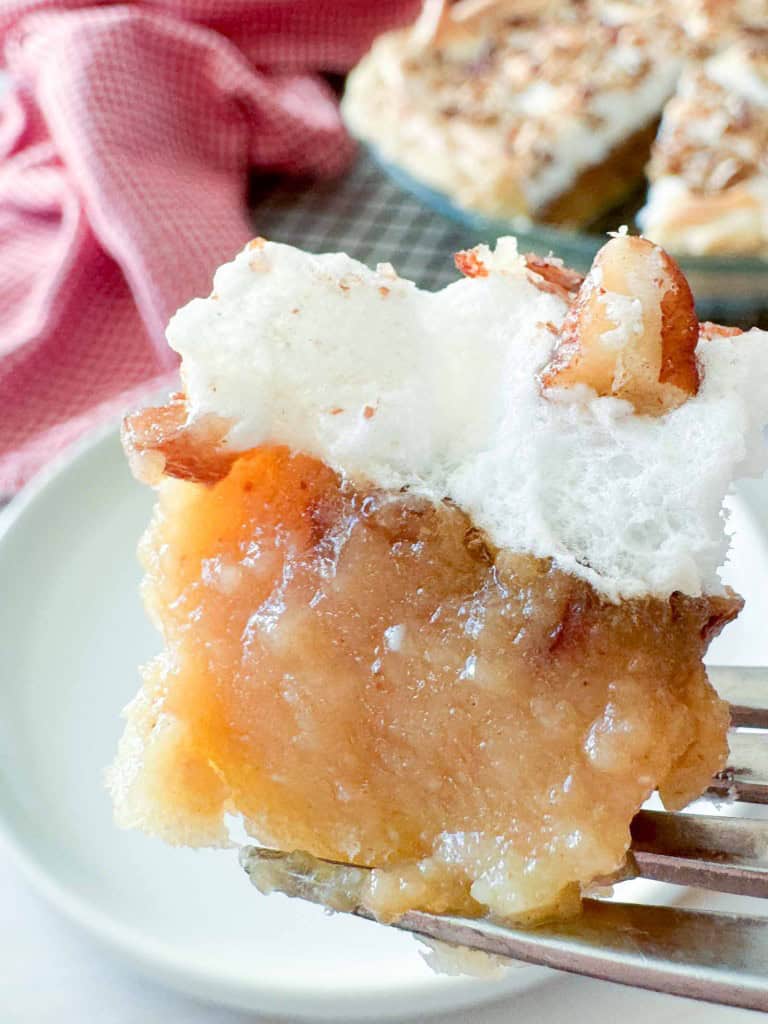
So what are you actually making when you try this recipe? There are three layers in the 1914 Pie. On the bottom layer is a classic all butter pie crust, use a non butter version if you need it! In the middle is a creamy milk custard with a small amount of chopped pecans, much softer and lighter than the sticky filling most of us grew up with. The third layer is fluffy meringue, baked until the peaks turn golden.
It looks fancy, but each layer is simple, and I’ll walk you through every one of them!
What Is 1914 Pie Anyway?
This original pie came from a newspaper column called “Tried Recipes” in the Christian Science Monitor on March 24, 1914. It’s lighter than a regular pecan pie, it’s sweet without being punishing, and you can taste the pecans instead of JUST the sweetness of the corn syrup they’re usually drowning in.
A lot of people come looking for this pie recipe because they’ve heard about it from Tasting History which made it quite famous a couple years ago. It’s a great conversation starter when it lands on the table.
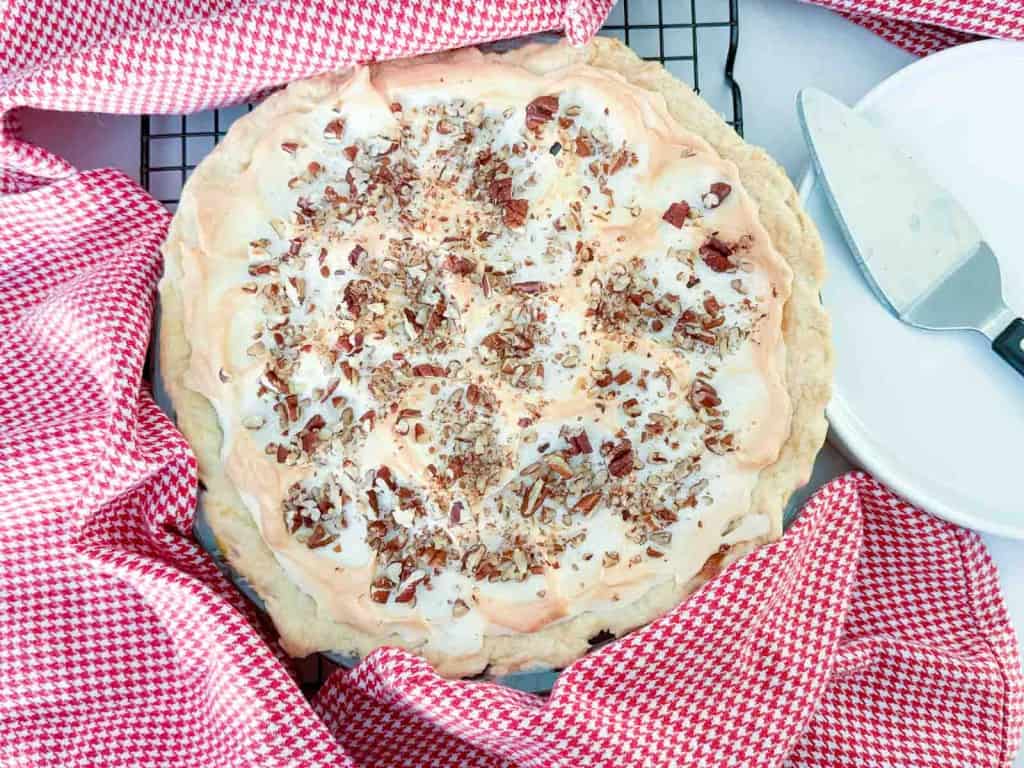
Differences Between the 1914 Pie and My Old Fashioned Pecan Pie
These two pies are cousins, but they aren’t the same pie at all. My Old Fashioned Pecan Pie uses mostly brown sugar, half a cup of butter and just two tablespoons of milk. The 1914 pie uses all white sugar, a full cup of milk and no butter at all! That cup of milk is what makes the 1914 filling a true milk custard. The other big difference is on top. The 1914 pie is finished with meringue, and mine has none.
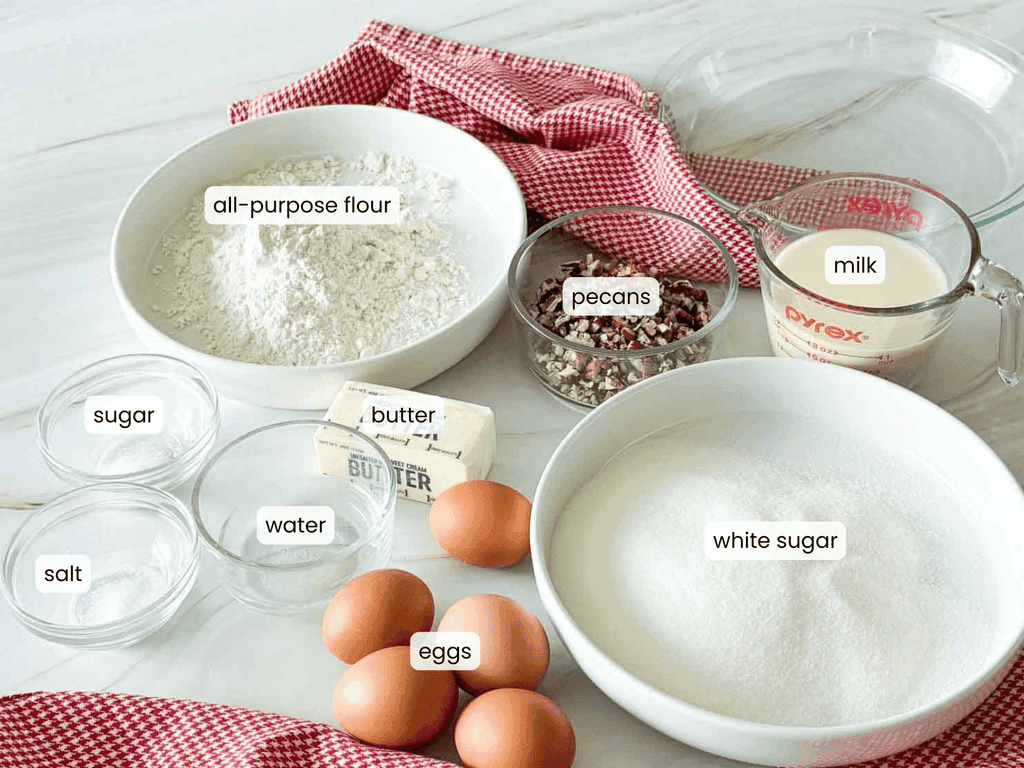
Ingredients for the 1914 Pecan Pie
Everything for this pie is probably already in your pantry. Here’s what you’ll need for the crust, the filling and the meringue on top.
- Single pie crust, recipe included in the card OR make my all butter double crust recipe OR my shortening crust if you need to and freeze one crust for later
- Sugar
- Milk
- Eggs
- All purpose flour
- Pecans, chopped before measuring
How to Change It Up
Brown sugar instead of white gives you a deeper, more caramel flavor and a darker filling. The 1914 recipe just says sugar so that’s what I used.
Grate a little nutmeg into the custard, or add a splash of vanilla. Neither of those were in the original recipe but they would work in the recipe.
Toast the pecans before using them if you want a nuttier taste to the pie.
What to Do About That Pie Crust
You’ve got two choices here, and either of them work! If you choose the second option that’s completely fine, I’ve done it myself. And will do it again IF I am in a pinch.
The first is to make your own using the pie crust recipe in the recipe card. It makes just one crust for this recipe. Using a food processor makes it quick and easy but if you don’t have one using a pastry blender OR two knives to cut the butter into the flour.
The second option is to use a store bought crust, frozen or refrigerated. A single frozen pie crust works, or use half of a package of refrigerated crusts. Store bought crusts are a little thinner and can tear, so if yours rips, dab the edges with a little water and press them back together. Water works like glue on pie dough and you can fix a myriad of problems with a little water.

My Best Tips for Making Pie Crust
Keep everything cold. Cold butter and cold water keeps the pie from melting early in the baking process. The water in the butter is what makes it flaky as it steams out of the crust during baking.
Don’t stretch the dough to fit the pan. Stretched dough shrinks in the oven, so ease it into the pan and let it settle into the corners on its own.
Chill the crust before you bake it. Room temperature dough slumps and puddles in the oven, so give it time in the fridge before the filling goes in.
Never make a pie or a new recipe for the first time for a big event or party. If you’ve never made a pie crust before, don’t let Thanksgiving be your first try! Make a practice crust ahead of time so you know how the dough should feel.
My Best Tips for Making Meringue
Meringue can be tricky but with a little help you can make it with ease. This is the finishing touch on this specific pie so don’t skip it.
- Start with a grease free bowl and whisk. Even a tiny bit of fat will keep egg whites from whipping up, so wipe your bowl and whisk with a little vinegar on a paper towel before you start. Glass or metal bowls are your best bet, because plastic holds onto grease.
- Separate the eggs while they’re cold. Cold eggs separate more cleanly, so separate them straight from the fridge and then let the whites warm up. Crack each egg over a small bowl before adding the white to your big bowl, so one broken yolk doesn’t ruin the whole batch.
- THEN let the egg whites warm up. Room temperature whites whip up higher and faster than cold ones, so let them sit on the counter for about 30 minutes before you beat them.
- Keep every speck of yolk out. Yolk is fat, and even a little bit of fat even from a bit of yolk can keep your whites from ever reaching stiff peaks.
- Add the sugar slowly. Once the whites are foamy, add the sugar a spoonful at a time while you keep beating. Rub a little meringue between your fingers, and if it feels gritty, keep going until the sugar dissolves.
- Stop at stiff, glossy peaks. Meringue that’s been beaten too long looks dry and lumpy and starts to pull apart, so stop when it’s thick and shiny and holds a peak.
- Skip humid days if you can. Meringue pulls moisture out of the air, and a muggy day can leave it soft and weepy.
Best Tips for Baking Meringue on a Pie
A lot of recipes don’t call for a meringue topping these days. They can be finicky for sure, from shrinking to
- Spread the meringue onto hot filling. Putting meringue on filling that’s still hot from the oven helps cook the bottom of the meringue, which cuts down on weeping.
- Seal it to the crust. Spread the meringue all the way out until it touches the crust on every side. If you leave a gap, the meringue will shrink away from the edges as it bakes, anchoring it to the crust helps stop that process. Or at least slow it down.
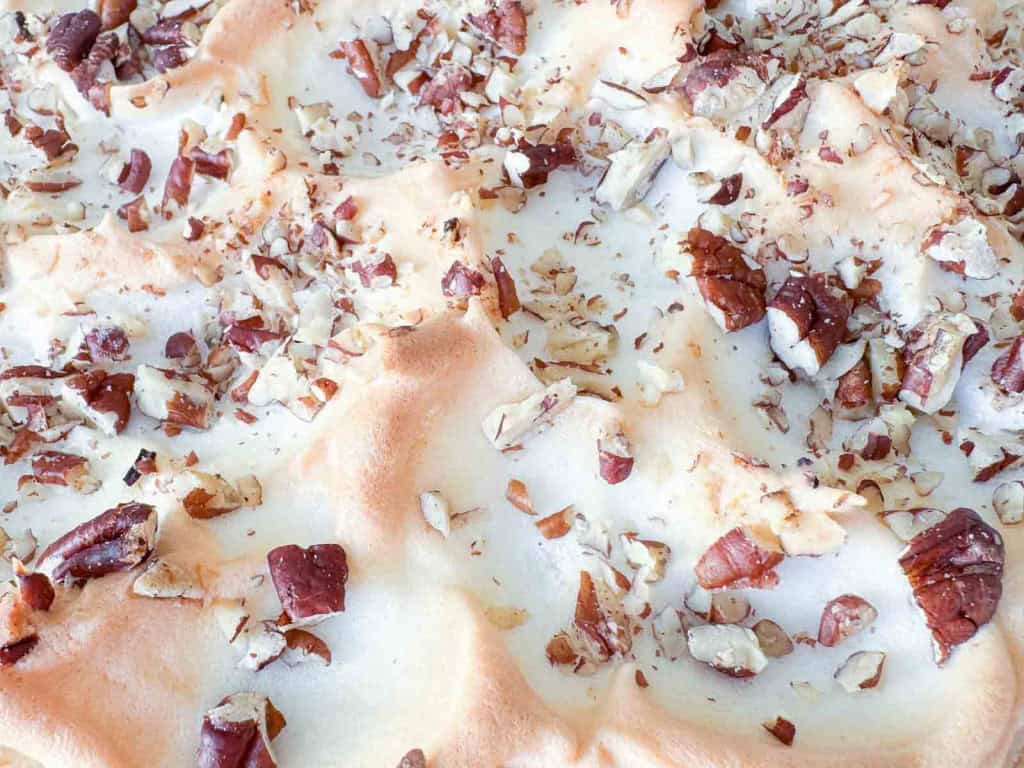
- Make some swoops. Use the back of a spoon to pull up little peaks all over the top. The tips brown first, and they’re the prettiest part of the pie!
- Watch it closely. Meringue goes from golden to too dark in a hurry, so stay close to the oven.
- Cool it slowly. Let the pie cool somewhere away from drafts. A sudden change in temperature can make meringue crack and weep.
- How to cut it. To cut it cleanly dip your knife in water before each cut and wipe it clean between slices, and the meringue won’t drag.
How to Store the 1914 Pecan Pie
This is a custard pie made with eggs, and the meringue is egg whites, so it’s a “store it in the fridge” pie, not a counter pie. Let it cool completely at room temperature, but don’t leave it out longer than two hours. After that store in the fridge.
Plastic wrap sticks to meringue and will pull it right off the top. Fix that by poking a few toothpicks into the pie to hold the wrap up off the meringue, or use a covered pie carrier. The pie keeps in the fridge for 2 to 3 days, but meringue is at its best the day it’s made.
The longer a 1914 Pie OR any meringue topped pie is stored the worse the meringue is going to look. It will start to weep and this will look like little beads of moisture is accumulating on the pie. There isn’t anything wrong with the pie this is just what meringue does.
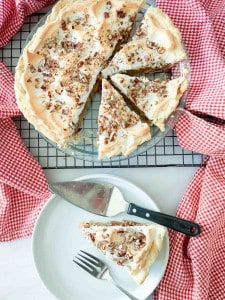
1914 Pecan Pie Recipe
Ingredients
Pie Crust
- 1 1/4 cup all purpose flour
- Scant 1/2 tsp salt
- 1/2 tsp sugar
- 1/2 cup cold butter or lard
- 2-4 tbsp cold water
Pie Filling
- 1 cup milk
- 1 cup white sugar
- 3 eggs, lightly beaten
- 2 tbsp flour divided
- 3/4 cup pecans finely chopped and divided
Meringue
- 2 egg whites
- 2 tbsp sugar
Instructions
Make Your Pie Dough
- Whirl the flour, salt, and sugar together in the bowl of a food processor
- Cut the butter into chunks, drop it in, and pulse on and off until it looks like fine crumbs
- With the processor running, drizzle in the water, starting with the smallest amount. If the dough clumps up, it's done. If it doesn't come together, it needs more, so add just enough to make it form a ball
- Pat it flat into a disk, wrap it, and chill for at least 1 hour
Make The Pie
- Preheat the oven to 400°F
- Sprinkle flour in your pie pan
- Line your pie pan with the single crust
- Trim and crimp the edges
- Pop it in the fridge to chill for 10 minutes before blind baking
- When the crust is chilled put a sheet of parchment paper over the dough and fill it with pie beads or dried beans
- slide it into the hot oven and bake for 15 minutes, then remove the pie weights or beans and bake another 5 minutes, or until the crust is lightly crispy
To Make The Filling:
- Mix the flour and sugar together to prevent the flour from clumping
- Add the milk to a saucepan, stir in the sugar mixture

- Whisk in the eggs
- Switch to a wooden spoon, cook and stir over medium heat or until the filling is thickened up
- Add 1/2 cup finely chopped pecans
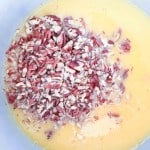
- Bake for 30 minutes, or until lightly browned and set but still a bit jiggly

Make The Meringue
- Meanwhile, wipe down your mixer and bowl with vinegar to make the meringue. You can't have ANY fat on the bowl or beaters, or the meringue will fail
- Beat the egg whites until they're frothy

- Add the sugar slowly and continue beating until the meringue holds stiff peaks, but don't overbeat it
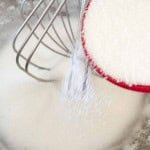
- When the pie is done, pull it out and spread the meringue over the hot pie, completely covering the top to the edges of the pie crust, be sure it touches the crust that will help with shrinking meringue
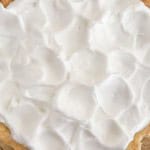
- Scatter with the remaining chopped pecans

- Bake for 8-14 minutes, until the peaks are golden, star checking right at 8 minutes, keep checking the meringue to keep it from burning

Video
Notes
- you can use a frozen pie crust or refrigerator crust and out a considerable amount of time and work on this recipe
- The amount of water in the pie crust depends on the humidity in your kitchen and on how you measured your flour, so start low and add as you need it
- If the dough sits in the refrigerator for more than 3-4 hours, let it warm up a bit before you roll it
- No food processor? Two butter knives, a pastry blender, or your own hands all work
- Half a batch is a small amount for a large food processor, and it may not pick it up properly. If yours is big, make the full batch and freeze the second disk
- Be sure to wipe down the mixer and the bowl you’re using to make meringue with some vinegar to remove all the grease or fat ANY thing that will touch the beaten egg whites