Paul Hollywood’s Iced Gems (Tiny British Shortbread Cookies)

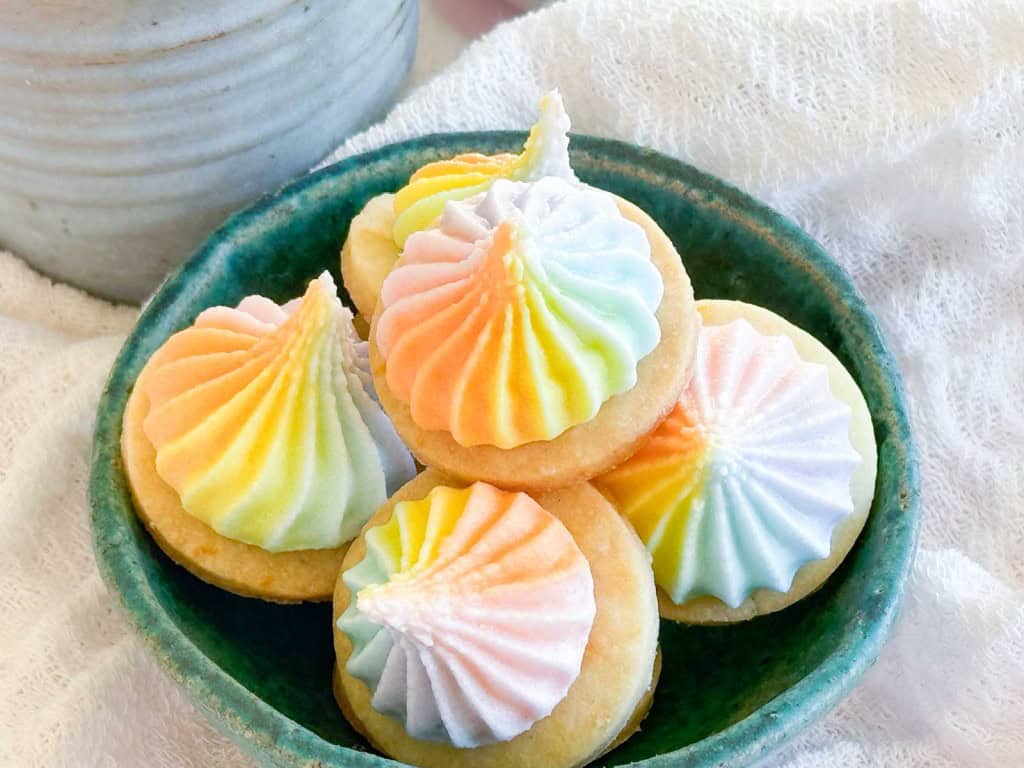
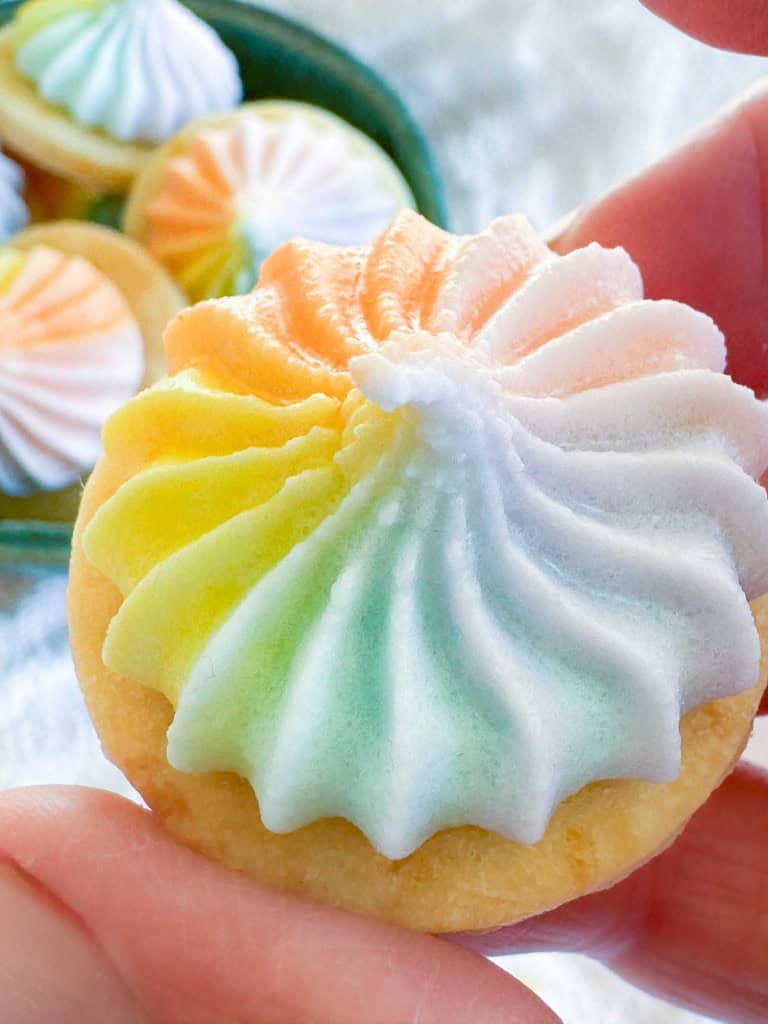
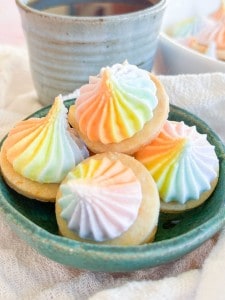
If you’ve ever wanted to make something that looks like it came out of a fancy candy shop, these are it! Iced Gems are little Orange Shortbread Cookies, each one about the size of a quarter, with a pastel swirl of royal icing piped on top like a tiny star. You get 36 of them from one small batch of dough, and a plate of them is about the prettiest thing you can set on a table.
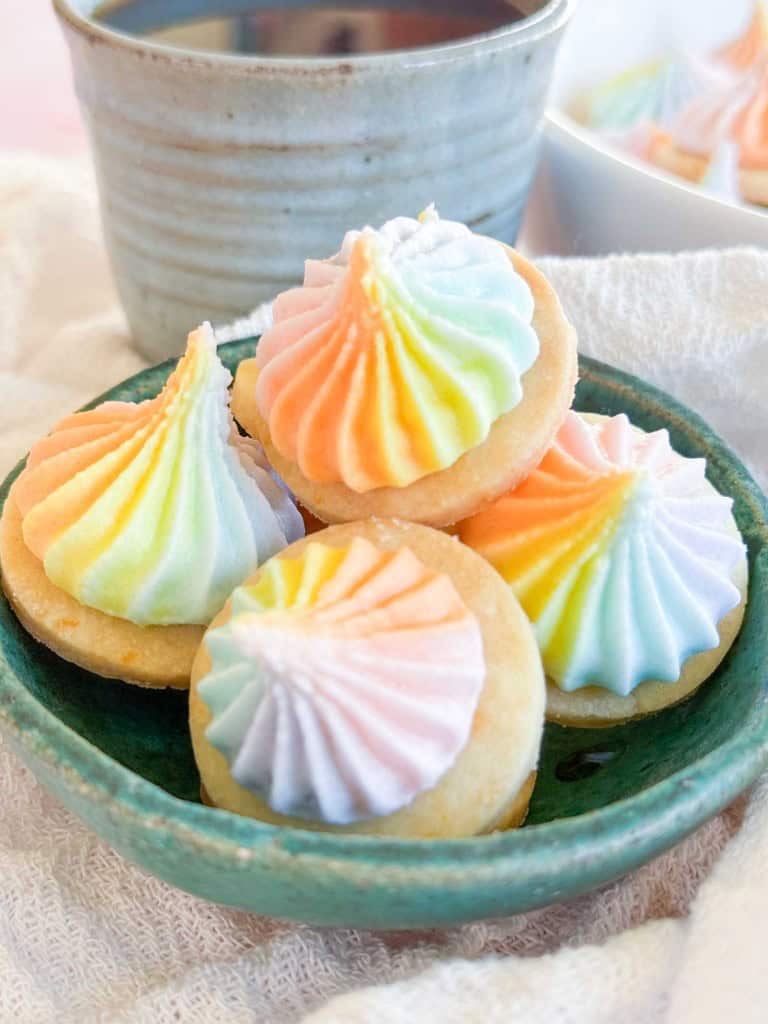
They look fussy. They really aren’t! The cookie is a five-ingredient shortbread, and the icing is just egg whites and powdered sugar. The ONLY hard part is not over dying the icing and making it garish and piping on the swirls.
Iced Gems are a British treat that kids over there have been eating out of little bags for generations. This is Paul Hollywood’s recipe from The Technical Bake for Biscuit Week in the 2026 Great British Bake Off.
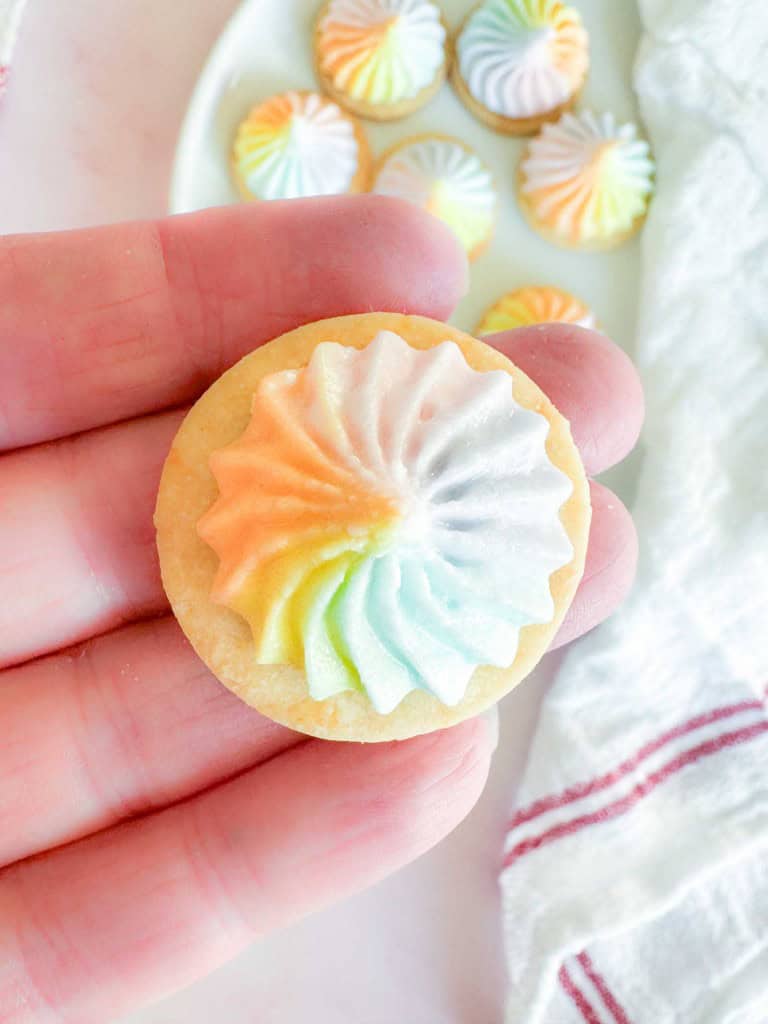
Like every Bake Off recipe it’s written in grams. I’ve converted it to cups and tablespoons so you can make it without a kitchen scale. What makes his version special is the icing. Five pastel colors get piped side by side, rolled up together, and piped out through one star tip, so every single gem comes out striped. I’ve never done this before and I was abled to achieve the stripes just fine. I believe in you, you can do this!
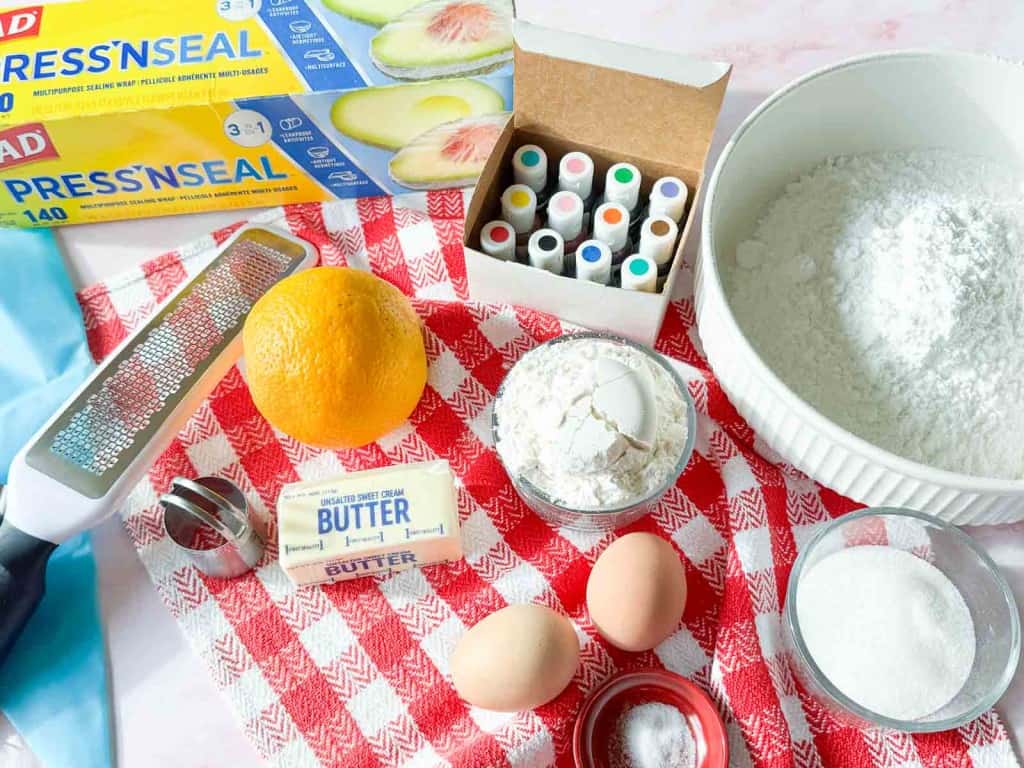
Ingredients for iced gems
There’s nothing unusual on this list, and you may have most of it in the kitchen already. The only things you might need to pick up are the gel food coloring and a star piping tip.
- unsalted butter
- superfine, I used granulated sugar
- all-purpose flour
- an orange
- fine salt
- egg whites
- powdered sugar
- gel food coloring in pastel purple, pink, yellow, orange, and blue
Tools You Will Also Need For Iced Gems
I didn’t have everything Paul’s recipe called for but I am a “make do and make it work” kind of person. They had some wild directions for putting the icing “in 5 separate piping bags, then pipe it on plastic wrap, then roll that up and on and on” I skipped all that and used a spoon to lay the icing out in lines on the plastic wrap. It works fine.
- small 1-1/2 inch round cookie cutter
- piping bag
- large 4 B Wilton Open Star Tip
- gel food coloring
- bowls
- spoons
What can go wrong with shortbread
Shortbread is simple, but it’s touchy about temperature. If your cookies spread and lose their round shape in the oven, the dough was too warm when it went in. That’s why the dough gets rolled out first and THEN chilled for 30 minutes. Cut the rounds while the dough is still cold and get them straight into the oven. If your kitchen is warm and the dough goes soft while you’re cutting, slide the whole sheet into the fridge for ten minutes before you bake.
If the dough is dry and crumbly and won’t come together, there’s probably too much flour in it. That happens when you scoop the measuring cup straight into the bag, which packs the flour in. Spoon the flour into the cup and level it off. If you’re already past that point, press the dough together with your hands. The warmth from your hands softens the butter and usually brings it together. Even crumbly shortbread dough will still hold together in the oven.
Tough shortbread comes from overworking the dough. Mix it just until it forms a dough and stop. Every time you gather up the scraps and roll them out again the cookies get a little tougher, so cut your rounds as close together as you can. I didn’t reroll the dough for these, I baked the scraps off and called it good.
These are very small cookies, so they go from golden to overbaked fast. Start checking a few minutes before the timer goes off. Roll the dough to an even thickness too, because the thin ones will brown before the thick ones are done.
What can go wrong with royal icing
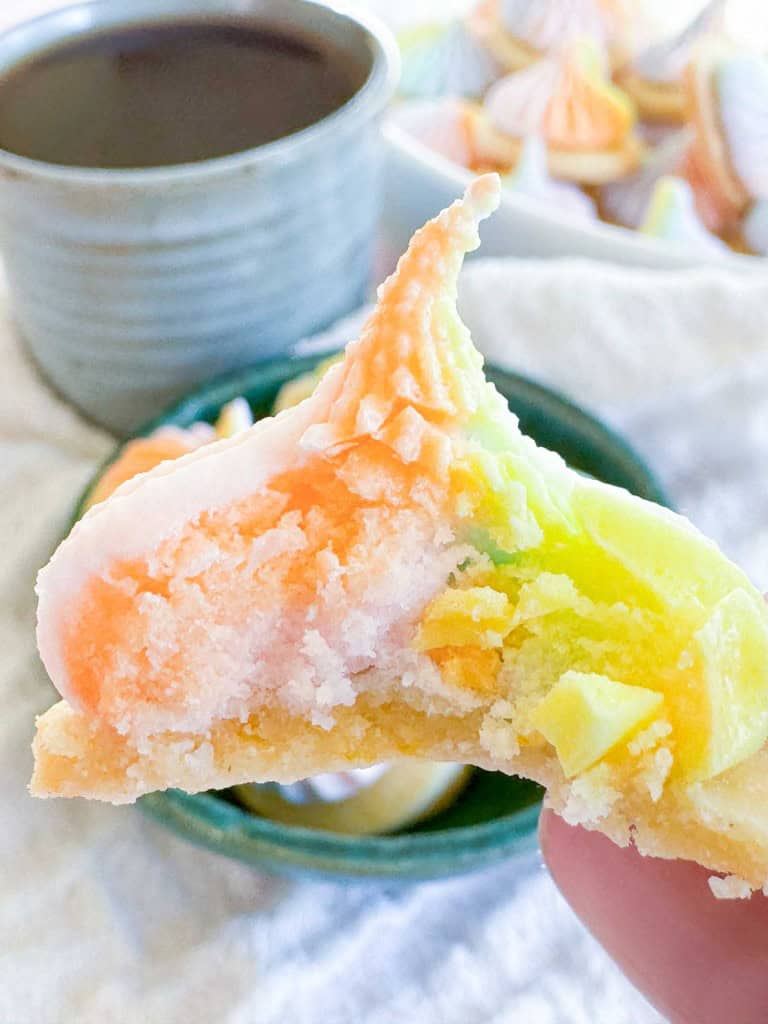
The most common problem is icing that’s too soft. For these iced gems it has to be VERY stiff, stiff enough to stand up in a peak that doesn’t flop over. If your swirls slump into puddles, whisk in more powdered sugar a spoonful at a time. If you go too far the other way and it’s too stiff to squeeze through the tip, add water a few drops at a time. A few drops is all it takes!
Royal icing dries out quickly, which is great once it’s on the cookie and a nuisance before that. Keep the bowls covered with plastic wrap or a damp paper towel while you work. Dried bits of icing will clog the star tip so be sure the . Lumps of powdered sugar will too, so sift it first if yours is lumpy.
Use gel food coloring and not the liquid kind. Liquid coloring thins the icing out, and you just worked to get it stiff. For pastels you need very little, so dip a toothpick in the gel and swirl that through the icing, then add more if you want it deeper.
When you roll the five colors up together, handle the log as little as you can. The more it gets squeezed and twisted, the more the stripes blend into one muddy color. Your first few gems may come out a little wonky while you get the feel of it. Pipe a few practice ones onto parchment before you start on the cookies.
One more thing to know. This icing is made with raw egg whites. If that worries you, or you’re serving these to anyone who shouldn’t eat raw egg, use pasteurized egg whites from a carton. BUT remember they don’t always whip up as nicely as freshly separated egg yolks and egg whites.
Baking the icing vs. letting it sit out
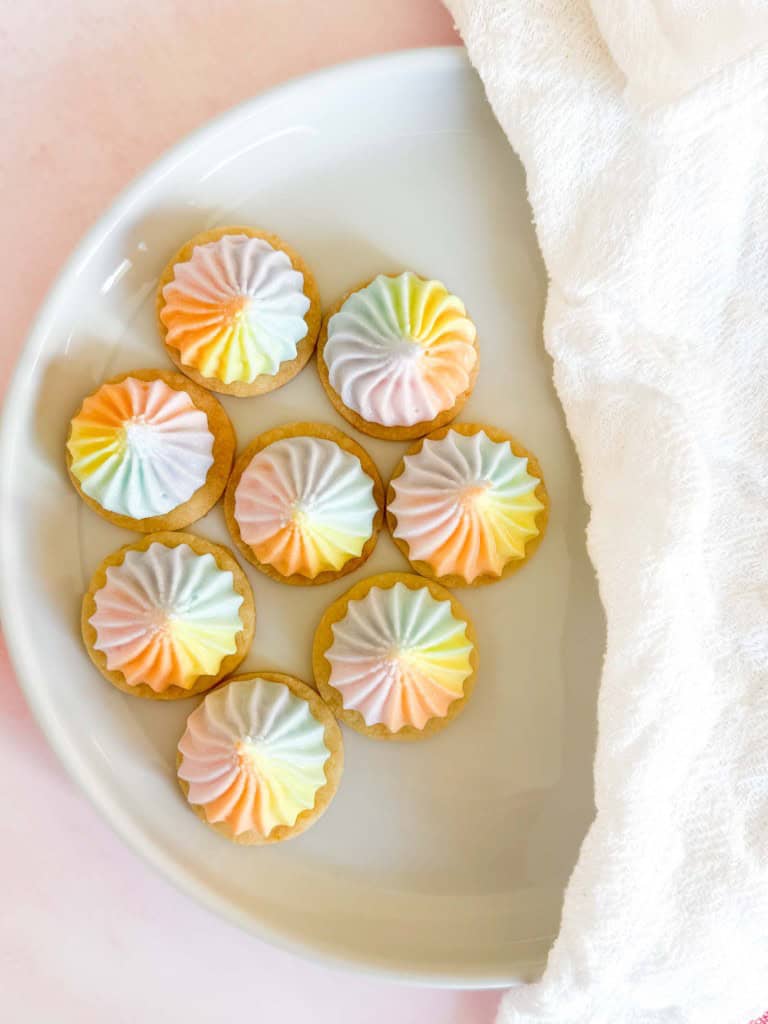
Paul’s original recipe gives you two ways to harden the icing. You can leave the gems out at room temperature, or you can put them in a very low oven, 120˚F, for 30 minutes. The trouble is that most American ovens don’t go that low. A lot of them stop at 170˚F, and that’s hot enough to brown the icing, crack it, or keep baking the cookies underneath.
So unless your oven has a setting that really holds 120˚F, like a proofing or dehydrating setting you’ll have to think outside the box. You can slide them back in the oven after you’ve turned it off. Let them sit in the cooling oven with the door propped open. This is what I did and Ieft them for 4 hours. They did pretty well.
You can leave them out to dry. Leave them uncovered, in a single layer, somewhere they won’t get bumped. It takes longer, a few hours at least, and I’d give them overnight to be sure, especially if the weather is damp. Humidity slows royal icing down a lot. They’re ready when the icing is hard all the way through and doesn’t dent when you press on it gently.
When To Serve These
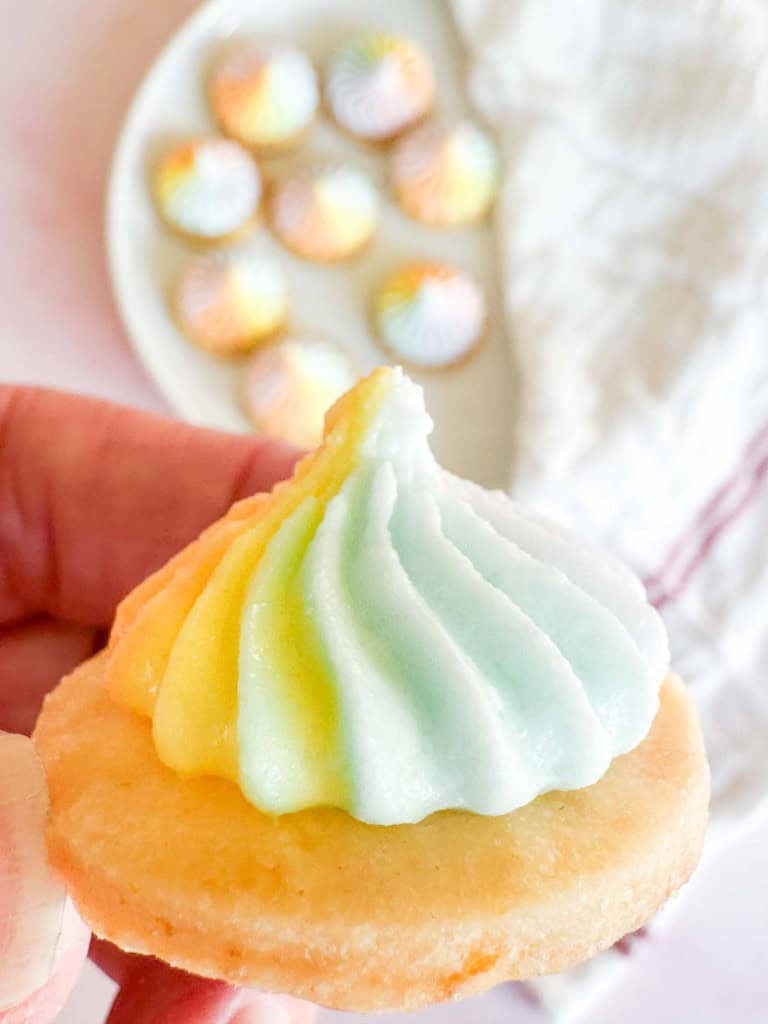
These are perfect anytime! But I can definitely see them being served at baby showers or bridal showers. The pale delicate icing, the pop in your mouth easy eating, and just how cute and fresh they are. Serve them with lavender lemonade mocktails or Shirley Temples as the perfect drink for moms-to-be or midday drinks at a bridal shower.
How to store iced gems
Wait until the icing is completely hard before you put these away, or the swirls will get squashed. Then store them in an airtight container at room temperature, with parchment between the layers, and they’ll keep for up to a week. Shortbread and royal icing are both good keepers, so these are a nice one to make a few days ahead of a party.
Keep them out of the fridge. The moisture in there softens the icing and can make the colors run together. I haven’t frozen these before so I don’t know how they’ll freeze.
Paul Hollywood’s Iced Gems, in American Measurements
Equipment
- 4B open star piping tip I used a 8B which is bigger but it worked!
- piping bags
- 1-inch round cutter I used a 1 1/2 inch cookie cutter
- plastic wrap
Ingredients
Orange Shortbread
- 7 tbsp unsalted butter, at room temperature
- 1/4 cup superfine sugar, regular granulated sugar works too
- 1 1/4 cup all purpose flour
- 1 orange zest only
- 1/4 tsp fine salt
Royal Icing
- 2 large egg whites
- 3 1/3 cups powdered sugar
- Gel food coloring pastel purple, pink, yellow, peach, and blue
Instructions
- Beat the butter, sugar, and orange zest until soft and creamy
- Add the flour and salt and mix on low for about 1 minute, until a dough forms
- Roll the dough between 2 sheets of parchment paper to a generous 1/4-inch thick, then chill for 30 minutes
- Heat the oven to 350°F and line a baking sheet with parchment paper
- Whisk the egg whites until frothy
- Add the powdered sugar a large spoonful at a time, mixing between each addition

- Keep whisking until the icing is very stiff and holds peaks

- Divide the icing between 5 bowls, about a scant 1/3 cup in each bowl
- Tint each bowl of frosting very carefully, don't add too much gel, in fact if you can use a toothpick to add a bit of dye it will be better

- Once the colors are to your liking, lay out a piece of plastic wrap, spoon the pink color in a line, then orange, yellow, green, blue
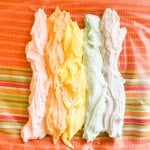
- Fold the frosting wrap over on itself to form a tube of striped frosting, roll the ends tightly and set it to the side
- Cut 36 cookies out with the 1-inch cutter, 1 1/2 inch works fine too

- Bake for 12-15 minutes, until golden

- Cool completely
- Meanwhile cut one end off the tube of icing and slide it into a piping bag fitted with the star tip
- Pipe a rosette onto each cookie

- Let the icing harden at room temperature for several hours, or if your oven goes down to 120°F, bake them for 30 minutes

- Optionally you can slide the iced cookies back into the oven as it cools down and leave them there for several hours