Old Fashioned Peanut Butter Cookies (Chewy, No Chill)

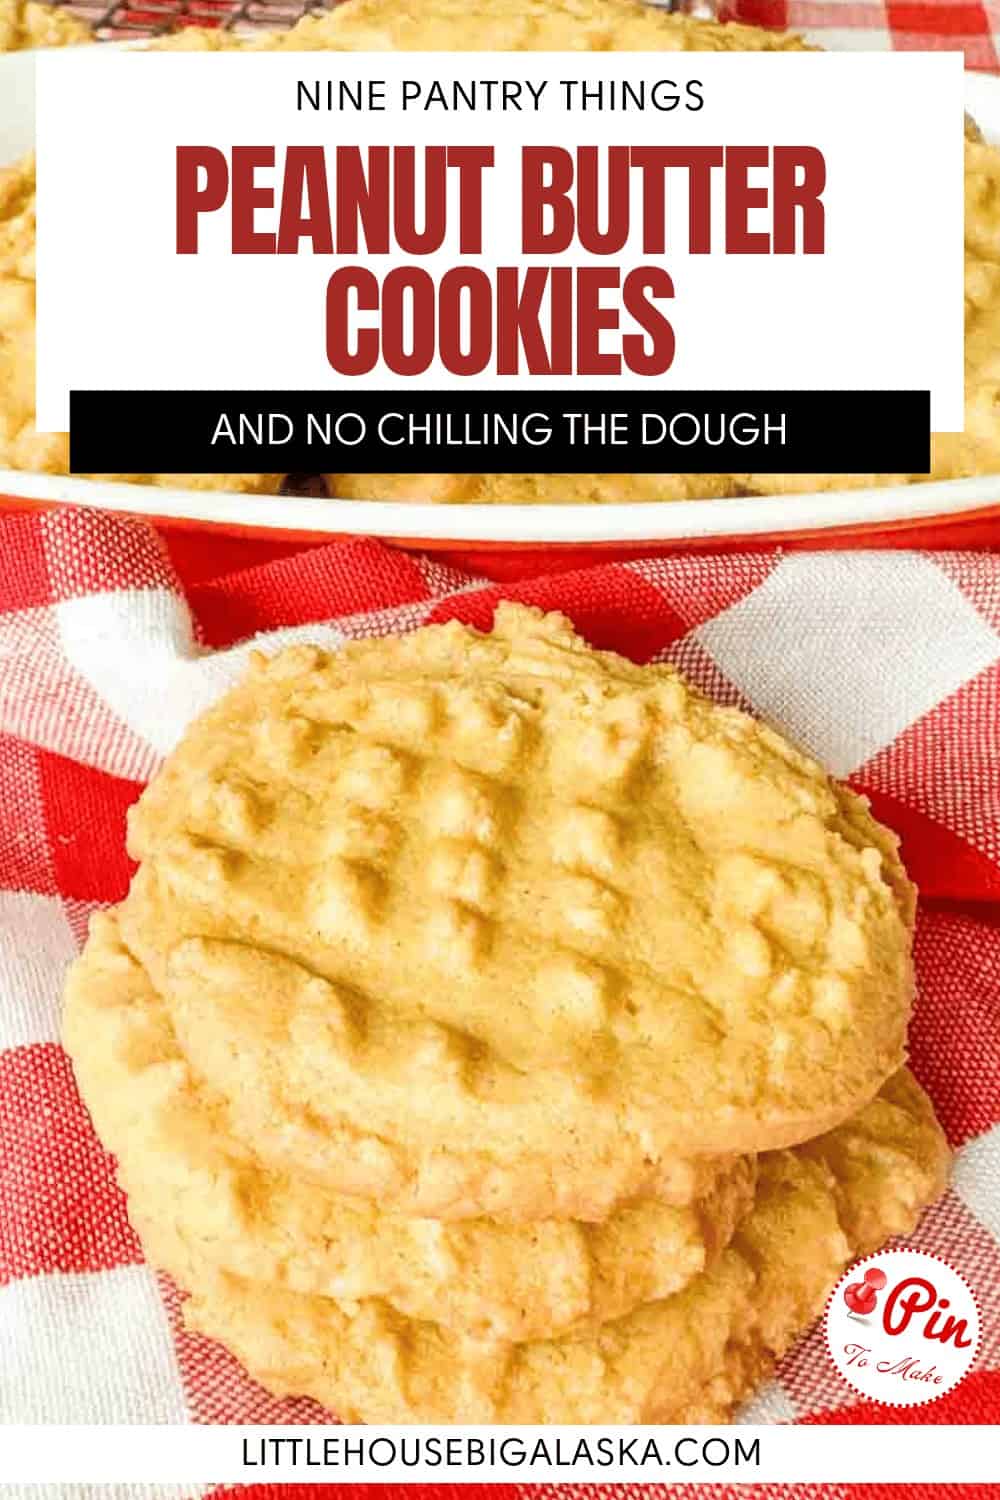

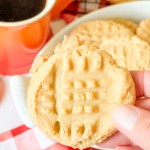
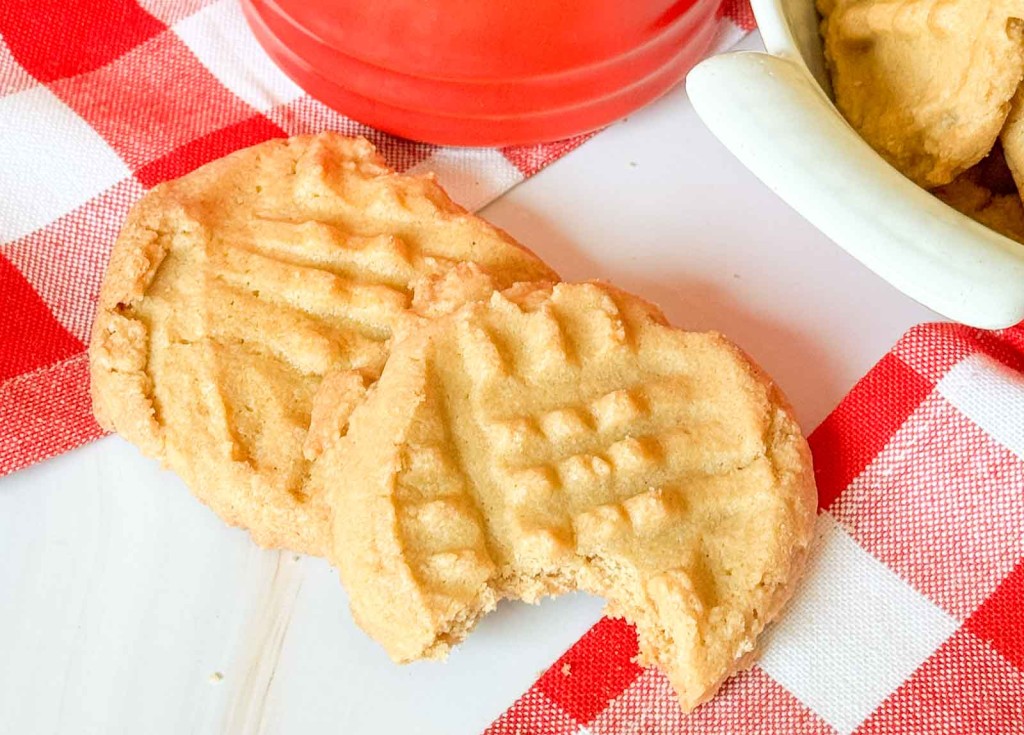
These are the Old Fashioned Peanut Butter Cookies with the fork marks on top! They’re the ones that were on a plate at your grandmother’s house. And shocker, they’re so quick to make you can THINK about wanting cookies and HAVE fresh baked cookies in about 40 minutes.

And here’s the part nobody tells you about peanut butter cookies. they’re BETTER the next day. Not still good, better. So if you can make them a day ahead, do it. And if you can’t, make them anyway and just know that tomorrow’s version of you is getting the better end of this.
Why Make These Instead Of Something Fancier
I’ve made the complicated cookies. They have their place. But this is the one you make when somebody’s had a hard week, or when you promised to bring something and remembered at nine at night, or when it’s dark and cold outside and you want the house to smell like a kitchen for an hour. It does all three of those jobs.
It’s also the cookie most likely to get made with a kid standing on a stool next to you, because the fun part is the fork and a six year old can run the fork.

What You Need To Make Peanut Butter Cookies
Nine ingredients, and not one of them is unusual or expensive. If you keep peanut butter and flour in the house you can make these right now without going anywhere.
- butter
- white sugar
- brown sugar, NOT natural brown sugar, see the notes on what can go wrong
- eggs
- vanilla
- peanut butter, regular peanut butter, natural will work too see notes below
- baking soda
- salt
- all-purpose flour
You will also need:
- baking sheet
- parchment paper
- form
- bowl with water
Smooth or chunky peanut butters work in this recipe. Chunky gives you something to bite down on. Smooth gives you a tidier cookie with a cleaner crosshatch. Use whichever jar is already open or whichever kind of peanut butter you like best.
One note on the peanut butter itself. The natural kind that separates and has to be stirred behaves differently than shelf-stable peanut butter because the oil balance isn’t the same. Both make a good cookie. The natural one makes a slightly looser dough and a slightly flatter cookie, so don’t panic if yours spread more because of the extra oil.

About That Fork
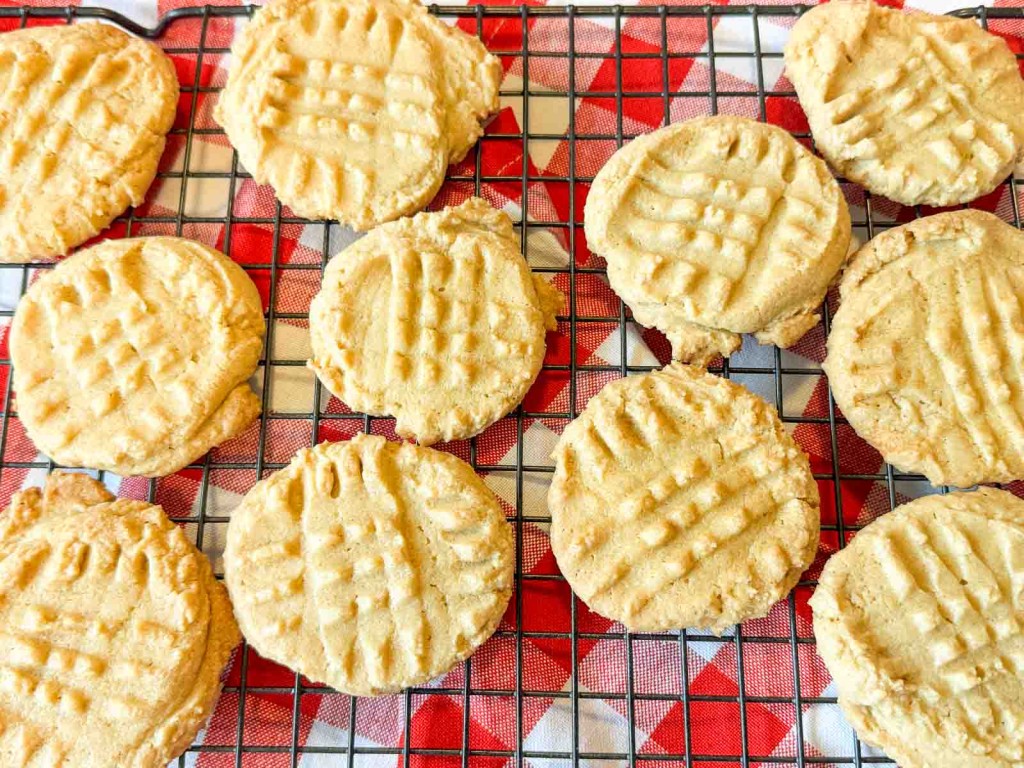
Most recipes tell you to dip the fork in sugar. I dip mine in water instead. Sugar on the fork gives you a crisper, sweeter top, and there’s nothing wrong with that if it’s what you want. Water gives you a clean crosshatch.
To use water for cross hatching keep a small bowl of water right next to the baking sheet. Dip the tines, press once one direction and once the other. When the dough starts grabbing at the fork, that just means you need more water, dip it again.
How To Change Up These Cookies
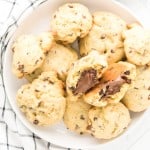
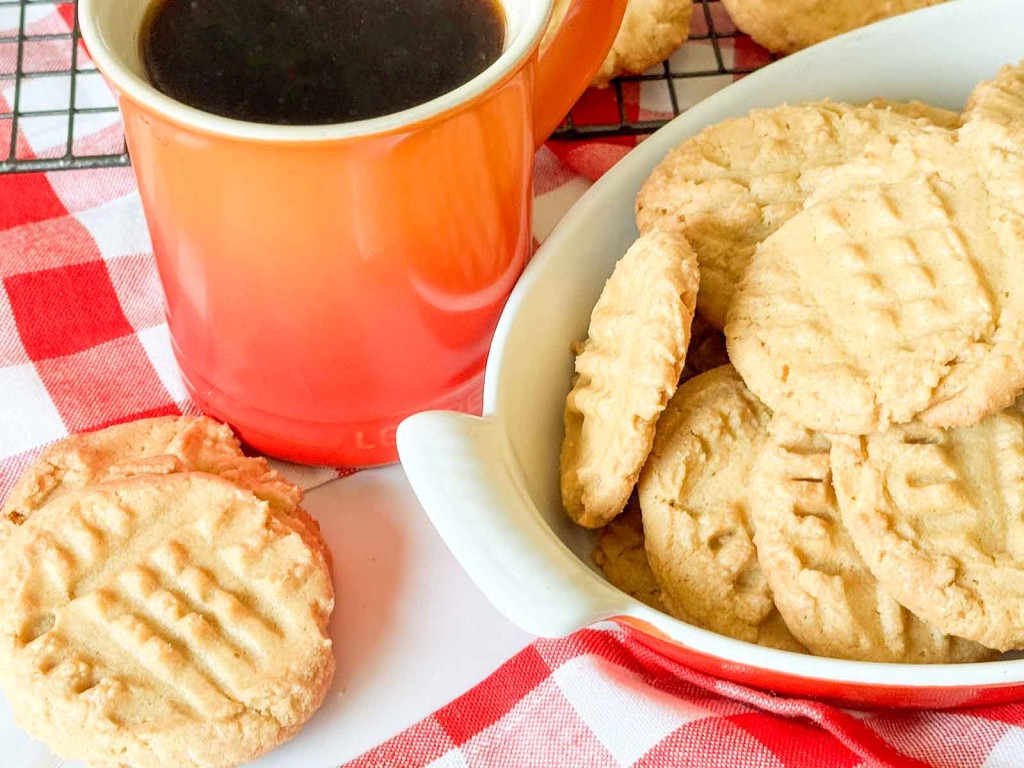
Press a chocolate kiss into the middle the second they come out of the oven. Then leave them alone until they’re completely cool or you’ll have a chocolate smear instead of a kiss.
Stir in chocolate chips before rolling cookies. You won’t be able to use the fork on them but these cookies are stellar with chocolate chips. And you can use as little as a cup and up to two cups.
You can add up to a half cup of chopped peanuts if you want your cookies extra crunchy.
Roll the balls in granulated sugar before you flatten them for a crackly, sparkly top. Do this instead of using water and a fork, just use the fork
And if peanut butter isn’t an option in your house, sunflower seed butter works in this style of cookie. Fair warning, it sometimes turns a little green inside from a harmless reaction with the baking soda. It tastes completely fine. It just startles you. Maybe they’re perfect for Halloween!
What Can Go Wrong With These Peanut Butter Cookies
I haven’t had a LOT of problems with this recipe and I’ve been making it for over 50 years. They were one of my dad’s favorite cookies so I’ve made a lot of them.
They spread into one enormous cookie
Your butter was too soft, or your kitchen is warm. There’s a cup of butter and two cups of sugar in this dough, so if it feels soft and greasy when you’re rolling the balls, put the whole bowl in the refrigerator for twenty minutes and then carry on.
They’re FLAT
A lot of cookie failures lately come down to the brown sugar. Bags of “natural” or organic brown sugar are less refined, drier, and carry less molasses than regular brown sugar. Regular brown sugar is white sugar with molasses added back in and this recipe was formulated with that in mind.
Less molasses means less acid for your baking soda to work with, and the coarser crystals don’t cream into the butter the same way. Swap it one for one into a cookie recipe built on regular brown sugar and it just doesn’t work. Buy the soft packed brown sugar in the baking aisle for these and leave the natural, course, or turbinado for another recipe.
They came out dry and crumbly
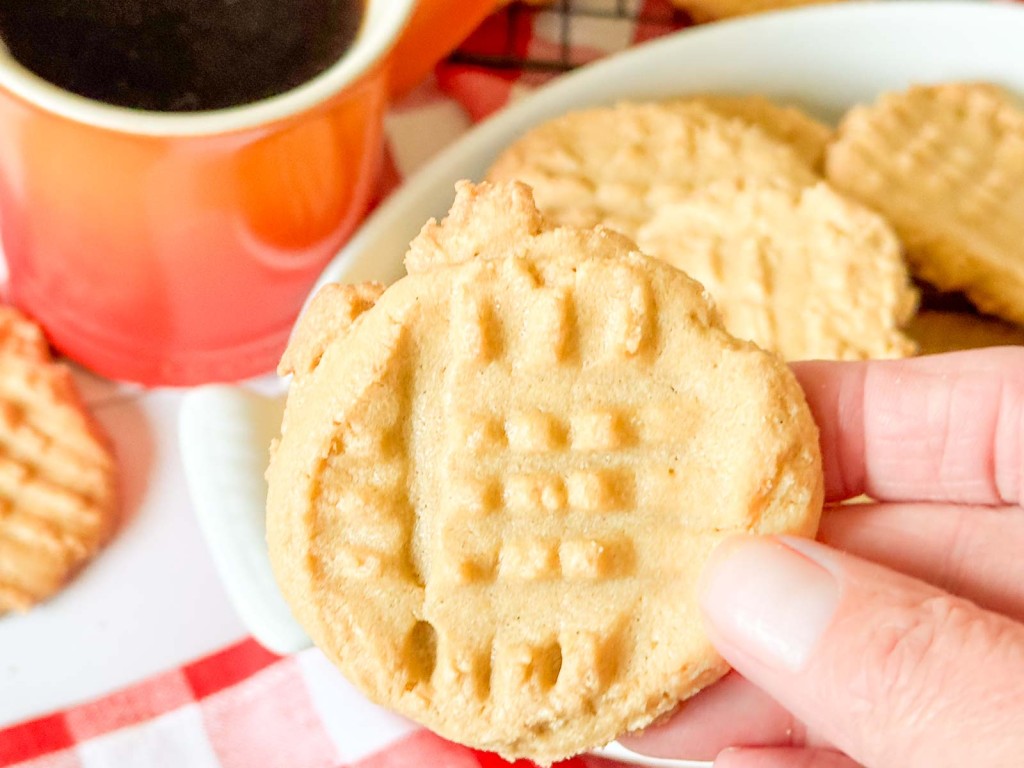
That’s too much flour nearly every time, and it usually comes from scooping the measuring cup straight into the flour bag, which packs it down. Spoon the flour into the cup and level it off with the back of a knife. The dough should squeeze together in your hand, not crack apart.
They’re rock hard the next day
Overbaked. 10-12 minutes is the number, and they come out of the oven looking a little underdone in the middle, which is RIGHT and is the entire trick to a soft peanut butter cookie. They keep cooking on the hot pan for those first couple of minutes. If you wait until they look done in the oven, they’re already past it.
They broke apart when I moved them. Moved too soon. Give them one to two minutes on the sheet before the spatula goes anywhere near them. They need that time to firm up enough to hold together.
How To Store Peanut Butter Cookies
Let them cool all the way on the rack before they go into anything, because a warm cookie in a closed container makes its own steam and you’ll open it tomorrow to find soft damp tops. Once they’re completely cool, an airtight container at room temperature keeps them for three to four days.
If they start firming up more than you like toward the end of that, drop a slice of sandwich bread into the container overnight and they’ll soften right back.
The dough freezes well too, so roll the balls, freeze them on a sheet pan until solid, bag them up, and bake them straight from frozen with an extra minute or two.


Peanut Butter Cookies
Ingredients
- 1 cup butter
- 1 cup white sugar
- 1 cup brown sugar packed
- 2 eggs
- 1 tsp vanilla extract or vanilla paste
- 1 cup peanut butter smooth or chunky
- 2 tsp baking soda
- 1/2 tsp salt plus an extra 1/2 tsp if using unsalted butter
- 3 cups all purpose flour
Instructions
- Preheat the oven to 350°F
- Cream the sugar and butter together
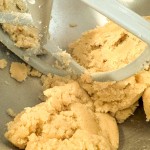
- Add the eggs one at a time and beat them in

- Add the vanilla and stir to combine
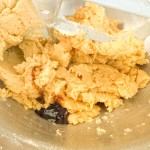
- Beat in the peanut butter

- Add the baking soda and salt to the flour and stir together
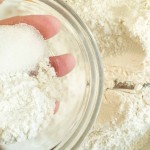
- Add the flour to the peanut butter mixture
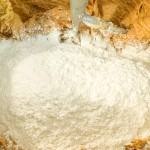
- Stir just to combine, scrape down the bowl, and stir again

- Roll into 1-inch balls

- Place 12 on a baking sheet
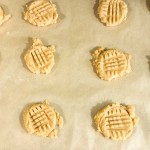
- Dip a fork in a bowl of water
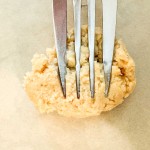
- Make crosshatch patterns on the top of each cookie with the damp fork tines

- If the fork sticks to the dough, dip it in the water again
- Bake the cookies for 10-12 minutes until they're set and lightly browned
- Let the cookies cool on the baking sheet for 1-2 minutes
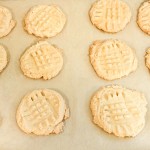
- Remove to a baking rack to cool completely

- Store in an airtight container for 3-4 days. They actually taste better the next day