
Easy All Butter Pie Crust (Food Processor, 5 Minutes)

How to make Easy Pie Crust starts HERE. This all-butter pie dough recipe is hands down the best and easiest you’ll ever make! Ever wondered how to make the best pie crust? One that stops people in their tracks and makes them ask for the recipe? Well, here you go, this is the recipe you’re looking for. Not only am I going to give you the recipe to make the perfect crust but I’m going to walk you through troubleshooting what’s going on when and if your pie crust fails you. Since I’ve been where beginners start, using a premade crust (no shame!) I’m also going to give you tips and tricks to make those crusts better. Follow this easy-to-make recipe and get star baker status paired with rave reviews the next time you make a pie. So if you’re worried about making pie dough STOP IT RIGHT NOW because you’re better than that!

Listen, a homemade pie crust doesn’t have to be hard to make. This recipe is super simple, it comes together in under 10 minutes in the food processor, and it makes enough dough for TWO crusts. That’s one double crust pie or two single crust pies.
Maybe you’re making a tart? And you need a tart crust? If you’re considering a pie crust for that tart may I point you to a Chocolate Tart Crust that would be beautiful in most tarts or try my Shortcrust Recipe for Tarts.
Easy to Make Pie Crust
One thing I hear again and again is that people buy pie dough or pre-made crusts because pie dough is TOO HARD TO MAKE. I beg to differ, a homemade pie crust can be easy to make, especially if you have a food processor. One of the main points of making good pie dough, crusts, and pastry of all kinds is to keep the butter cold. If it’s warm, chill it, cold butter cuts better, bakes better, and makes pastry the best it can be.
The secret to quick and easy pie dough is the food processor! This is one of my favorite kitchen tools. I love the Cuisinart and the Breville, I’ve used both of them for this recipe. I had a Ninja food processor and I killed it so I’m a huge fan of either the Cuisinart or Breville.
If you don’t have a food processor you can STILL make a homemade pie crust easily. The tool you need is called a pastry blender and if you don’t have a food processor, this tool will help make pie dough easier! It has a handle and several dull blades that chop the butter into small pieces without using your hands that melt the butter.
If you don’t have time or money the old-fashioned method of cutting the butter into the flour with two knives is CHEAP and works perfectly! Sometimes I still use this method, especially if I don’t want to make a lot of dishes!
Ingredients For An All Butter Crust
You need 5 ingredients, FIVE, compared to the 10-12 ingredients in a pre-made crust. And you’re not going to be shocked when I tell you they’re ALL pantry staples, things you more than likely have on hand.
- flour
- salt
- sugar
- cold butter
- cold water
Make Flaky Homemade Pie Crusts
The steps for making a homemade pie crust are short and sweet.
- Mix the dry ingredients
- Cut or chop in the butter (this is where you use the food processor, pastry blender, OR two knives!)
- Add the liquid
- DO NOT OVER MIX
- Divide the dough in half pat each half into a circle
- Wrap in plastic wrap
- Chill for at least an hour

My BEST Tips To Make The Best Pie Crust
Here’s what I’ve discovered in my 20 plus years of making pies for my real husband.
- Cold is the key to good pie crusts. Chilled real butter and ice cold water help keep the dough cold. We don’t want anything warm around a pie crust until it hits the hot oven.
- I’ve used both all-purpose flour AND bread flour to make fine pie crusts. I would love to say it’s because I wanted to know which worked better but it was simply because I forgot the flour in my canister was bread flour. I didn’t remember until I got out a new bag and realized that oops all my holiday pies were made with bread flour. And they both worked fine. The reason for this, I think, and I’m no food scientist, is that when you make crust you don’t mix it enough to form strong gluten in the dough. Never mix a pie dough enough to make it into bready dough. And this ties into my next point…
- If you can avoid it, don’t make pie crust with warm hands. Pastry blenders and food processors are your friend when making pie dough. You don’t want to pre-melt the butter when you mix it up, so hands off if possible and use a tool. Even two knives can be used to cut the butter to make dough.
- Once pie dough is made divide it into two disks and chill thoroughly. Be sure to wrap it completely or it could pick up smells in your fridge. No one wants fridge-air tasting pie dough, just ask my kids.
- If in doubt, chill your pie dough. Make it with cold ingredients, chill it, roll it out, chill it.
- Add a dash of flour to your pie pan before adding the bottom crust. It helps your pie slices slide right out after baking AND if anything leaks it will help soak it up.
- If you’ve got a cooked pie filling like cherry pie filling make sure it’s completely cool before you add it to your bottom crust and add a top crust.
- I like to chill my pies before baking but that can be controversial. Chilling glass or pottery or ceramic pie pans before popping them into a hot oven can cause them to shatter. Whenever I chill a full pie in the pie pan I am worried about the pan breaking unless I’m using a metal pan. I know Pyrex is supposed to be above all that, but I’ve had Pyrex break in extreme temperature changes. I typically chill it just for a few minutes to firm things up.
What Can Go Wrong With Pie Crust (And How To Fix It)
Pie crust has a reputation, and I get why. Here’s what’s going on when it gives you trouble, and what to do about it.
The Dough Won’t Come Together
If your dough is still dry and crumbly after you’ve added the water, it needs a little more. Add it a small splash at a time and stop the second it clumps. How much water you need changes with the humidity in your kitchen and how you measured your flour, so don’t worry if it takes more than it did last time!
The Dough Is Sticky Or Greasy
That’s warm butter, or a little too much water. Don’t keep working it and don’t dump in a pile of flour. Wrap it up and chill it until it’s firm, then roll it out on a lightly floured counter. If in doubt, chill it!
The Dough Cracks When I Roll It
It’s too cold. Dough that’s been in the fridge for more than 3 or 4 hours needs to sit on the counter and warm up a bit so it’s pliable. If the edges still split, press them back together with your fingers and keep rolling. Small cracks are normal.
The Dough Tears Or Has A Hole
Water on pie dough is like glue. Wet the edges of the tear, press a scrap of dough over it, and carry on.
The Crust Shrinks Or Slumps In The Pan
The dough was warm, or it got stretched to fit. Ease it into the pan without pulling it, then chill the crust in the pan for at least 15 minutes before it goes in the oven. Once a crust has shrunk in the oven there’s no fixing it, but it’s still a homemade pie crust and it’ll still get eaten.
The Crust Is Tough
A tough crust was mixed too much or got too much water. Stop the food processor as soon as the dough clumps. I’m sorry to say you can’t fix a tough crust after it’s baked, so serve it with ice cream or whipped cream and go easier on the next one.
The Bottom Crust Is Soggy
Dust the pie pan with a little flour before the bottom crust goes in, and make sure any cooked filling is completely cool before you fill the pie. Hot filling melts the butter in the crust before it ever gets to the oven.
There Are White Spots On My Chilled Dough
That’s the salt in the dough blooming. It’s not mold, and the dough is fine to use.
Make Pie Crust Ahead Of Time
Pie dough is one of the things I prep ahead for the holidays, and it makes the big day so much easier. Pat the dough into two flat disks, wrap each one completely so it doesn’t pick up smells from the fridge, and refrigerate it for up to 3 days. When you’re ready to roll, let the dough sit on the counter until it’s pliable but still cold.
Pie dough freezes really well. You can make up to several months in advance and freeze it. Wrap the disks well, slide them into a freezer bag, label it with the date, and freeze for up to 3 months. Move the dough to the fridge the night before you want to use it and let it thaw there. I wouldn’t thaw it on the counter, because the outside goes soft while the middle is still frozen, and warm butter is exactly what we’re trying to avoid.
Get The Most Out Of A Store Bought Pie Crust
If you’re not convinced and you want to use a premade crust, go for it! For a long while I fully depended on using refrigerated pie crusts. So I’ve been there and I completely understand.
- Keep the refrigerated crusts chilled until about 20 minutes before you want to use them
- Then let them warm on the counter for 20 minutes
- Lightly flour the counter before working with the dough
- Roll out the dough ever so slightly to enlarge it by just about 1/2-3/4 inch
- Flour the bottom of the pie pan and lay the bottom crust in the pan and fold the excess crust under itself to make a nice firm edge
- Crimp it if you’re making a single crust pie, like pecan pie, if you’re making a two crust pie, like an apple pie, don’t worry about crimping
- Chill it until you’re ready to use it
- If at any point the dough feels warm in the pan, just chill it again
- If at any point it breaks, rips, or tears you can simply wet it down and pat the pieces back together. Water on pie crust is like glue, so mend away.
- fill, top, or do whatever you’re doing with it and bake as directed
Pies To Make With This Crust
Now that you’ve got your crust, here’s what I’d fill it with! These are all made with this all butter crust.
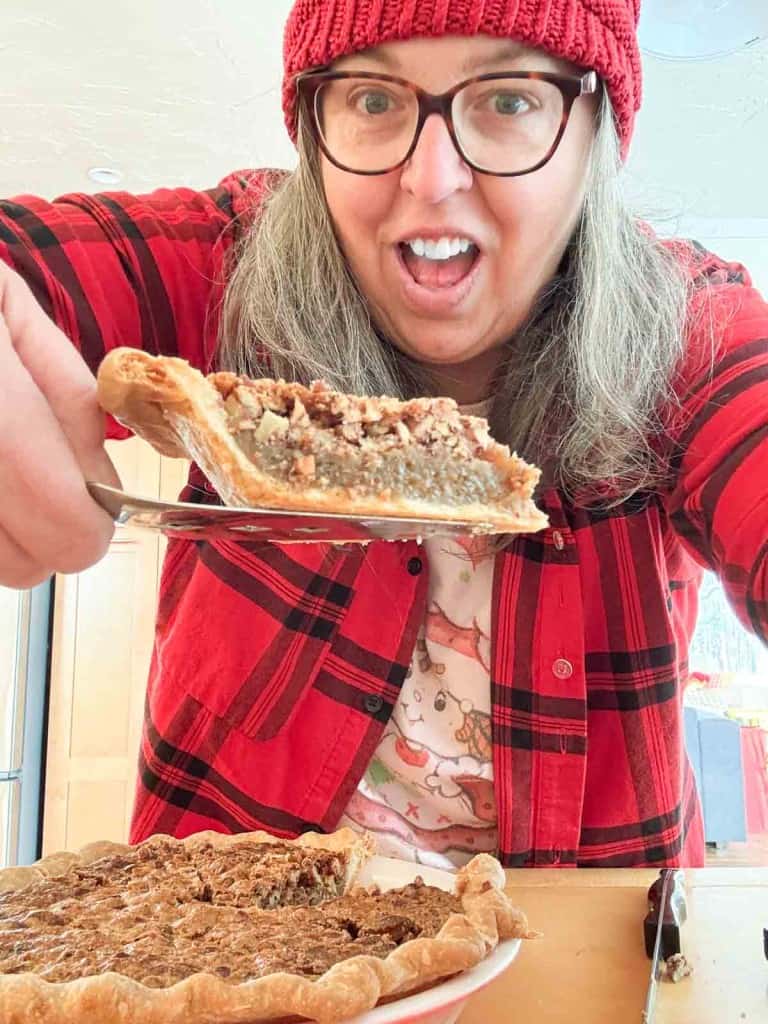
- Old Fashioned Pecan Pie
- Chocolate Pecan Pie
- Bourbon Pecan Pie
- Chopped Pecan Pie
- Pecan Pumpkin Pie
- Old Fashioned Apple Pie (Double Crust)
- Nectarine Slab Pie
Leftover Pie Dough
Often when you make pie you have leftover pie crust trimmings. You can throw them out BUT instead of tossing out your food dollars try making pie crust cookies!
Often when you make pie you have leftover pie crust trimmings. You can throw them out, BUT instead of tossing out your food dollars, turn them into pie crust cookies! This is a great job to hand off to kids. They love having something they made on the table, and pies feel like something special to make.
This is a great recipe to hand off to kids and let them try their hand at pies. Kids love to have something they made on the table and pies just feel like something special to make. Also if you have leftover pie dough make these Pie Crust Cookies!

All Butter Pie Crust
Ingredients
- 2 1/2 cups all purpose flour
- 3/4 teaspoon salt
- 1 teaspoon sugar
- 1 cup butter use cold butter, can use lard in place of butter
- 1/4-1/2 cup cold water
Instructions
- in the bowl of food processor whirl the flour, salt and sugar together
- cut the butter in chunks
- drop in the food processor and pulse on and off until it resembles fine crumbs, once it does then it’s ready for water
- start with the smallest amount of water and drizzle it in the food processor while it’s running
- if the dough clumps up it’s done, if it doesn’t come together it needs more water, add just enough to make if form a ball
- once the dough clumps it’s time to divide it into two pieces, pat them a bit flat, wrap and chill at least one hour or until ready to use
- if the dough stays in the fridge more than 3-4 hours I like to let them warm a bit before I roll them out just to make them more pliable
- once rolled out chill the crust in the pan at least 15 minutes (while the filling is being made) to keep it from becoming a mush puddle in the oven
Notes
- Makes 2 crusts, enough for one double crust pie or two single crust pies
- the amount of water depends on humidity in the air, actual amount of flour used which can vary via measuring methods
- if the dough stays in the fridge more than 3-4 hours I like to let them warm a bit before I roll them out just to make them more pliable
- if you don’t have a food processor use two butter knives or your hands or a pastry blender and chop or rub the butter and flour together until the mixture resembles fine crumbs, then add water and stir until it becomes a dough ball
Nutrition
- 1914 Pecan Pie (A Vintage Recipe From Over 100 Years Ago)

- Old Fashioned Apple Pie (Double Crust)

- Strawberry Rhubarb Pie
- Classic Rhubarb Pie

- Chopped Pecan Pie Recipe (Double the Pecans)

- Ritz Cracker Pie (Old Fashioned Mock Apple Pie)
- Chocolate Chess Pie
- Turtle Pie



I love this easy pie dough! PINNED!
Enjoyed your video. I will certainly give this a go. I can bake bread like a mad man but for some reason pie crust has escaped me. Thanks for the great information.
I WISH I could bake bread! I am only ok at it–working to improve it though!
I found your facebook video and had to come over to see your delicious pie crust recipe! Happy Thanksgiving! Nettie
I love easy pie dough! I like replacing some of the water with vodka when I make mine for extra flakiness. Great tutorial!
I see the note about using lard instead of butter – do you mean shortening? They are not the same thing and lard does have a certain taste/smell.
No I mean lard. Leaf lard if you can get it. When rendered correctly it should make a fairly flavorless fat. You’ve got to get all the cracklins out of it.
Leaf lard is best but any lard would work.
Does the amount of butter makes the crust more flaky? Your recipe calls for 1 cup. I use 1/2 cup yesterday. The crust is a bit hard not flaky.
YES