Old Fashioned Pumpkin Pie With Brown Sugar

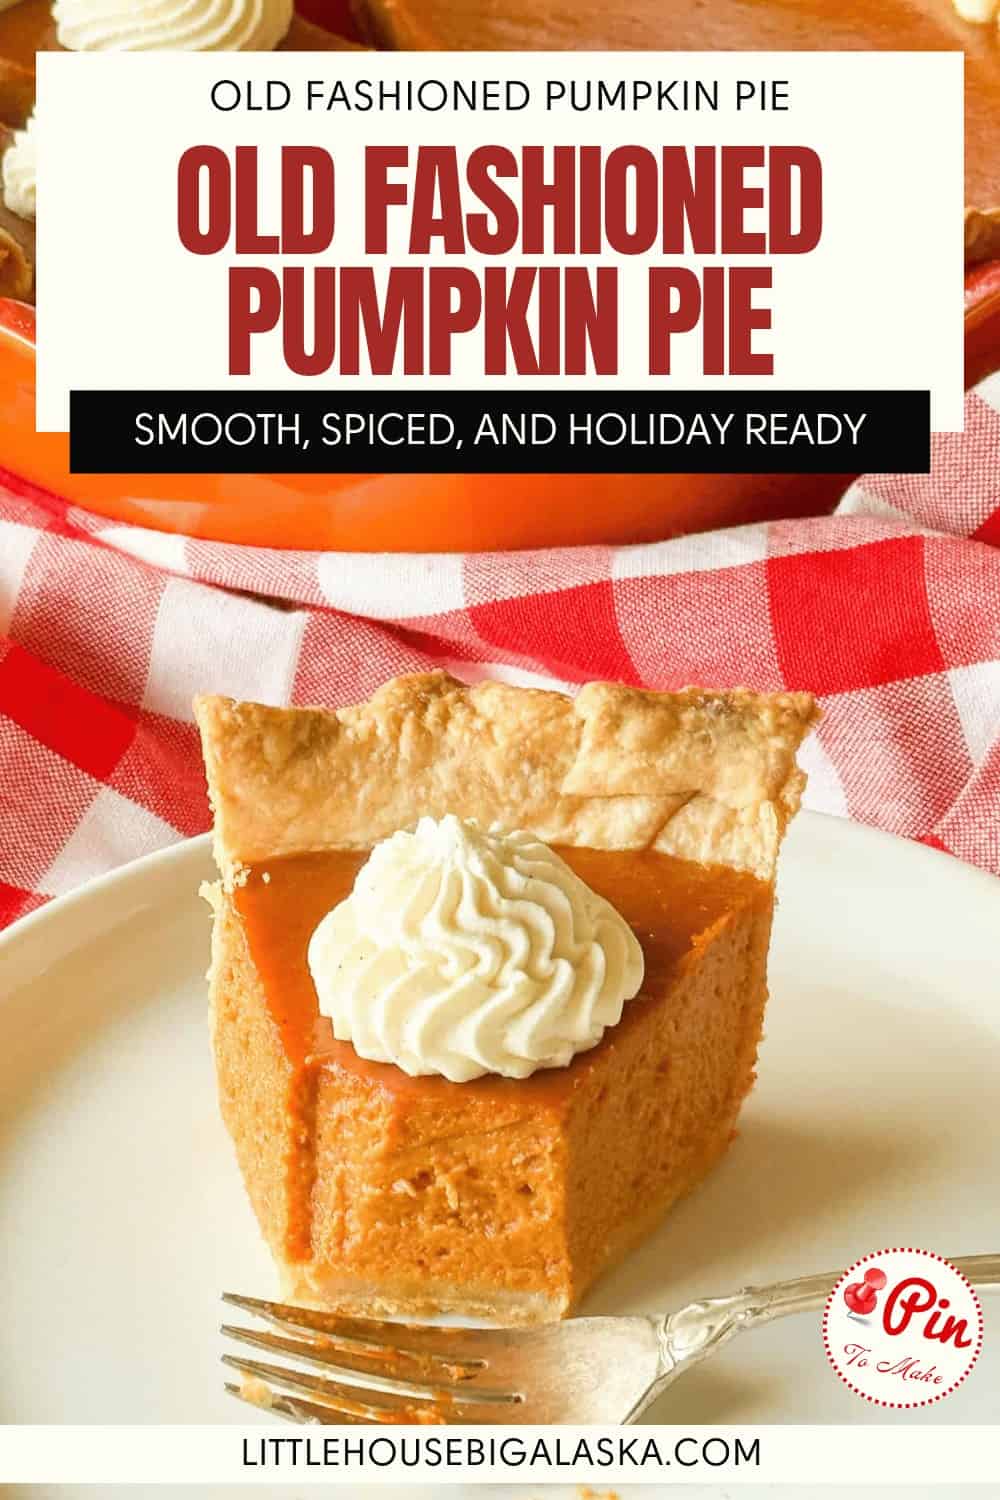

Old Fashioned Pumpkin Pie is the creamy, warmly spiced pie that belongs on every Thanksgiving table. My version is made with brown sugar and a can of evaporated milk, classic yet a little different than most. Plus with my best tips and tricks included it’s simple enough for anyone and everyone.
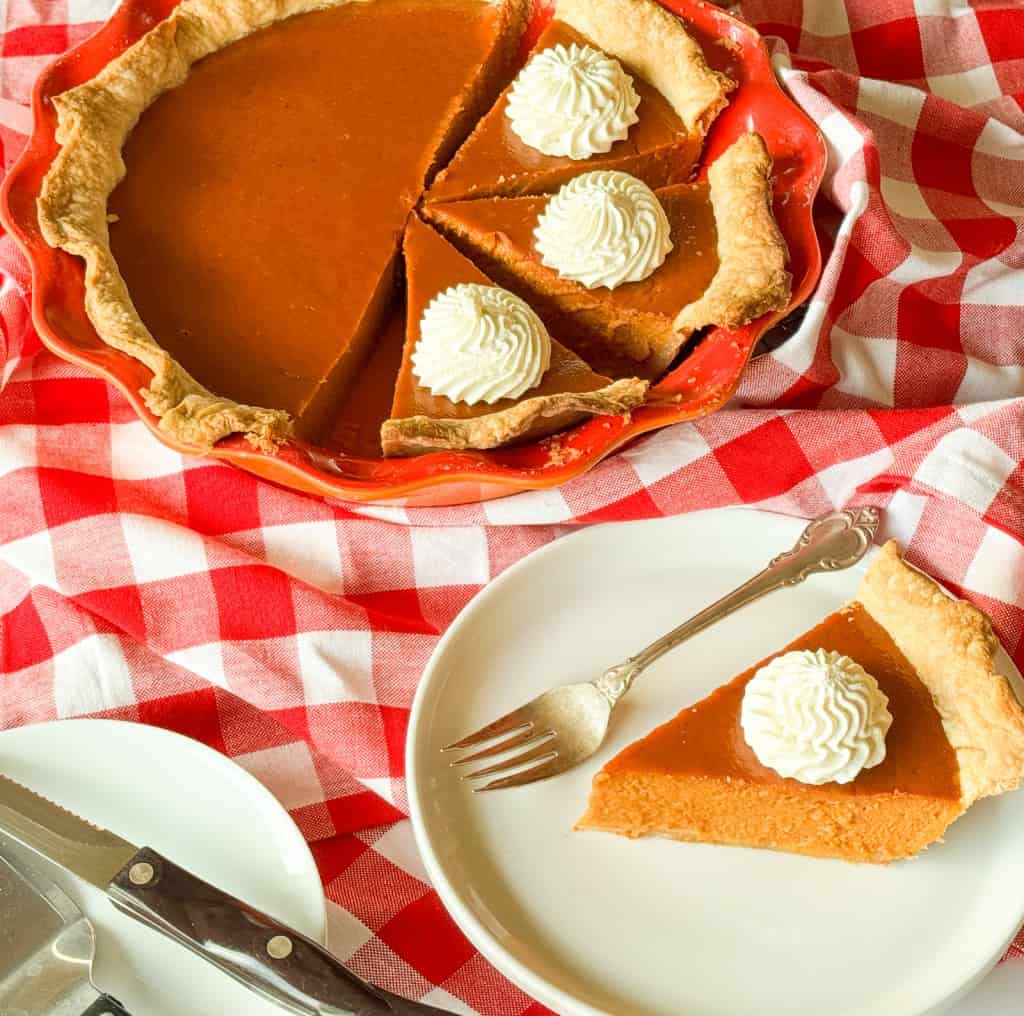
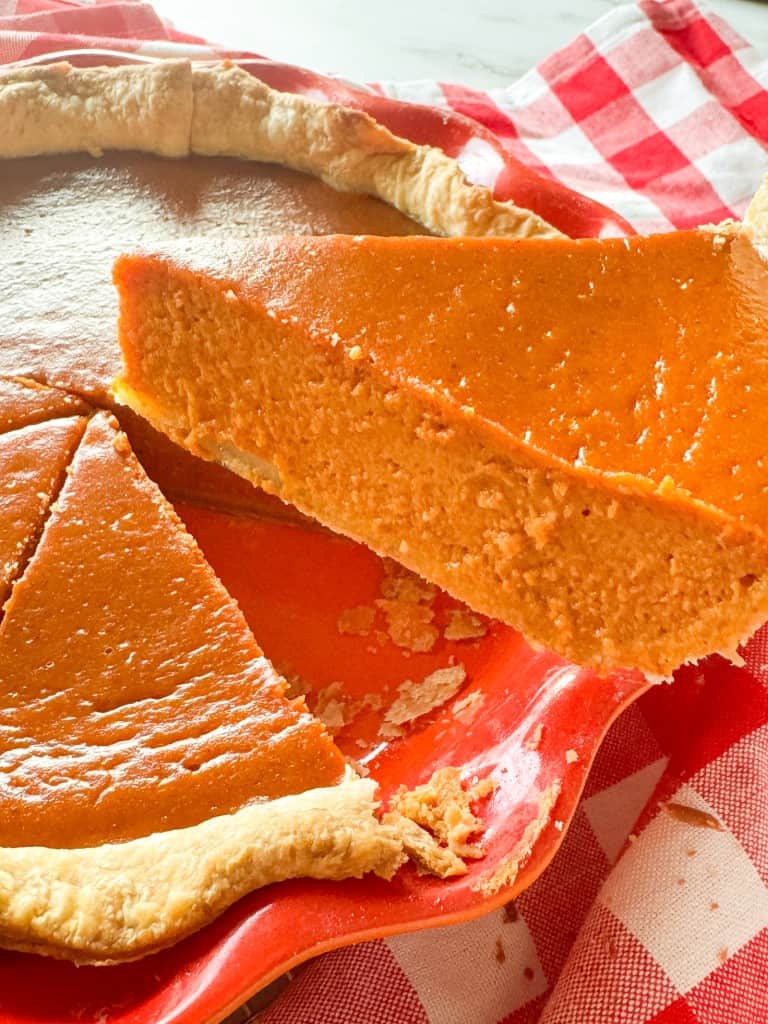
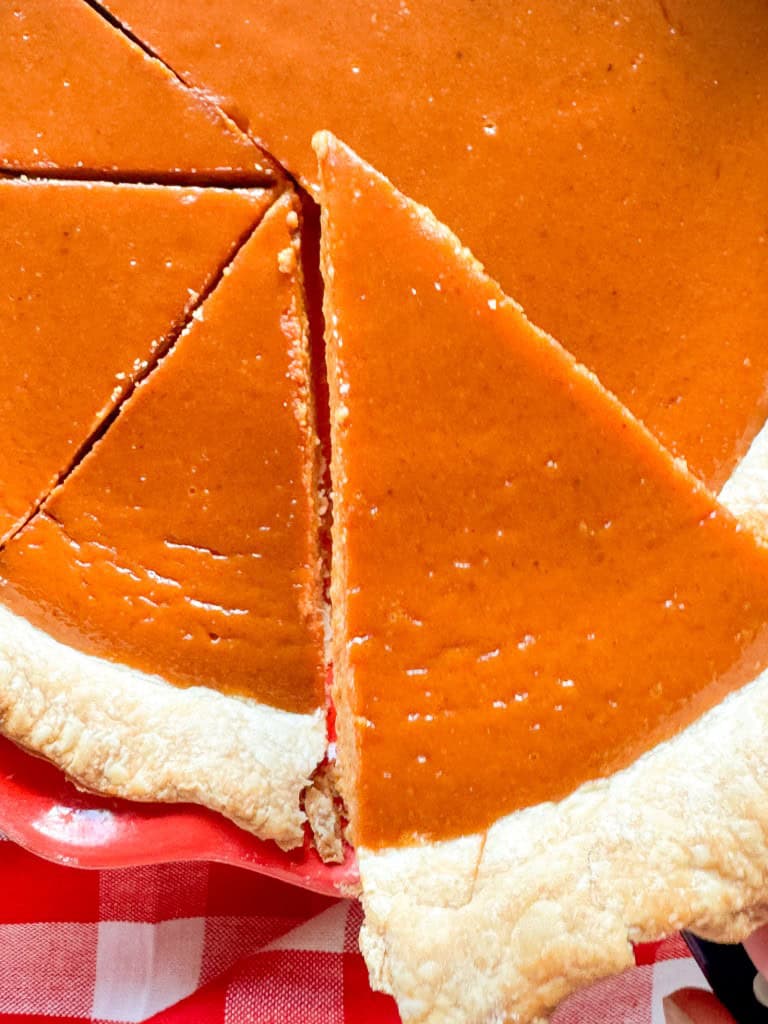
Does pumpkin pie make you nervous? Worried about a runny middle, a cracked top, or a crust that comes out soggy? Take a breath and use my recipe.The filling comes together in one bowl with a whisk, it bakes up smooth and silky, and cuts insanely easily! Look at the point on this pie!
Why I Use Brown Sugar in Pumpkin Pie
I like brown sugar in pie and I use it every chance I get. It’s in my Corn Syrup Free Pecan Pie (and all the variations of it) and in my Old Fashioned Apple Pie too. Brown sugar turns the pumpkin pie filling in this recipe a deep amber that looks so rich and beautiful sitting on the table. Most pumpkin pie recipes call for white sugar, and that’s exactly why I think you’ll notice the difference in this one.
BUT if white sugar is what you’ve got in the pantry, go ahead and use it! Your pie will be a little lighter in color, and it’ll still be pumpkin pie.

Ingredients for Old Fashioned Pumpkin Pie
You need just a handful of pantry staples for the crust and the filling. If you’d rather use a store bought crust, go for it, there’s NO SHAME in that, I did it for years!
Pie Crust:
- All purpose flour
- Salt
- Sugar
- Cold butter
- Cold water
Pie Filling:
- Eggs
- Brown sugar
- Cinnamon
- Ground cloves
- Nutmeg
- Salt
- Pumpkin puree
- Evaporated milk
You will also need:
- a rolling pin
- pie pan, 9 inch deep dish pie pan, at least two inches deep for best results
The Pie Pan Is Important
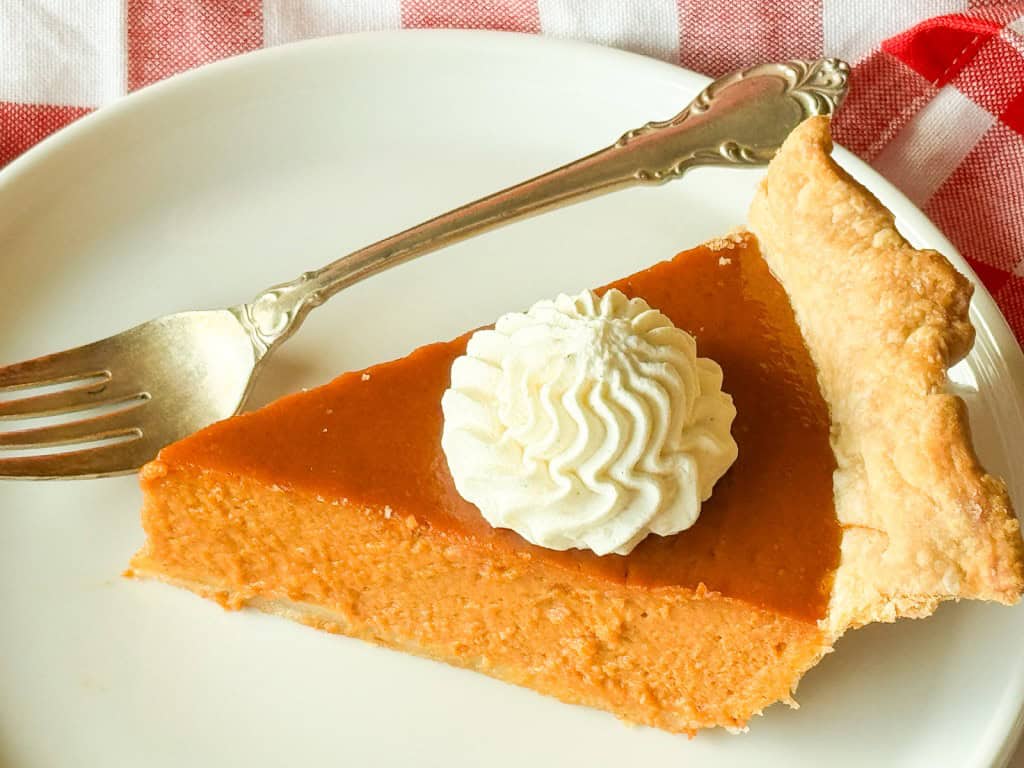
For this specific recipe it’s best to use a deeper pie pan, one that is at least 2 inches deep. This is a nice deep pie and a small little classic Pyrex pie pan is not going to cut it.
If ALL you have is a classic pie pan don’t fret, fill it up, and bake the rest of the filling in any other greased pan. Think muffin pan, or mini loaf pan, or even just a glass baking dish. Don’t throw away that extra filling it will bake up in another pan. Just keep an eye on it and pull it out once it’s set.
Be careful about opening the oven repeatedly so watch it with the light on and make one quick check and hopefully remove it. The fastest way to ruin a beautiful set on your pumpkin pie is to let all the heat out or slam the door.
My Best Tips For Making Pumpkin Pie
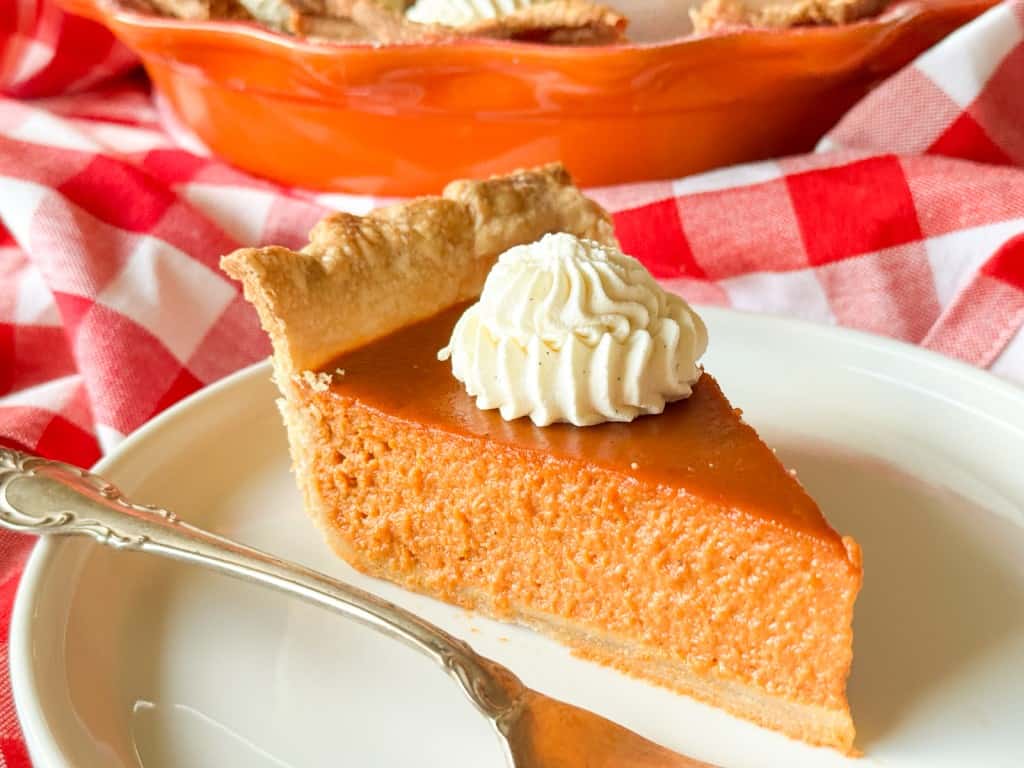
Pumpkin pie is SO easy, but there are a few little things that make the difference between a smooth, silky pie and a cracked one.
First, don’t beat the filling on high! Stir it together by hand or mix it on low, because whipping air into the custard makes it puff up in the oven and then sink and crack as it cools.
Don’t overbake it. Pull the pie out when the edges are set and just the center still jiggles a little when you give the pan a gentle nudge. I know it looks underdone, but it’ll firm up as it cools, I PROMISE!
And last, be gentle with that oven door when you’re checking on your pie. Open it slowly, close it softly, and don’t slam it, because a hard jolt can make the custard crack or sink.
My Best Tips for Making Pie Crust
If you’re using the pie crust recipe IN the recipe card OR EITHER of my pie crust recipes, all butter or shortening these are the tips that will help you achieve success.
Keep everything cold. Cold butter and cold water keep the fat from melting before the crust hits the oven. The water in the butter steams out while the pie bakes, and that steam is what makes the crust flaky.
Don’t stretch the dough to fit the pan. Stretched dough shrinks in the oven, so lay it in loosely and ease it down into the corners on its own.
Sprinkle a little flour into the bottom of the pie pan before the crust goes in. I do this for two reasons, one it helps the dough ease into the pan AND it helps the crust release cleanly when you cut and serve your pie.
Water on pie dough is glue. If the dough tears or comes up short at the edge, wet a scrap of dough with a little water and press it over the spot. You can fix a myriad of pie crust problems with a little water!
Chill the crust while you make the filling. Room temperature dough slumps and puddles in a hot oven, so keep the pie pan in the fridge until the filling is ready to pour.
Never make a pie for the first time for a big holiday. If you’ve never made pie crust before, don’t let Thanksgiving be your first try! Make a practice crust a week or two ahead so you know how the dough should feel.
And if a homemade crust just isn’t happening this year, a store bought crust works perfectly well in this pie. Frozen or refrigerated, use what you’ve got and keep going!

How to Store Old Fashioned Pumpkin Pie
Pumpkin pie is a custard pie made with eggs and milk, so it’s a “store it in the fridge” pie, NOT a counter pie. Let it cool completely at room temperature, but don’t leave it out longer than two hours. Wait until it’s cool all the way through before you cover it because the steam from a warm covered pie will make the top wet and gross.
Once it’s cool, cover it loosely with plastic wrap or foil, or slide it into a covered pie carrier, and put it in the fridge. Your pumpkin pie will keep in the fridge for 2 to 4 days. If you’re making it ahead for Thanksgiving, that means you can bake it a day or two before the big day and have one less thing to worry about!
One more note: pumpkin pies do get a little natural condensation when covered in the fridge, even IF you cool it completely. If this happens you can just serve it anyway. Or you can take a paper towel and gently pat up the extra moisture. But don’t press it really hard or you’ll mar the top of your pie.
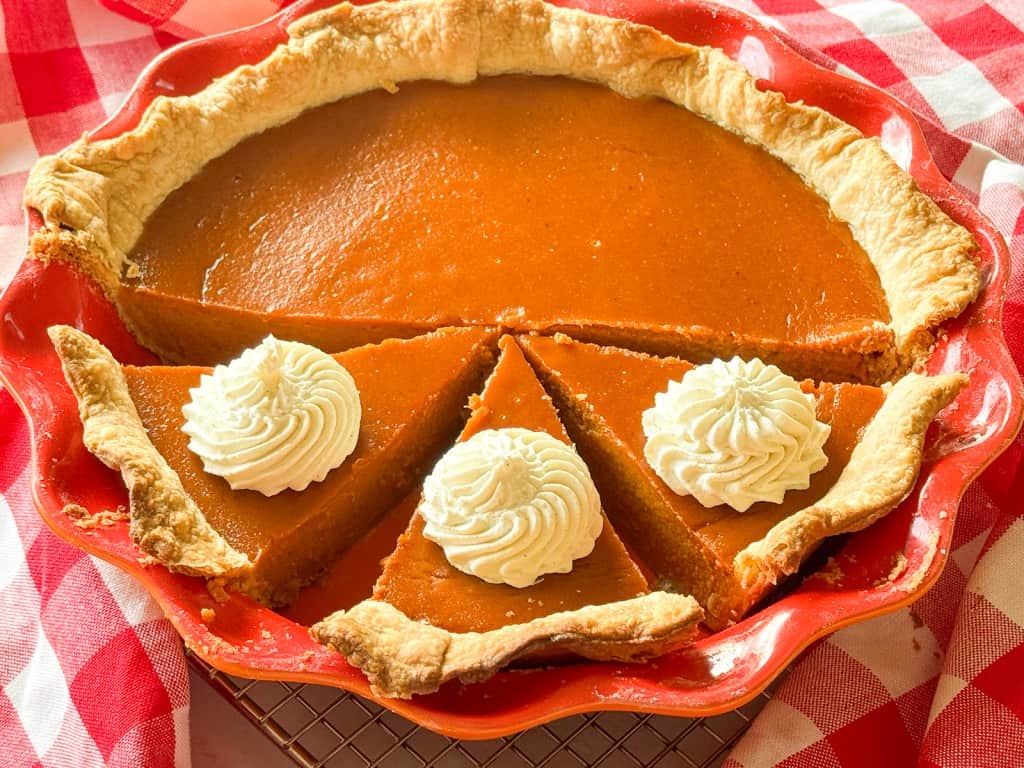
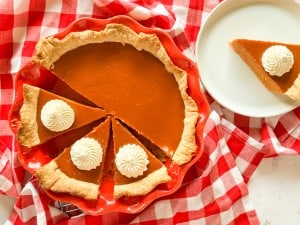
Old Fashioned Pumpkin Pie With Brown Sugar
Equipment
- 9-inch Pie Plate 2 inches deep
Ingredients
Pie Crust
- 1 1/4 cups all-purpose flour
- Scant 1/2 tsp salt
- 1/2 tsp sugar
- 1/2 cup cold butter
- 2-4 tbsp cold water
Pie Filling
- 3 eggs
- 1 cup brown sugar
- 1 tsp cinnamon
- 1/4 tsp ground cloves
- 1/4 tsp grated nutmeg
- 1/4 tsp salt
- 2 cups pumpkin puree
- 1 12 oz can evaporated milk
Instructions
Make Your Pie Dough
- Whirl the flour, salt, and sugar together in the bowl of a food processor
- Cut the butter into chunks, drop it in, and pulse on and off until it looks like fine crumbs
- With the processor running, drizzle in the water, starting with the smallest amount. If the dough clumps up, it's done. If it doesn't come together, it needs more, so add just enough to make it form a ball
- Pat it flat into a disk, wrap it, and chill for at least 1 hour
To Make the Pie
- Preheat the oven to 450°F
- After an hour, pat out the disk of pie dough and roll it out to several inches wider than your pie pan
- Sprinkle flour into the bottom of your pie pan
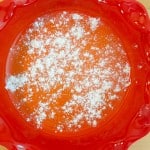
- Lay the crust into the pan and press it into the pie pan. Don't stretch the dough
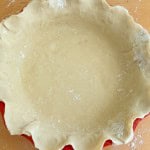
- Cut the crust to fit the edges of the pie pan. If there are any places that need a patch of pie dough, use water on a scrap and patch the area that needs help
- Crimp or pinch the edges of the pie crust
- Set the pie pan in the fridge to keep cold while making the pie filling
- Beat the eggs together until well combined

- Add the evaporated milk and stir to combine again
- Then add the sugar, salt, spices, and pumpkin to the eggs and stir to combine well
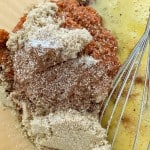
- Once well combined, set aside
- Place a baking sheet in the hot oven

- Place the prepared crust onto the baking sheet
- Carefully ladle or pour the pie filling into the prepared pan
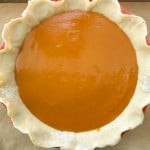
- Bake in the preheated oven for 15 minutes
- Reduce the heat to 325°F and continue baking for 30-40 minutes, or until the pie is almost set. The center can be jiggly; it will firm up as it cools

- Cool completely
- Store in the fridge as soon as it cools completely