Old Fashioned Apple Pie (Double Crust)
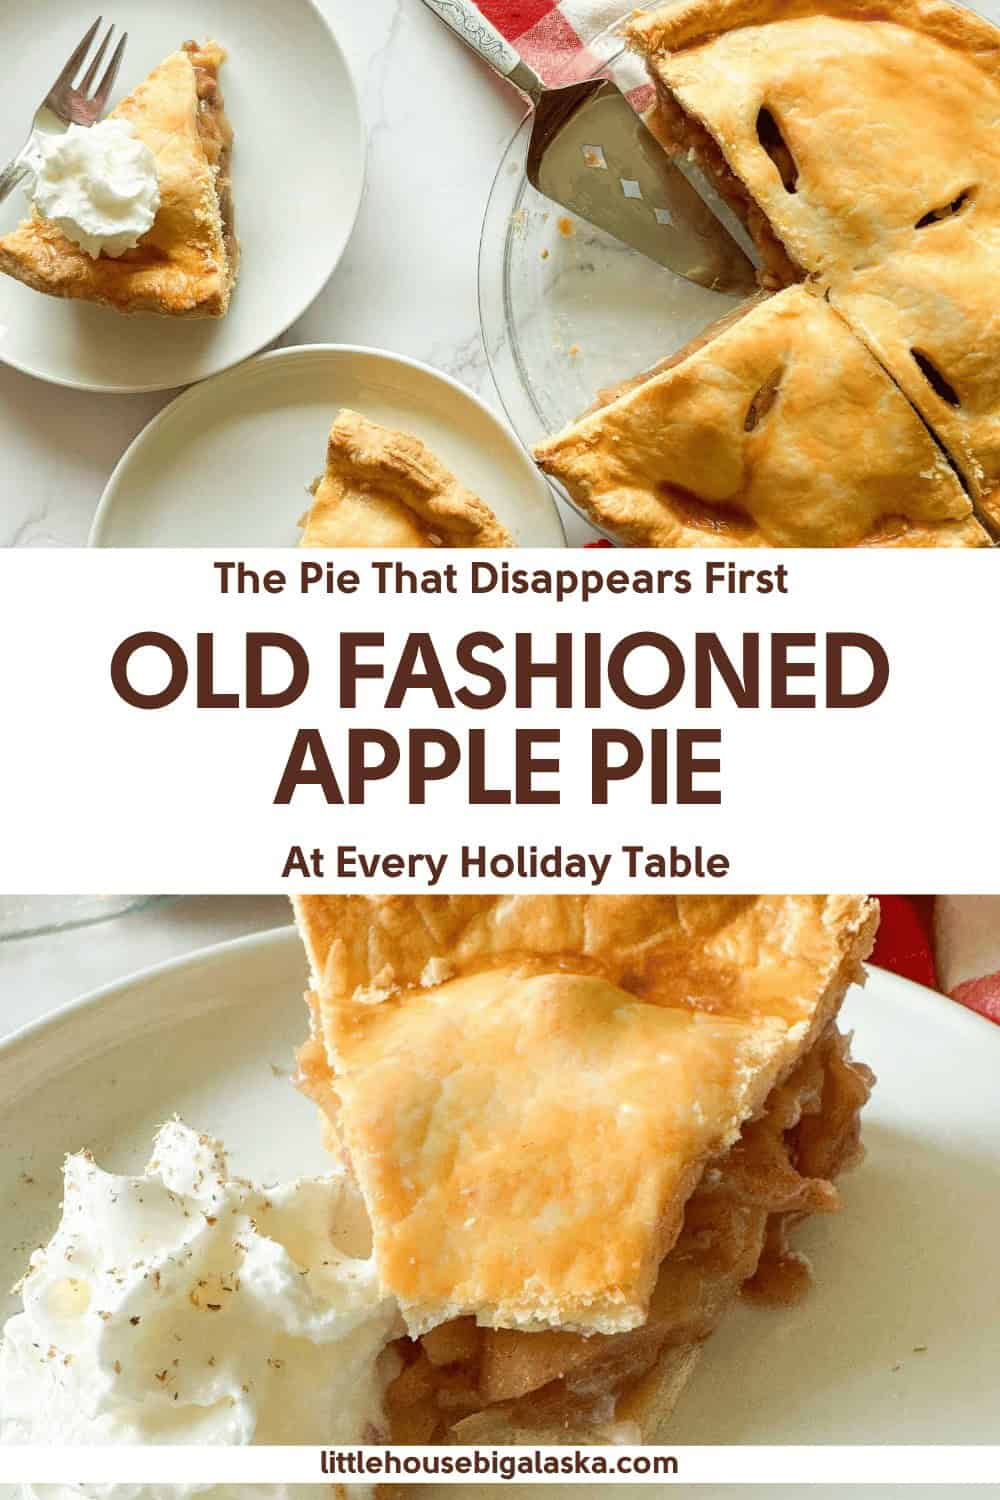
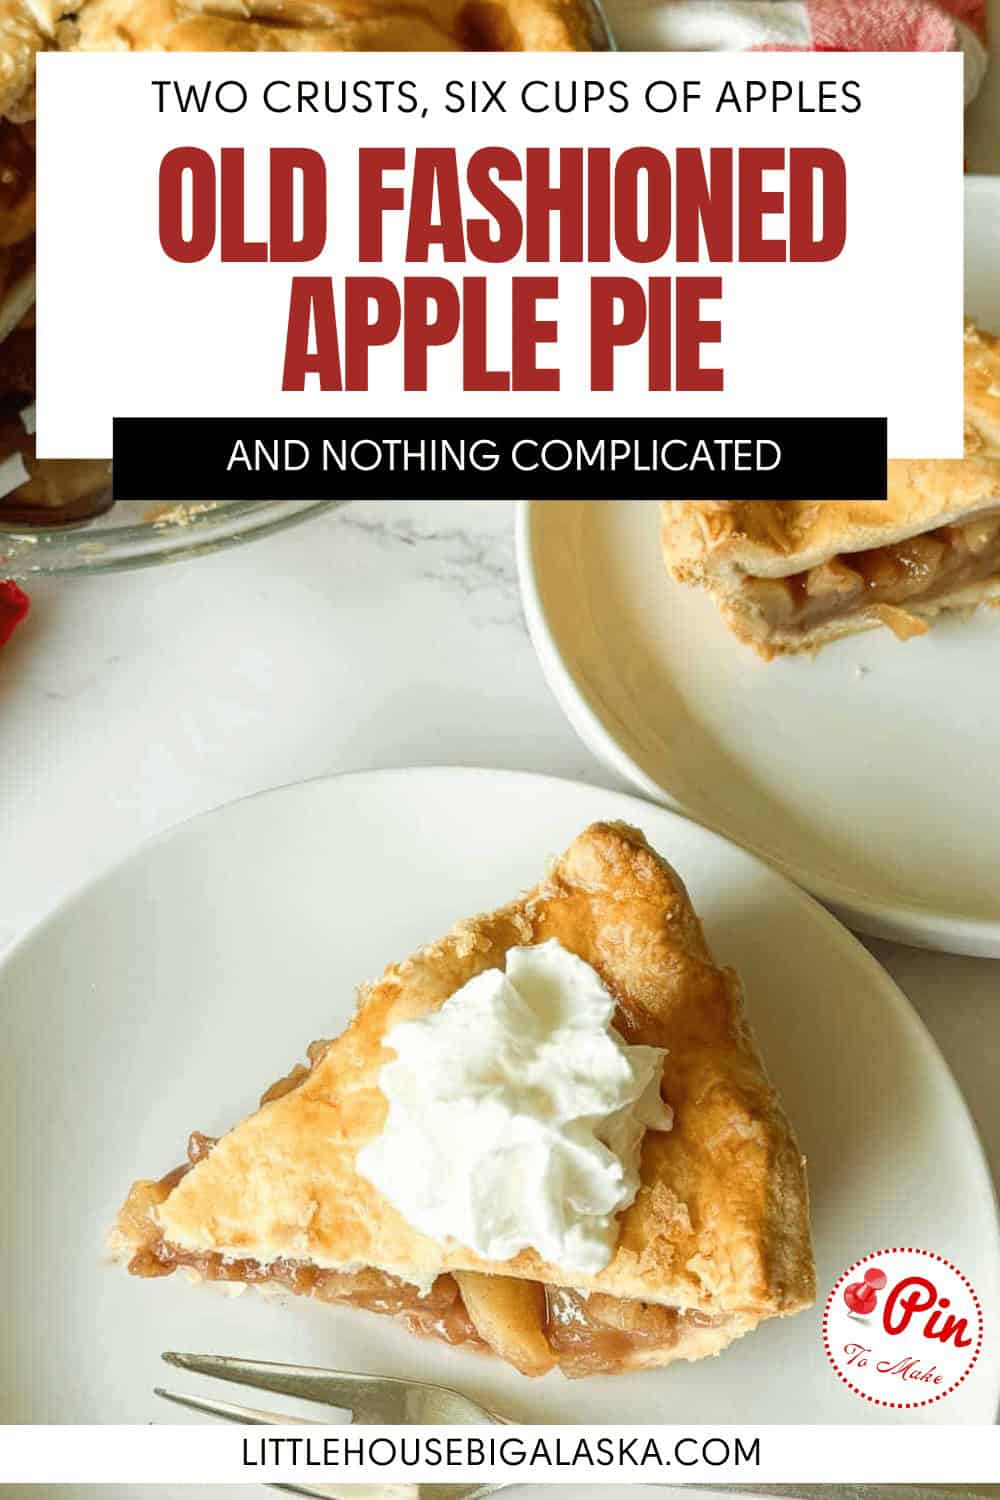


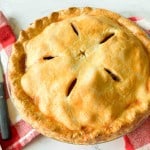
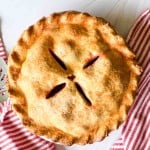
There’s a moment when you pull an an Old-Fashioned Apple Pie out of the oven and the top crust is gold and there’s a little juice bubbling up through the vents, and you just stand there for a second taking it in. The smell, the site, the pride in a job well done. Those are just a few of the reasons to make a double crust apple pie, the best reason is eating it. Did I even have to say that?

This is a plain apple pie. Two crusts (homemade or store bought, no shame!), sliced apples, brown sugar and cinnamon and a little nutmeg. No caramel, no crumb topping, no streusel. Just the pie that should show up on every Thanksgiving table and gets finished before anything else does.
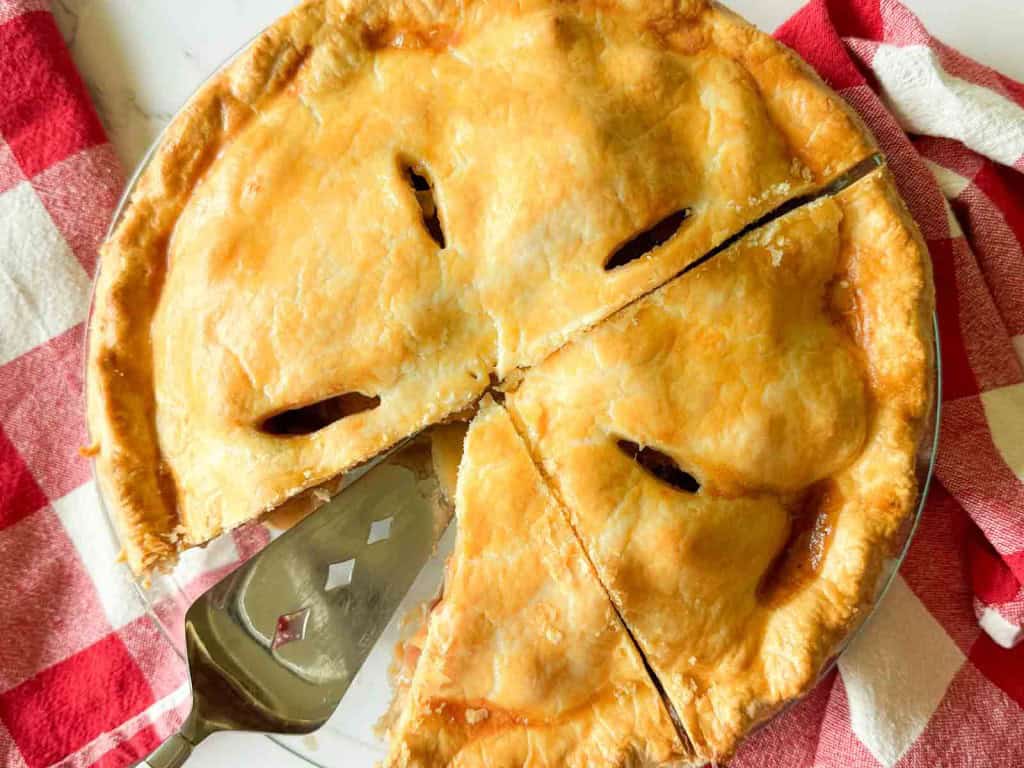
I’ve got a Crumb Top Dutch Apple Pie on this site that I love, and this is not this. A double crust pie is a different animal. You get that top crust that goes crisp and flaky and shatters a little under the fork, and you get apples that steam inside their own little pastry box instead of baking open to the air. If you’ve only ever made the crumb top kind, this one is worth doing once just to taste the difference.
Afraid of Making Pie Crusts??
Don’t be! You can buy the crusts and it’s still a real pie. I mean that. I make my own because I like making them, not because a store bought crust makes you less of a baker, and anybody who tells you different has never fed a crowd on a budget. OR they forget what it was like to be a beginner baker. I have included ALL my best pie crust tips in this post just to help you out.
What You Need To Make An Old Fashioned Apple Pie
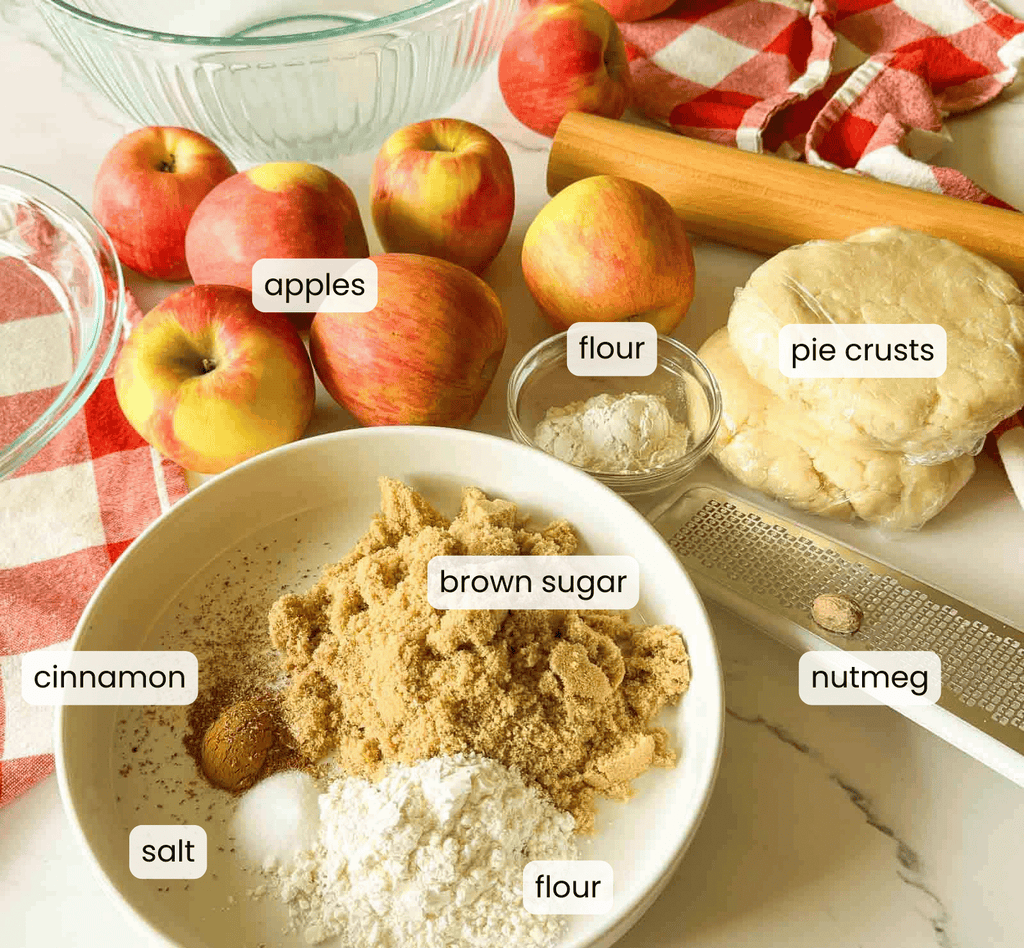
Everything here is pantry staples and apples. The only thing you might not have on hand is the pie crusts. And like I said you’ll either have to make them, or buy them
- 2 pie crusts either one box of refriegerated crusts OR use my an easy pie crust recipe, it’s all butter and really easy to work with
- flour
- baking apples, I used a combination of Gala and Honey Crisp, also try Macintosh and Granny Smith
- brown sugar
- cinnamon
- nutmeg
- salt
- splash of water
- egg
You Will Also Need:
- Regular pie plate, not deep dish
- rolling pin
- pastry brush

How To Change It Up
Store bought crusts work here, start to finish, and the pie will be good. Use the refrigerated rolled kind rather than the frozen shells in tins, because you need a top crust as well as a bottom. And I don’t think two frozen shells make for a pie that looks nice. Some people turn the second crust over on top of the pie to make a top crust. It would work in a pinch but it’s also sketchy.
A lattice top instead of a solid top is the same pie and it looks like you fussed. Cut your top crust into strips and weave them over the apples. You don’t need the steam vents if you go this way, because a lattice is all vent.
Skip the egg wash if you don’t have an egg. The crust won’t be as deeply golden and it will still be a good pie. A little cream or milk brushed on does a similar job.
And if you like more spice, go up on the cinnamon before you go up on the nutmeg. Nutmeg gets overwhelming very quickly.

What Can Go Wrong With Pie Crust (And How To Fix It)
Almost nobody quits apple pie because of the apples. They quit because of the crust. So here’s everything I know about where it goes wrong.
One general note about refrigerated crusts, they do need to warm up before you try to roll them. Store-bought needs 10-20 minutes homemade may need more like 30-45. Don’t let them get really warm and stretchy they just need to be able to roll out smoothly. Rolling a stiff dough is how you get cracked edges.
And I’m about to contradict this in the next section but I THINK you’ll understand what I am saying.
Always Keep Your Pie Crust Cold
If you remember one sentence out of all of this, make it that one. When you’re making the pie dough OR using store bought down CHILL YOUR DOUGH. Cold bits of butter turn to steam in the oven and push the layers of dough apart. Warm butter just blends in and you get a cracker. If in doubt at any point in your pie crust making, chill your dough. Make it cold, chill it, roll it out, chill it again.
That’s also why this recipe has you put the lined pie pan back in the fridge while you work on the apples, and chill it again for ten minutes before it goes in the oven. Those little chills are doing real work and they’re the easiest step to skip. If you can avoid it, don’t skip chilling your crust.
One warning on chilling. If your pie pan is glass or ceramic, don’t super chill the filled pie pan. And then put it straight into a 425F° degree oven. That temperature swing can shatter a glass pan. Metal pans are safe for it. Pyrex pans USED to be safe for it but they’re made differently now.
I know immediately before this section I said let it warm up before rolling it out. And that stands true. You can’t roll out rock hard dough but you CAN fill a rock hard crust with pie filling. So every step of the way follow the directions and refer back to this section for tips on making the best pie possible.
The Pie Dough Tore, or There’s A Hole, or a Crack
Water on pie dough is like glue! Wet the torn spot, press a scrap of dough over it, smooth it with your finger, and carry on. This is also how you attach your top crust to your bottom crust. Nobody will ever know, and I have patched plenty of crusts in my time.
The Pie Crust Is Tough
This is a pie crust making problem, not anything to do with baking your pie. That’s over mixing and gluten development when you’re making the crust. The more you work the dough the more gluten develops. Gluten is great in bread and terrible in pastry. Mix only until it looks like fine crumbs before the water goes in. A food processor or a pastry blender or two knives will do it without your warm hands getting in there.
Pie Dough Has White Spots On It
That’s the salt blooming. It’s not mold. Roll it out and use. UNLESS that pie crust has been in fridge for a long time, then it COULD be mold. But in experience pie dough left in the fridge smells sour and turns grey.
Soggy Bottom On Your Pie
Sprinkle a little flour in the bottom of the pie pan before the bottom crust goes in. It helps the slices come out clean, and if anything leaks, that flour soaks it up. That’s what the flour sprinkle in step three is doing, and it’s a tiny thing that saves you. It won’t COMPLETELY save you but your pie will be better for it. Avoid rolling the bottom crust too thin or tearing it.
Baking the pie on a baking sheet helps too. It puts a hot solid surface right under the pie plate and gives the bottom crust more direct heat.
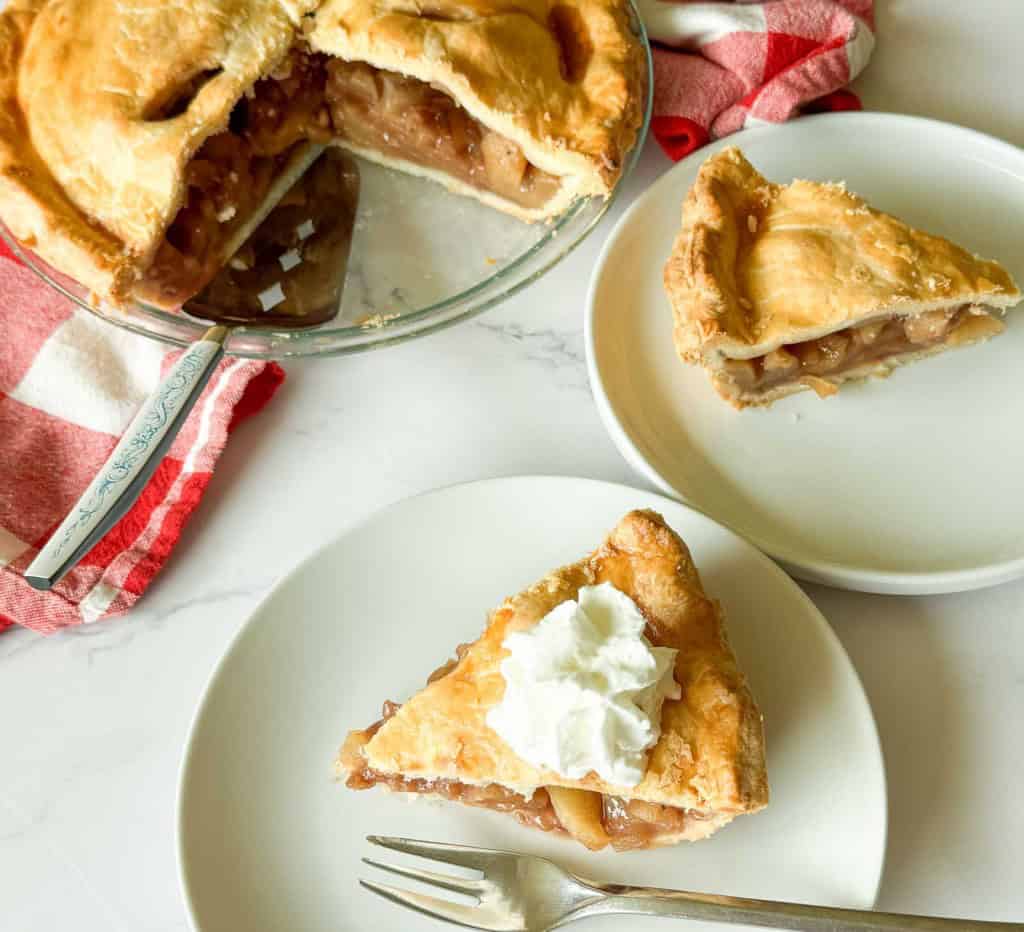
What Can Go Wrong With An Apple Pie And How To Fix It
The crust gets all the fear and yet the filling can cause just as many problems. Here’s what I know can help you if your filling is being a jerk.
Apple Pie Filling is Runny
Nine times out of ten this isn’t the recipe. It’s that you cut it too soon. Most pies thicken as they cool, and a pie sliced hot will run every time no matter how perfect it was when it came out of the oven. Cooling completely is the step in this recipe that people skip, and it’s the one doing the most for you. If you want warm pie, cool it completely first and then warm the slices back up. That gets you both.
If you cooled it all the way and it’s STILL loose, that’s your apples be sure they’re the best apples for baking. Some apples carry a lot more juice than others, and a wet year can do it too.
I’ll be honest with you about the one that can’t be saved. A pie that’s already baked and already cut and already running has nothing left to fix. Serve it in bowls with ice cream, call it apple cobbler and let it go. Trying to bake it longer at that point just dries out the crust.
There’s a big gap between the top crust and the Pie Itself
This one drives people crazy and it’s the most normal thing in the world. Baking apples always settle BUT the crust stays where it is, and you get a dome with a space under it, that is just how it is.
You can shrink that gap. Slice the apples thinly and evenly to start with. The may look apples higher than looks reasonable in the pan before the top goes on. But a heaped pie settles into a full pie, and a leveled off pie settles into a hollow one. You’ll still have a gap though, you can’t do is get rid of it completely on a pie made with raw apples.
Apple Are Crunchy
Usually if the apples in your pie are still crunchy the slices were too thick. the slices were too thick. Apple slices that look thin in your hand are often twice what they need to be, and a thick apple cooked for the right amount of time for thin apples may still be crunchy. I don’t know if you can fix this one, often times it’s the crust that will suffer if you just keep baking the pie to cook the apples through. A little tooth on apples in a pie is not a bad thing.
Got Leftovers?
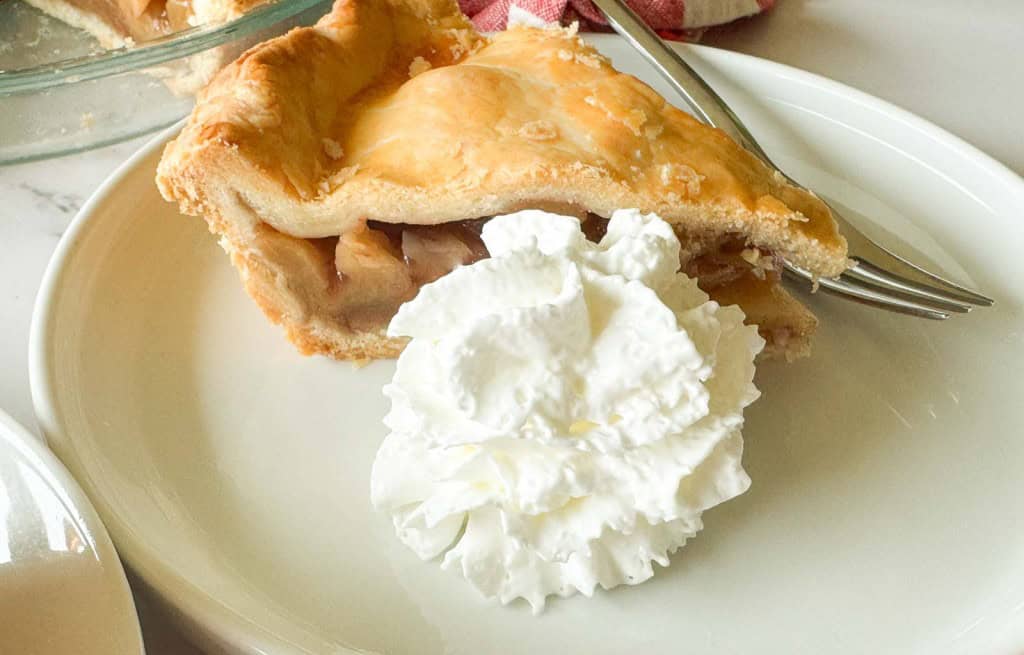
Apple pie keeps on the counter, loosely covered, for two days, and after that move it to the fridge for another two or three. Cold pie firms up and slices beautifully, and a slice comes back to life in a 325 degree oven for about ten minutes if you want it warm again.


Old Fashioned Apple Pie
Ingredients
- 2 pie crusts
- 1/4 cup all purpose flour divided
- 6 cups baking apples sliced
- 3/4 cup brown sugar
- 1 tsp cinnamon
- 1/4 tsp fresh nutmeg
- 1/2 tsp salt
Instructions
- Preheat the oven to 425°F
- If you need to roll out a pie crust, sprinkle a little flour on a clean counter and roll out the bottom crust to about 2 inches wider than your pie pan
- Sprinkle the bottom of your pie pan with a little of the flour
- Line your pie pan with a pie crust and press it down to fit the pan
- Trim the crust to a 1/2-inch overhang. Fold the overhanging edges under and form your bottom edge

- Put the pie pan in the refrigerator to chill until your pie is ready to fill
- Peel and core the apples, then thinly slice them and place them in a mixing bowl

- Mix together 2 tbsp flour, the brown sugar, cinnamon, nutmeg, and salt

- Sprinkle the mixture over the apples and stir to combine
- Place the apples in the prepared pie pan
- If you're using a homemade pie crust, roll out the top crust
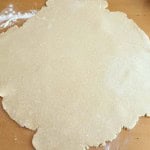
- Lay the crust over the apples. Use a little water to glue it to the bottom crust, then trim the excess crust

- Pinch the edges of the pie crust to flute it, or use a fork or any other method to finish the pie crust

- Chill the pie for 10 minutes
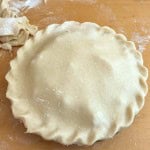
- Mix the egg yolk with 1 tbsp water to make an egg wash. Brush the top of the pie with the egg wash

- Cut several steam vents in the pie and place the pie on a baking sheet

- Bake in the preheated oven for 15 minutes. Reduce the heat to 375°F and bake for an additional 45 minutes, or until a knife slipped in through a steam vent easily pierces the apples and the filling is bubbling and boiling in the crust
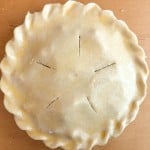
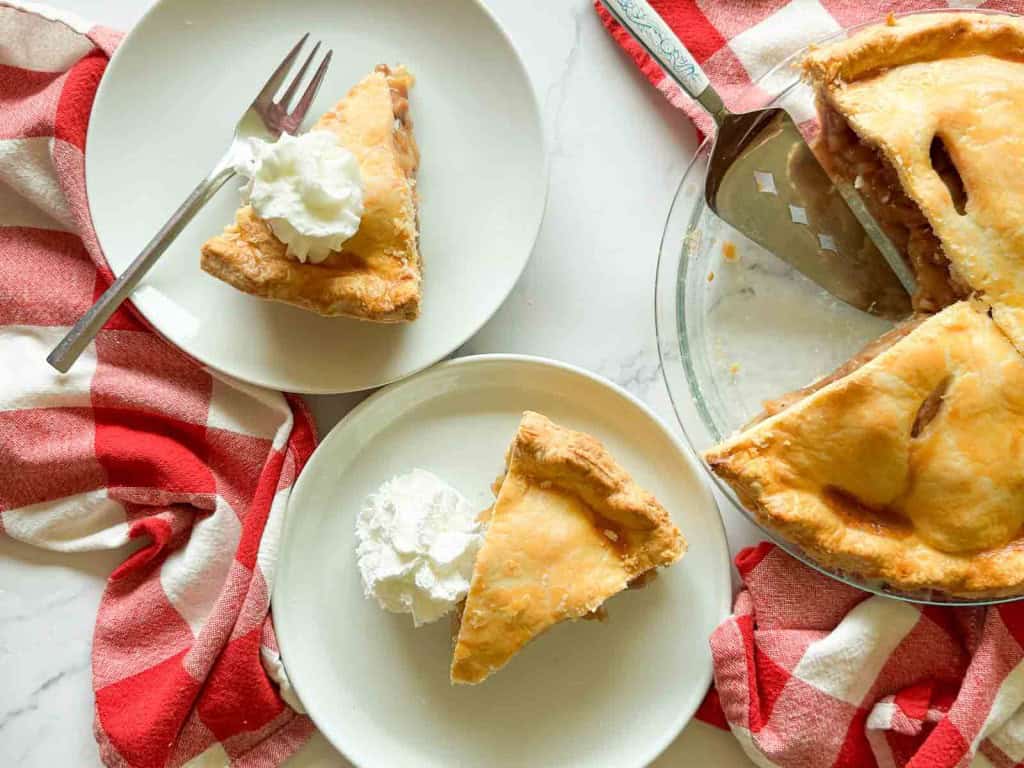
- Cool completely for best slicing, or serve warm with ice cream or whipping cream