
Quick Dutch Oven Bread in 3 Hours (No Overnight Rise)


This post has affiliate links. As an Amazon Associate, I earn from qualifying purchases. Thank you for your support.
If you’re looking to make a crispy artisanal loaf of bread in your home oven you should try this Quick Dutch Oven Bread recipe! It comes together quickly in a stand mixer and bakes up in under an hour. The end result is a rustic loaf of bread perfect for serving with soups or stews.

This IS the Dutch Oven Bread you’ve been looking for! Crispy exterior, soft tender interior, perfect for buttering and it’s quick. No 24-hour rise on a “no knead loaf” here.
Why This Loaf Is So Fast
The big trade off here is the actual effort. In no knead bread you just mix up, let it rest and do the fold overs a couple times and let the dough do its thing. 12-24 hours later you’ve got a loaf that’s ready to bake. Your mileage may vary on that equation because all the no knead recipes are different.
In my Quick Dutch Oven Bread Recipe you spend the time at the beginning of the recipe kneading the dough. Then it’s two short rises and it’s ready to enjoy. You still pop it in a HOT Dutch Oven to bake but your total time start to finish is around 3 hours, depending on how warm your house is. There’s no guessing, no waiting, no having to be thinking ahead for the next day, you want bread, you get it in 3 hours.
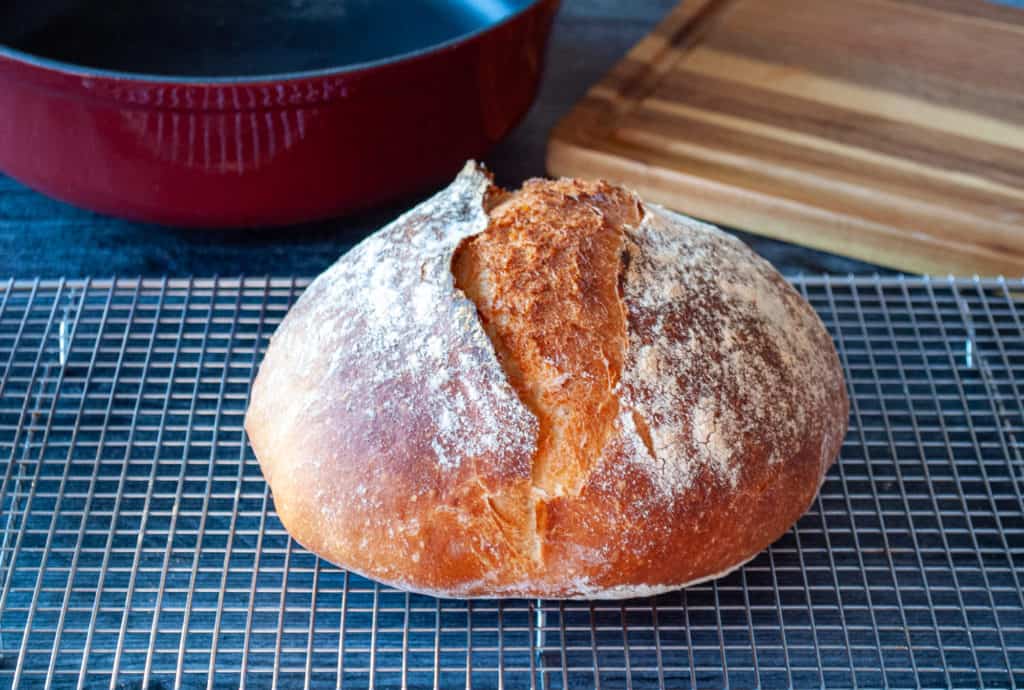
What You Need For Quick Dutch Oven Bread
The only things you need are regular bread ingredients. Nothing fancy or special is needed to make this bread. There are few tools that make the job easier but I’ve got ideas on substitute tools that work just as well and you probably already have them around the house.
- bread flour, you can use all-purpose flour it will work just fine, it might take a little longer but it still works
- instant yeast or active dry yeast
- salt
- warm water
Tools you need and their substitutes:
- dutch oven OR other heavy duty pot, see notes below
- a bread sling, or use folded aluminum foil to make a sling
- razor to slash the top of the bread, or use a sharp paring knife
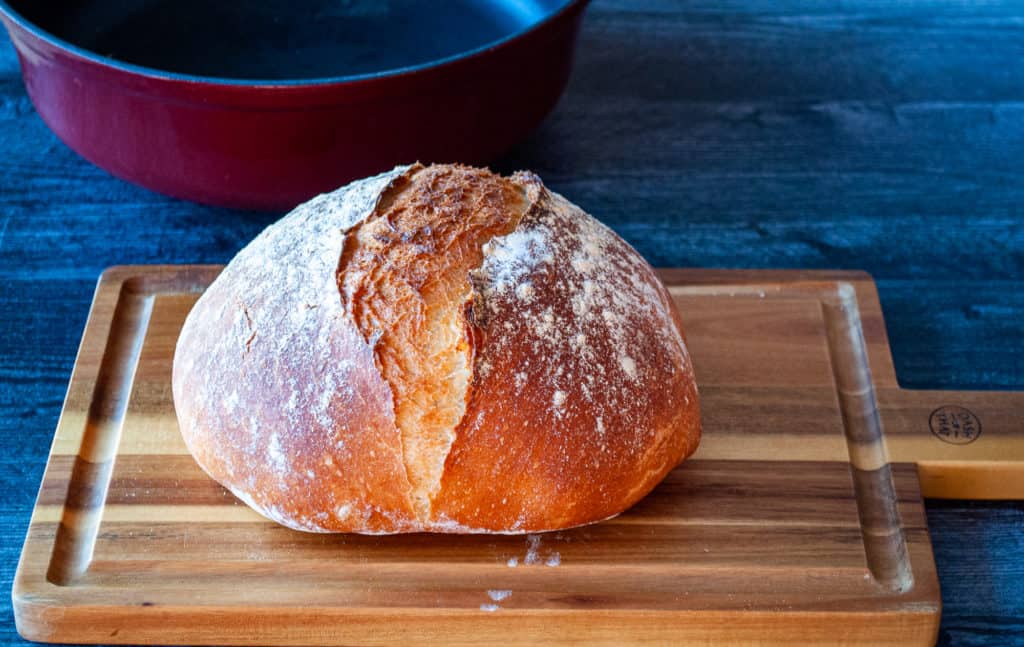
Instant Yeast VS Active Yeast
You can use one or the other in this recipe. If you’re using instant yeast just add it to all the ingredients. If you’re using active yeast add it to the warm water and let it bubble up for a bit and then add the water to the flour mixture.
Do I need a Dutch Oven for Dutch Oven Bread?
NO! You just need a heavy cast iron pot with a lid that can withstand the 450˚ heat of the oven. You can use any 5-6 inch deep cast iron pan. I’ve had braisers that work for this recipe or the Le Creuset Bread Oven is nice too.
You will Not regret Buying this Bread Sling!
For my money the ONE tool I would insist on having is the bread sling. You can get similar results from folded foil OR parchment paper but the bread sling is easy to use and resuseable. Use this silicone Bread Sling to get your bread into and out of the Dutch Oven. I make the dough, let it rise, punch it down, shape my loaf and put it on this Bread Sling to rise. If using foil or paper let the dough rise right on it in the same fashion.

How Can I Proof My Bread Quickly?
What if you want to prove or rise quickly? You can do a lot of different things to get your bread to rise better. It just takes a little ingenuity. Here’s a few hacks for you to try:
- Preheat your oven for 5 minutes or so, shut it off, make sure it isn’t too warm, and put your covered bowl in there to rise, keep an eye on it because it will go quickly
- The top of the stove can be warm too if you’ve already got your oven on for some baking
- Some people use their dehydrator, if you have a large one like an Excalibur you can take out the drying racks, turn it on low and put your dough bowl in there, again watch the dough for over proofing and be sure to keep the heat low
- You can warm up a heating pad, turn it off and set your dough on it to rise
- Place the covered dough bowl in the window if it’s warm there
- Or place it near a heater
Anytime you use a heat source to speed up the rise be sure to keep an eye on your dough so it doesn’t bubble up and out of the bowl. OR over prove and collapse.
When you over prove bread dough it will not form a loaf correctly. It won’t be able to hold its shape, and it make a flatter loaf.
You Don’t Have to Hurry This One Though!
If you’re not in a hurry to have this bread as fast as possible let it slowly rise. A long slow rise will build flavor in your bread. And sometimes making the dough with cool water like this Ciabatta Bread Recipe will really make the flavor exceptional!
It will not be like sourdough though! If you HAVE a sourdough starter and you want to make bread with it try this sourdough cheese bread recipe, it’s full of cheese and jalapeños!
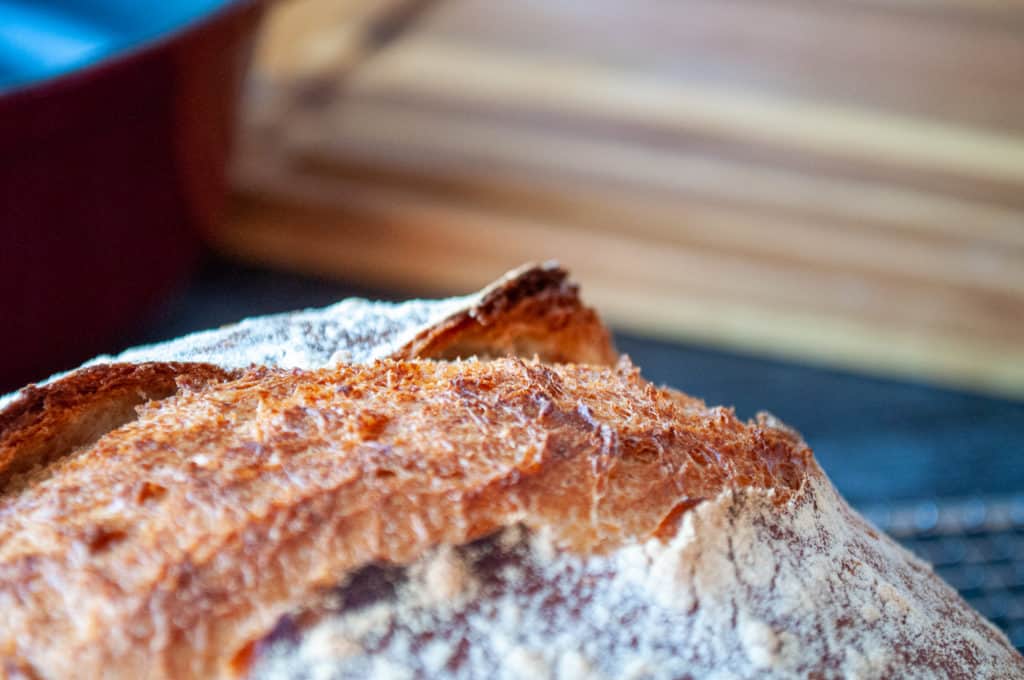
How To Store Quick Dutch Oven Bread
Let the loaf cool all the way through before you put it away, because a warm loaf gives off steam and trapped steam softens the crust you just worked for. Once it’s completely cool, keep it at room temperature. Skip the refrigerator, since bread actually goes stale faster at fridge temperature than it does on your counter.
How you wrap it is a tradeoff and there’s no way around it: a paper bag or bread box keeps that crackly crust but the inside dry out faster. A plastic bag keeps the crumb soft and turns the crust leathery by morning. For the first day I just set the loaf cut side down on the board and leave it be, which protects the cut end and leaves the crust exactly as it should be.
If the loaf makes it paste day one and dries out you can use the old “get it wet” trick. Run the whole loaf under running water, try not to let water hit the cut side it could get soggy. Then put it in a 350°F oven for ten minutes. It will crisp up but the inside will still be soft.
Quick Dutch Oven Bread
Equipment
Ingredients
- 3 1/2 cups loosened all-purpose flour you can use bread four as well
- 1 teaspoon salt
- 2 1/4 teaspoons instant yeast see notes active dry yeast information
- 1 1/2 cups warm water
- a little extra flour for dusting
Instructions
- put the flour, salt, and instant yeast in the bowl of a stand mixer
- put the dough hook on and stir the contents of the bowl together with it
- then add 1 cup of the warm water and let the mixer run to bring the ingredients together
- once it's come together add enough of the remaining water in small amounts until the dough comes together nicely and let the mixer run on low while doing this
- when enough water has been added and the dough is formed let the mixer machine knead it on low for 3-4 minutes
- turn it out into an oiled bowl, cover, and let it rise until it's doubled
- once it's doubled lay out a sheet of parchment or foil or the FABULOUS Bread Sling (mentioned in the post) wherever you plan to let the dough rise again, lightly flour it
- then oil your hands and gently press the air out of the dough, and fold the edges of the dough to the middle
- pick up the dough, turn it over, and form it into a ball, and then pinch it at the bottom
- set it seam side down on the prepared parchment or Bread Sling, lightly flatten it to more of a round loaf shape
- cover it with an inverted bowl OR a damp towel
- preheat the oven to 450˚ WITH the dutch oven inside
- when the dough has risen you can lightly sprinkle with a bit of flour if you want to and slash it lightly with a razor
- remove the dutch oven from the oven, set the top aside, it will be hot
- grab the edges of the Bread Sling, paper or foil and set the dough in the hot dutch oven
- put the lid on and put it back in the oven
- bake covered for 30 minutes
- then remove the lid and bake another 15 minutes
- you can check for doneness by taking it out of the oven, use the silicone handles of the bread sling to lift it out of the pot or use hot pads to pull the loaf, and give it a hearty thump, it should sound hollow when you hit it on the bottom
- it cuts better when it's cooled but who can resist when it's warm and slathered in butter?












I can’t wait to try this! We cook a lot with cast iron, so if I were to get something from the Analon shop, I would probably lean towards the 7qt round dutch oven (ah, if it only came in the red!) or the 5qt braiser. We’ve worked from home for a very long time, so this is the time of year we like to make a lot of slow cooked stews and soups and I think these would be perfect for that AND even more bread baking! Maybe I need two…
I need the Braisier and the stockpot!
Lovely. Could use this.
I love to have the 9 inch fluted pan for cake.
Hey! I’m going to try out this recipe today but have to be gone for most of the afternoon. I’m a bread making newbie, so I was wondering if rising for 5 hours at room temperature (my house runs around 73) would be too long and ruin the bread? Thank you!
Yes I believe that will be too long to rise at that temperature.
I’ll have to try it on a day when I stay at home longer, then. Thank you!
I tried your recipe today and it came out fantastic. Thank you so much!
YESSS Ii am happy to hear that!
How long should the 2nd rise be?
That depends on where it’s being proved. Generally, you want it to almost double in size.
This recipe is awesome! Turned out perfect. Haawa (thanks) from Haida Gwaii.
Thanks for this amazing recipe! My family ate the whole loaf with our soup for dinner!!
Can I double this recipe
I never have. I bet your could if you make two loaves out of it. Can your mixer handle it?? That may be the bigger question here!
I’m doubling the recipe hopefully it’s not to big for my pot, and hopefully not much more add-on time :S wish me luck!
Let me know how it goes!!
I make dutch oven bread all the time and this is the best recipe, by far, that I’ve ever used. I put dough in pre
heated dutch oven for t 30 mins with the lid on, then I removed the lid and baked it another 15 mins. Came out perfect!
Thank you
WOW!! Thanks so much!!
Thank you for this Fantastic Recipe.This kind of warm Bread makes Life worth Living
Delicious!! I got worried, it seemed like it wasn’t rising enough, and I live in FL, it was 96 degrees today! But it was perfect! Made it to go with beef stew, canned wait to do it in that heart goodness!
I am new to baking. I’ve never made bread, this will be my first attempt. I opened your recipe off Pinterest due to having all of the ingredients. Do you have a video or a url you can share with me?
Thanks in advance!
Love love love!!!! Am wondering, has anyone tried whole wheat flour? Or any suggestions? Thanks!!!
THANK YOU SO MUCH!! I haven’t tried that, let me know if you do.
I love this recipe. One question why does my dough get slightly hard and sticks to oiled bowl when rising?
I’m new to making homemade bread. Is this recipe one that can be altered (using rye flour, adding seeds etc)? Or should i pull specific recipes for each variation?
I don’t know about using other flours but you can add some seeds or nuts.
The bread recipe was great. I like my homemade bread to be absent of air bubbles or holes when done baking. I hate making a sandwich with holes in the bread. Making my second bread!!!!
Is the stand mixer 100% necessary? I don’t own one and do prefer to knead bread by hand.
Would any part of the process need to be altered if kneading by hand? Thanks 🙂
You can totally knead it by hand : ) it just takes longer.