Quick Dutch Oven Bread
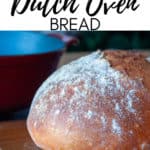
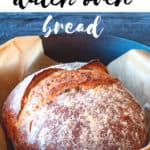
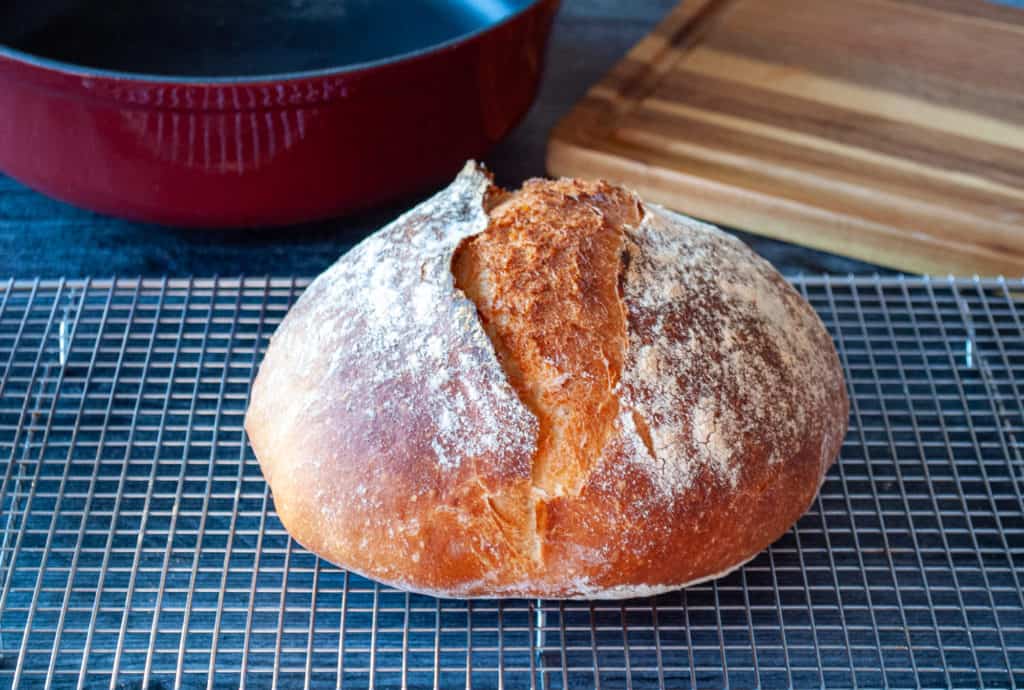
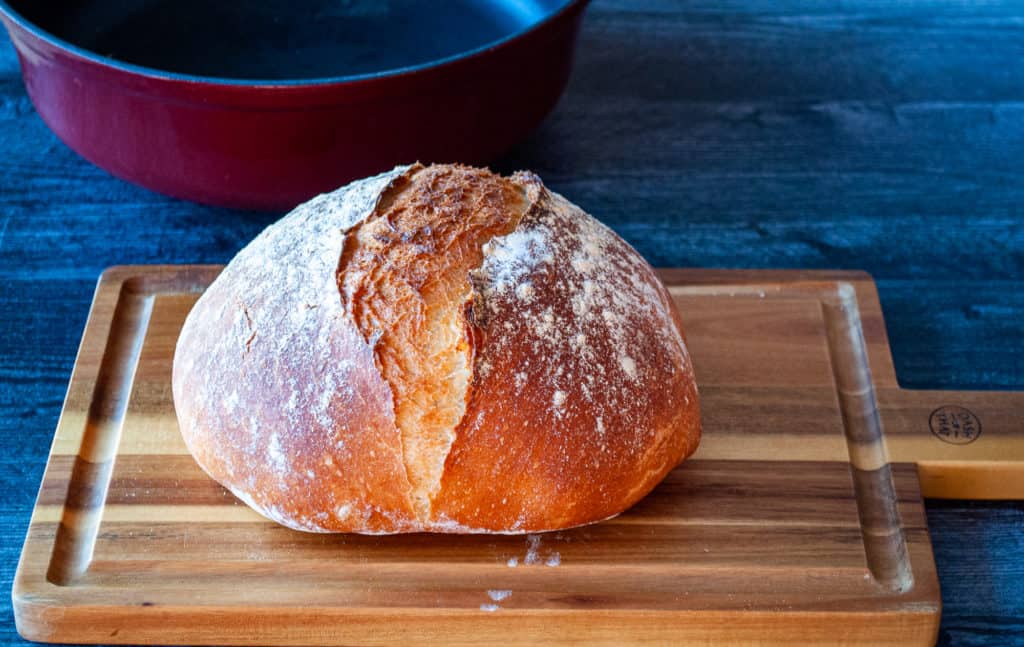
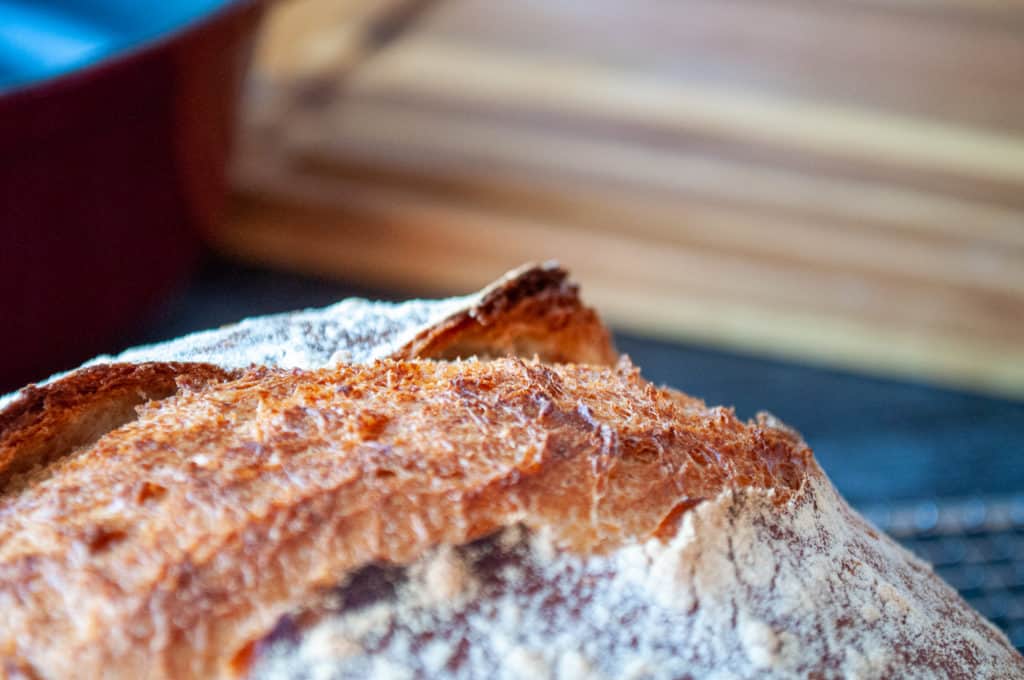
If you’re looking to make a crispy artisanal loaf of bread in your home oven you should try this Quick Dutch Oven Bread recipe! It comes together quickly in a stand mixer and bakes up in under an hour. The end result is a rustic loaf of bread perfect for serving with soups or stews.

This IS the Dutch Oven Bread you’ve been looking for! Crispy exterior, soft tender interior, perfect for buttering and it’s quick. No 24-hour rise on a “no knead loaf” here.
Do I need a Dutch Oven for Dutch Oven Bread?
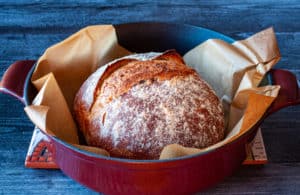
NO! You just need a heavy cast iron pot with a lid that can withstand the 450˚ heat of the oven. You can use any 5-6 inch deep cast iron pan. Heavy pots like that are often called Dutch ovens but you may call yours something different.
I just got this Dutch Oven and WOW we love it! The handle is heat proof so we don’t have to take it off. And it makes GREAT BREAD! Check out my TikTok Video on making this bread in it.
This isn’t “No Knead” Dutch Oven Bread
There are plenty of no-knead recipes such as this Mark Bittman’s No Knead Bread Recipe out there but this isn’t one of them. This is a KNEADED dough, and that’s what makes it quick. No letting it sit and folding the dough over and hoping it makes great bread.
You knead, let it rise, punch it down, shape it, put your Dutch oven in to heat, let it proof, and bake it up.
How Quick Is It?
Now when we say quick, we mean about 3 hours total from measuring the flour to pulling it out of the oven. But really it depends on the temperature of your house. Our house in Alaska is usually cooler so it takes longer to double in size, your house in a warmer area may not take as long.

How Can I Proof My Bread Quickly?
What if you want to prove or rise quickly? You can do a lot of different things to get your bread to rise better. It just takes a little ingenuity. Here’s a few hacks for you to try:
- Preheat your oven for 5 minutes or so, shut it off, make sure it isn’t too warm, and put your covered bowl in there to rise, keep an eye on it because it will go quickly
- The top of the stove can be warm too if you’ve already got your oven on for some baking
- Some people use their dehydrator, if you have a large one like an Excalibur you can take out the drying racks, turn it on low and put your dough bowl in there, again watch the dough for over proofing and be sure to keep the heat low
- You can warm up a heating pad, turn it off and set your dough on it to rise
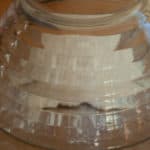
- Place the covered dough bowl in the window if it’s warm there
- Or place it near a heater
Anytime you use a heat source to speed up the rise be sure to keep an eye on your dough so it doesn’t bubble up and out of the bowl. OR overprove and collapse.
When you overprove bread dough it will not form a loaf correctly. It won’t be able to hold its shape, and it make a flatter loaf.
You Don’t Have to Hurry This One Though!
If you’re not in a hurry to have this bread as fast as possible let it slowly rise. A long slow rise will build flavor in your bread. And sometimes making the dough with cool water like this Ciabatta Bread Recipe will really make the flavor exceptional!
It will not be like sourdough though! If you HAVE a sourdough starter and you want to make bread with it try this sourdough cheese bread recipe, it’s full of cheese and jalapeños!
You will Not regret Buying this Bread Sling!
Use this silicone Bread Sling to get your bread into and out of the Dutch Oven. I make the dough, let it rise, punch it down, shape my loaf and put it on this Bread Sling to rise.
I invert a bowl over the top of the bread to keep it covered. When the Dutch Oven is HOT use the sling handles to lift the bread and set it in the hot Dutch Oven. Then use the handles to life the hot bread out of the oven. SO EASY! So reuseable!!
Quick Dutch Oven Bread
Equipment
Ingredients
- 3 1/2 cups loosened all-purpose flour you can use bread four as well
- 1 teaspoon salt
- 2 1/4 teaspoons instant yeast see notes active dry yeast information
- 1 1/2 cups warm water
- a little extra flour for dusting
Instructions
- put the flour, salt, and instant yeast in the bowl of a stand mixer
- put the dough hook on and stir the contents of the bowl together with it
- then add 1 cup of the warm water and let the mixer run to bring the ingredients together
- once it's come together add enough of the remaining water in small amounts until the dough comes together nicely and let the mixer run on low while doing this
- when enough water has been added and the dough is formed let the mixer machine knead it on low for 3-4 minutes
- turn it out into an oiled bowl, cover, and let it rise until it's doubled
- once it's doubled lay out a sheet of parchment or foil or the FABULOUS Bread Sling (mentioned in the post) wherever you plan to let the dough rise again, lightly flour it
- then oil your hands and gently press the air out of the dough, and fold the edges of the dough to the middle
- pick up the dough, turn it over, and form it into a ball, and then pinch it at the bottom
- set it seam side down on the prepared parchment or Bread Sling, lightly flatten it to more of a round loaf shape
- cover it with an inverted bowl OR a damp towel

- preheat the oven to 450˚ WITH the dutch oven inside
- when the dough has risen you can lightly sprinkle with a bit of flour if you want to and slash it lightly with a razor
- remove the dutch oven from the oven, set the top aside, it will be hot
- grab the edges of the Bread Sling, paper or foil and set the dough in the hot dutch oven
- put the lid on and put it back in the oven
- bake covered for 30 minutes
- then remove the lid and bake another 15 minutes
- you can check for doneness by taking it out of the oven, use the silicone handles of the bread sling to lift it out of the pot or use hot pads to pull the loaf, and give it a hearty thump, it should sound hollow when you hit it on the bottom
- it cuts better when it's cooled but who can resist when it's warm and slathered in butter?


Where did I miss your link for the sling you suggested?
I added that link back in!
Mine came out SUPER dense, but I swear I followed instructions to a T…. where did I go wrong, how can I fix it?
Sounds like your bread was underproved.
I have a question about the second rise – how long should it take, and should the dough double in size with the second rise also?
1-2 hours until it just about doubles in size
When you say “warm” water, what temp do you consider ward?
Generally around body temp, measure it on your wrist. If it feels cold it’s too cold, if it feels hot it’s too hot to use.
Pretty terrible recipe…
Too much water for the amount of flour, rise times aren’t indicated, steps aren’t clear, nor are rise steps. Had to add almost a half cup more flour just to have a dough I could even scrape out of the mixer bowl.
Clarity is key and this recipe lacks it completely. What should the dough feel like after it is kneaded? What should it look like? Are there two rises? Is that where the ‘paper’ comes in? You could have just left this as an ingredient list and even that would be incorrect.
Did you read the part where it says:
“once it’s come together add enough of the remaining water in small amounts until the dough comes together nicely” and then “turn it out into an oiled bowl, cover, and let it rise until it’s doubled” AND THEN “once it’s doubled lay out a sheet of parchment or foil or the FABULOUS Bread Sling (mentioned in the post) wherever you plan to let the dough rise again, lightly flour it” AND THEN “then oil your hands and gently press the air out of the dough, and fold the edges of the dough to the middle
pick up the dough, turn it over, and form it into a ball, and then pinch it at the bottom
set it seam side down on the prepared parchment or Bread Sling, lightly flatten it to more of a round loaf shape
cover it with an inverted bowl OR a damp towel”
Like did you EVEN READ THE RECIPE? The directions are clear.
When you don’t use weights for baking then it’s very easy to over or under measure ingredients.
Loved this for my first loaf I’ve ever baked! It was awesome. I was wondering if it would be okay to half this recipe though? I’m very new to baking bread, only made 3 loaves so far (all this recipe, haha) but I would like to make a very small loaf to give to family. Is this possible? Thanks for such an easy to understand recipe!
ABSOLUTELY. Generally just cut the amount of ingredients in half. It works perfectly and I make it when my kids are off to college : )
I am so happy you’re enjoying the bread recipe, it is a favorite of ours too
Just a question about rise times, approximately how long is each rise? I am a beginner to bread baking so I’m not sure how long until it’s doubled without checking every 5 minutes.
Oh I feel that!! So maybe 45 minutes to 90 minutes? I am not sure the exact time because a lot of it depends on where you live, and the temperature of your house.