How to Make Birch Syrup at Home
Before we begin, it’s important to know that this is a fun project resulting in a small jar of Birch Syrup. This is not meant to be anything more than fun, with or without kids. We’re turning Birch Sap into delicious Birch Syrup on a very small scale. If you’re ready to make something from the sap of your birch trees, then let’s get going!
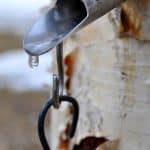
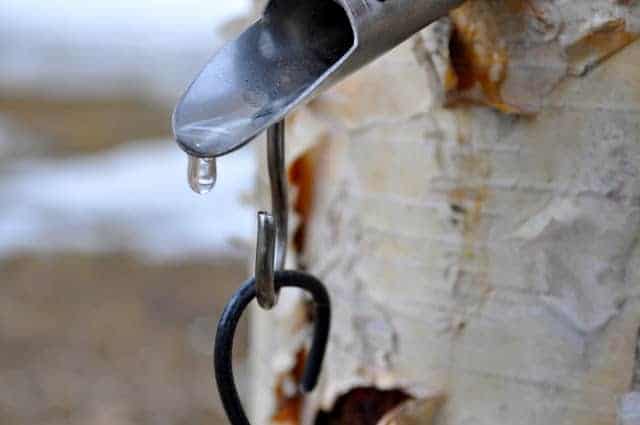
If you’ve ever cut a birch tree branch in the spring and witnessed the dripping of the sap, then you know what we’re collecting to make birch syrup. You will need to collect about a gallon of sap to make Birch Syrup, but it’s not difficult!
CAUTION!
One thing you need to be aware of for cooking down sap you are cooking OFF moisture. That means you’re reducing the sap through heat and the water is evaporating out of it. It HAS to go somewhere and that means it’s going into the air of your home.
To avoid making your home to moist run a dehumidifier, a fan, open the windows, do something to get the water out of the air. Or you might cause big problems in your home.
Big Maple Syrup companies do all of the “sugaring off” in outdoor areas where it just evaporates. OR they use big facilities set up to vent away the moisture. Either way, they’re not causing moisture and humidity problems for themselves. Neither should you.
In our house, I’ve always done this with my fan running and the windows open. OR I put the instant pot or crock pot outside while cooking the fresh syrup. The hard boil at the beginning is when you get a lot of moisture coming out. The slower final cook-off definitely has a lot less water in it.
Please take my advice here, don’t ruin your drywall with excess moisture or give yourself a mold problem.
Best Birch Trees for Tapping
The best birch trees for tapping are the silver or paper birch. And the black birch. These trees will produce sap that can be cooked down to syrup. Grab a plant book suited just for your local ecosystem and look up your local birches.
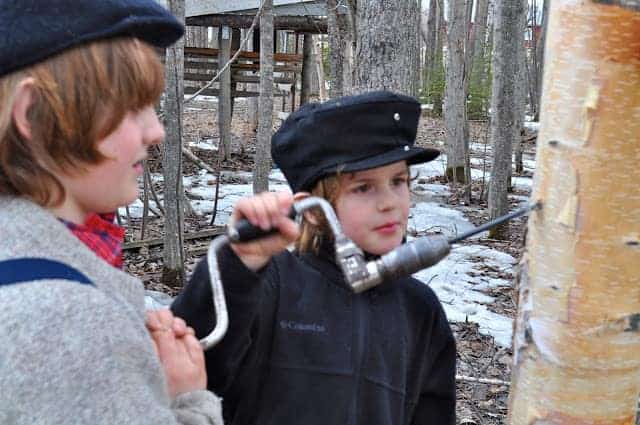
Tapping Birch Trees
Here’s a quick run down on tapping trees to get that sap. And don’t worry, tapping trees is easy. You need some birch trees in your yard (Don’t tap trees that aren’t yours!) and a few tools. To begin with, we only used 6 spiles in 6 trees, and in a week, we had collected more than enough sap drink what we wanted and to cook it down. We’ll cover cooking it down, down below.
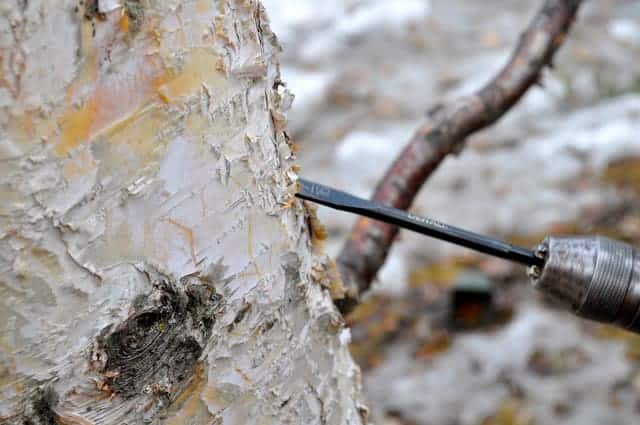
- Gather your tools: You’ll need a drill, a 7/16-inch drill bit, spiles (taps), and some clean collection jars. We used pint jars and collected sap every day, morning and night. If your trees run heavily, you may need a quart jar or a bucket.
- Choose the Right Time: Tap birch trees in early spring, as soon as the snow melts and before the trees have leafed out. Our trees in Alaska were ready when the snow had melted away from the trunks of the trees but remained out in open spaces. Every year is different; every state is different; watch for signs like snow melt or sap dripping for a broken branch. Once trees have new leaves, spiles are no longer advisable.
- Select Suitable Trees: Look for healthy, mature birch trees with a diameter of at least 10 inches at chest height. Avoid trees that are diseased or have significant damage. Avoid tapping the same tree every year.
- Drill the Hole: Drill the hole about 2 inches deep at a slight upward angle, about 3 feet from the ground. Make sure the hole is clean and smooth to facilitate easy sap flow.
- Insert the Spile: Gently tap the spile into the hole with a rubber mallet or hammer until it’s snug. Avoid hitting it too hard, as this could damage the tree AND bend your spile.
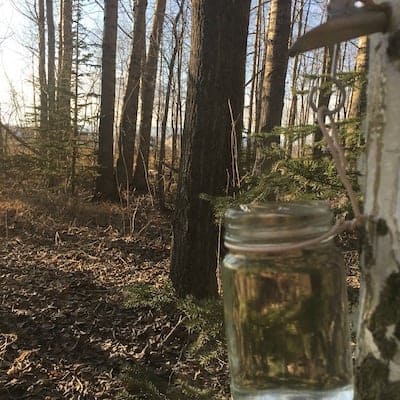
- Hang a Collection receptacle: Attach your jar securely to the spile. You can put something over the top if you want to keep out bugs, but we’ve never had a lot of bugs that early.
- Monitor Sap Flow: Check your collection containers regularly. Sap flow can vary greatly depending on the weather, with warmer days and colder nights producing the best flow.
- Seal the Hole: Once the sap flow ends or you’re finished tapping for the season, remove the spile and allow the tree to naturally heal. You can also use a tree wound dressing to aid in the healing process, though it’s not always necessary.
- Be Sustainable: Tap trees responsibly. Don’t tap more than two holes in trees between 10 and 20 inches in diameter, and limit larger trees to a maximum of three holes to ensure their health and longevity.
Collect the Sap
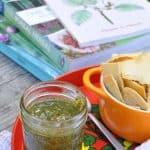
To make a small jar of syrup, you only need 1 gallon of fresh, clean sap. Be sure to enjoy a couple of glasses while collecting sap; it’s delicious. Once you’ve got a gallon of sap, start cooking it off. You can collect for another batch while the first batch is cooking off. Just store sap in the fridge until ready to cook down.
Making Birch Syrup In A Crock Pot
This is how we did it in the slow cooker/crock pot.
- we collected sap for a day and had about a gallon–make sure your collection jars are very clean and rinsed out too–you don’t want soap residue in the syrup!
- strain it through a sieve, and/or clean cheesecloth
- set it to boil in a heavy bottom Le Creuset, any heavy pot will do
- plug in the crock pot and heat it up on low while waiting for the syrup to boil–don’t leave your crock pot to heat empty for too long, it might crack
- once the sap boils for about 5 minutes, transfer it to the pre-heated crock pot
- pop the lid on and bring it to its highest heat
- once it was thoroughly heated, I turned the heat to low so it doesn’t scorch, turn the lid sideways to vent the steam out
- turn on a dehumidifier or your exhaust fan to vent that moist air out of the house
- let it cook for about 12-15 hours on low, checking occasionally to see where it’s at, as it cooks down it will get thick
- as it reduces, it gets thick so it’s best to check more often, and it is best to let it cook on low if you haven’t already
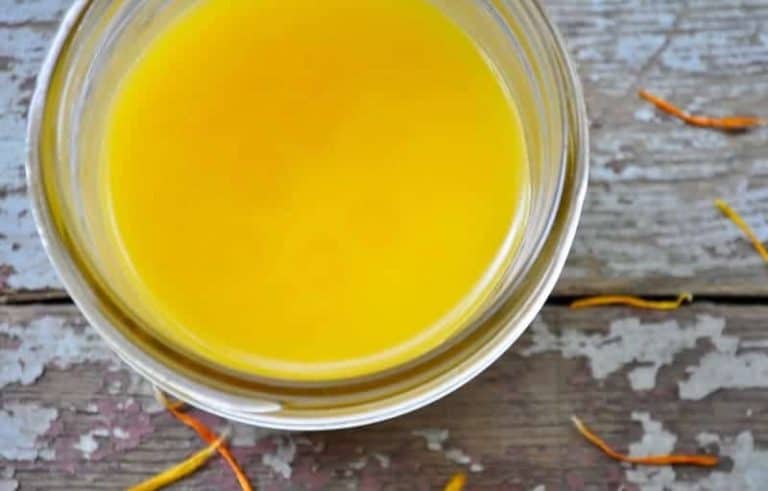
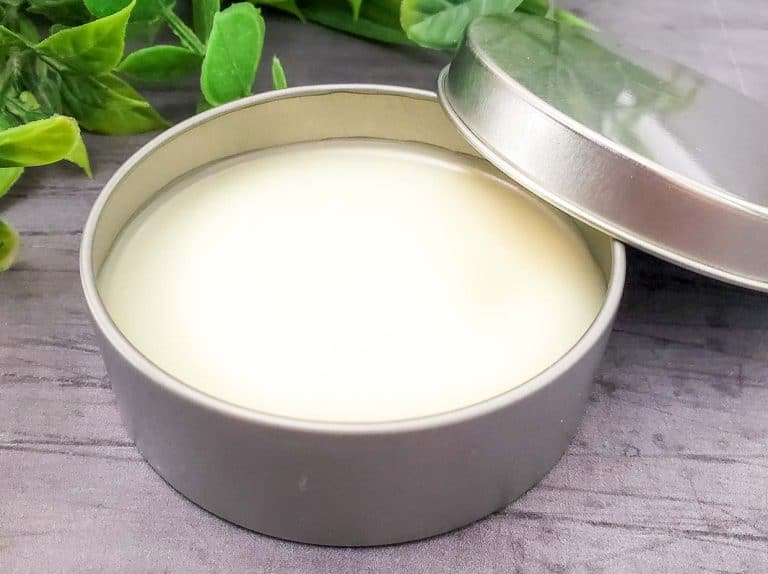
- once it turned thick and a light amber turn off the pot and pour the syrup into a small jar
- store in the refrigerator and use within a week or two
How to Make Birch Syrup in the Instant Pot
And this is how we birch syrup in our instant pot
- collect a gallon of sap; this may take a few days if you only tap a tree or two, store the fresh sap in the refrigerator until ready to use
- once you’ve collected about a gallon, it’s time to make some syrup
- turn your Instant Pot on to Saute; you won’t need the lid for this project, so you can put it away,
- strain the birch sap if you haven’t already and pour it in the Instant Pot, leave it on saute for the whole 30-minute cycle
- once the 30-minute cycle is up, the sap should be almost boiling, immediately switch the Instant Pot to slow cook-high heat (often labeled MORE) and set the timer for 10 hours
- you should either run an exhaust fan, or put the Instant Pot by an open window, or put it out in a garage or if it’s warm enough, outside
- walk away and let it do its thing, and check back in every hour to see how it’s going
- once it hits the 2-cup mark on the Instant Pot inner pot, you’ll want to keep a closer eye on it
- let it continue to cook away, once it goes below the 2-cup mark, it goes quickly as the water evaporates out, I don’t have a definite time as it has varied from time to time, with each batch of syrup
- it’s done when it’s a lovely amber color and you dip a spoon in the syrup, let it cool for a moment and turn it sideways, if it’s thicker, it’s syrup and it’s done
if it’s runny and runs right off the spoon, give it another couple minutes and try again–remember it won’t look really thick like maple syrup while it’s hot, you’re looking for “thicker than running off the spoon” consistency - store in the fridge and use within 1-2 weeks
Can You Water Bath Can Birch Syrup
Since you’re not using anything like a hydrometer to measure the water in the syrup, and nothing is being done to ensure it’s thick enough and reduced enough to be shelf stable you shouldn’t plan to water bath can this syrup. It is fine the fridge for 1-2 weeks.
Make pancakes or french toast and have a nice big breakfast with your birch syrup and use it up before it goes bad.

Birch Syrup
Equipment
- slow cooker or instant pot
- dehumidfier or exhaust fan
- sieve or cheesecloth
Ingredients
- 1 gallon Birch Sap
Instructions
- turn on the dehumidifier or the exhaust fan
- collect fresh birch sap
- strain birch sap
- heat the sap to boiling in a dutch oven OR an instant pot on sauté, refer to the directions for either method in the post itself, although it is generally the same method
- preheat the crock pot on high if using
- for the IP: once sap is just about to boil reduce the heat in the instant pot to high on the slow cooker mode and cook for 10-12 hours or longer as needed
- for the slow cooker: pour the almost boiling sap into the slow cooker, put the lid on, cook it at high and turn the lid to the side so the water can escape cook for 10-12 hours or longer as needed
- as it cooks down it will get thicker and thicker, keep checking it, your slow cooker or instant pot will be different than mine so this is where you come in a monitor it, if after 10-12 hours it's still watery keep on cooking being sure to vent it so the water can cook out
- you can cook this overnight if needed, in fact it might be better to cook it low and slow overnight and finish it in the morning
- once it's thick and very reduced to about 1/2 cup, it is done, remove it from the heat and put it in a jar
- store in the fridge, use within two weeks