Water Bath Canning Made Easy!
This post has affiliate links. As an Amazon Associate, I earn from qualifying purchases. Thank you for your support.
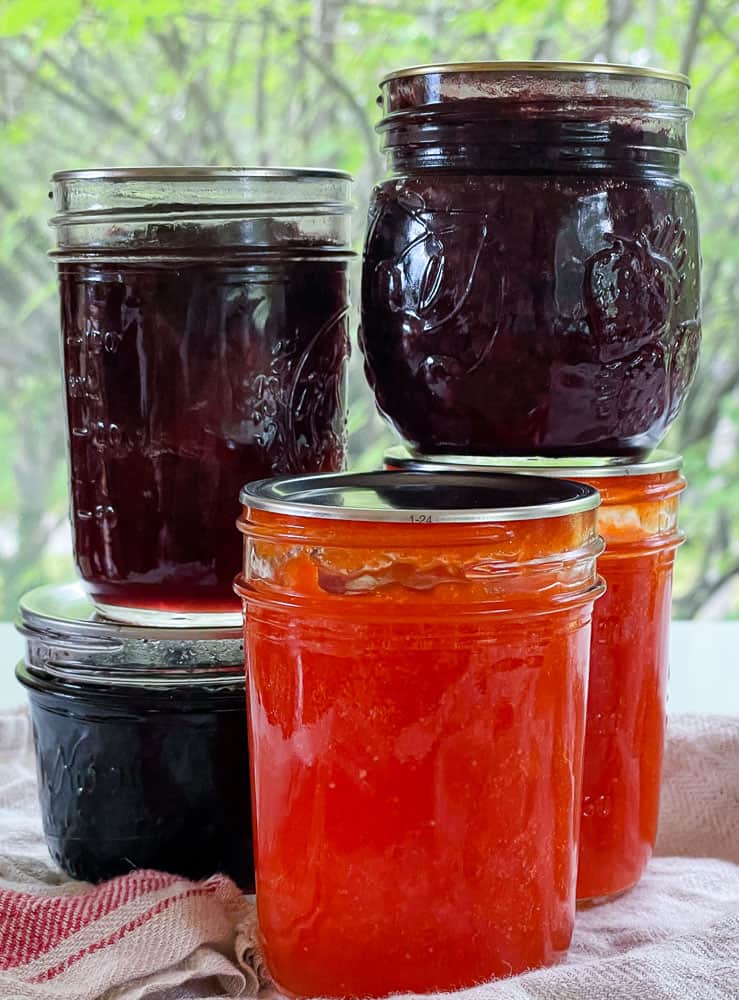
Do you want to can like a pro?? Don’t know where to start?? I feel you I used to feel that way too! Water Bath Canning your jams, jellies, and pickles isn’t hard but it can feel overwhelming at first! But I’ve got you friend. I’ve rolled everything I know from 30 years of canning, PLUS USDA guidelines, plus simple step-by-step guides for setting up your kitchen for canning into this one easy-to-read and easy-to-follow post!
Whether you’re canning your favorite jams or putting up that special jelly for someone you love you’re going to want to can it properly. There isn’t a LOT to water bath canning but you have to do it right to make sure your foods are preserved properly.
Improperly canned foods will spoil, and if you don’t notice it right away, it can make you sick. Or worse, kill you. Be sure to always check jars for spoilage when pulling it out of the pantry.
Canning with a Water Bath is different that Pressure Canning
Pressure canning is used for low-acid, low-sugar, foods such as vegetables or meat. This requires a pressure canner and you must follow specific directions for pressure canning.
Water Bath Canning is for pickles, jams, jellies, sriracha, and the like. Products with HIGH sugar or acid content. These products don’t need the pressure canning method. Things like Wild Rose Jelly, Dandelion Jelly, Sriracha, can all be water bath canned. If you love the idea of eating edible flowers there are so many to choose from!
One Note! This post is based on the USDA guideline for proper home canning. If you live outside the USA find your country’s guidelines and follow them.
These are the things you’ll need for proper Water Bath Canning:
- a LARGE pot with a lid, this can be your biggest stock pot but it needs to be 20 PLUS quarts for proper canning, but for smaller batches, you can use a smaller pot as long as the water will be at least 1 inch above the lids
- Rack for the bottom of the pot to keep the jars off the bottom of the pan
- Jar tongs to move jars in and out of the hot water, you do need these regular tongs don’t work well for lifting jars
- Canning Jars to fit your product. These should be freshly washed, filled with boiling water, and resting until ready to use
- Two Part Lids: NEW FLAT LIDS, you can’t reuse metal lids they must be new lids to seal correctly
- the canning rings (these no rust lids are AWESOME!) to place over lids and screw them on, these need to be rust-free and in good shape
- a magnet wand to lift the lids out of the hot water, OR use a fork or regular tongs
- Canning Funnel to easily fill jars
- a saucepan to hold the flat parts of the lids in HOT water over low heat
- Paper towels to wipe the rims
- Knife to knock out air bubbles if needed
- Fresh clean towels for setting jars out to cool
You can buy a FULL canning setup to get you started. That one from Amazon has the pot, rack, magnet wand(for lids), tongs, funnel, and even a colander. You can ALSO just piece it together from things you beg/borrow/thrift.
The Basics of Canning in Hot Water
30 minutes before you need to begin canning get yourself set up. This can be done while your jams, jellies, or pickles cook up. You’ll be multi-tasking but most recipes are not 100% hands-on so there’s time to get these things done. You NEED to have everything completed before your product is ready to can!
One tip before you get to the canning stage!
Find real USDA or other recipes to can. Many of the popular Pinterest recipes are not safe for canning.
What’s the problem with those recipes? The chunks of fruit are too big. Or the developer is using flour or corn starch as a thickener. Or they’re canning dangerously. Making up recipes that don’t have enough vinegar, salt, OR sugar to be safe.
One AMAZING resource is the Ball Blue Book of Canning. It’s got 500 recipes to keep you busy for years!
Kitchen Set up for Water Bath canning:
Set up your kitchen for canning, wipe down everything, clean out the sinks, and sterilize counters as needed. Wash your hands often. Then:
- Start a teapot or pot of water boiling to sterilize your jars.
- Wash out your canning pot. Put in the wire rack and fill it with fresh water about 1/2 way full. Set it to come up to a simmer. And if you notice the water cooking away just keep adding water. It’s better to have the pot full and boiling than to wait for it to come up to heat.
- Wash rings with hot soapy water, rinse and set aside. This is a good time to inspect them for dents or rust. Discard ANY rusty or bent rings.
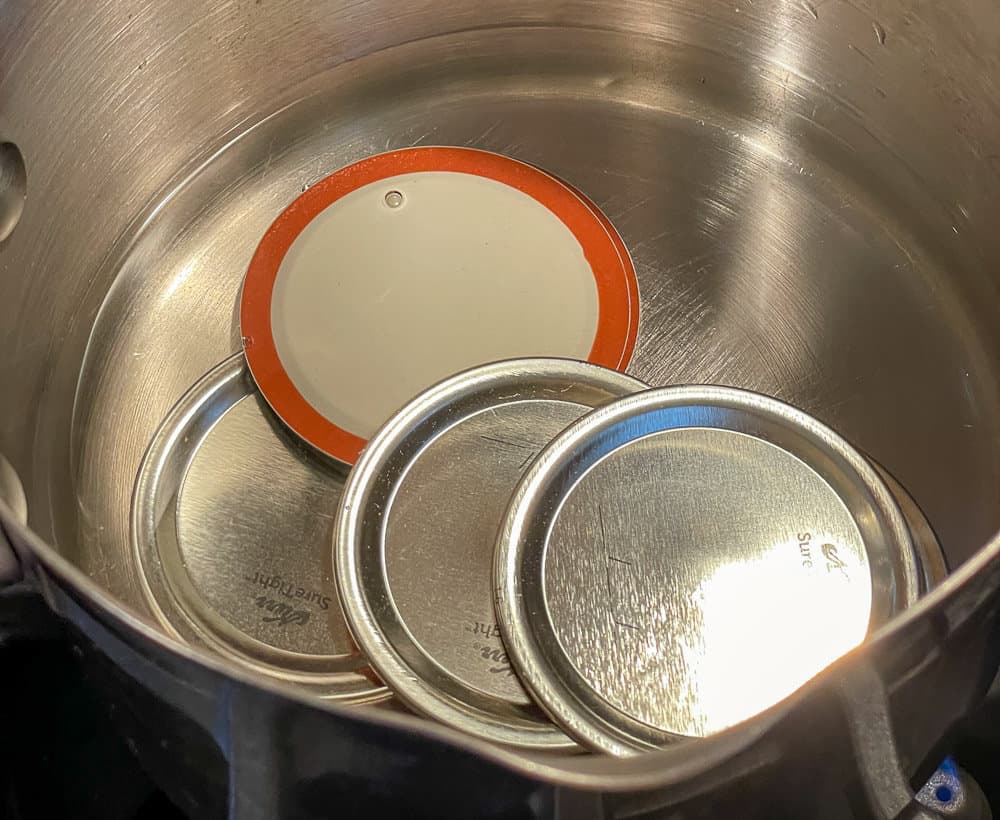
- Fill a saucepan with water and bring it to a boil then reduce heat and put new flat lids in the hot water.
- Wash the canning funnel, tongs, and the knife in hot soapy water, rinse, and set on a clean towel to dry.
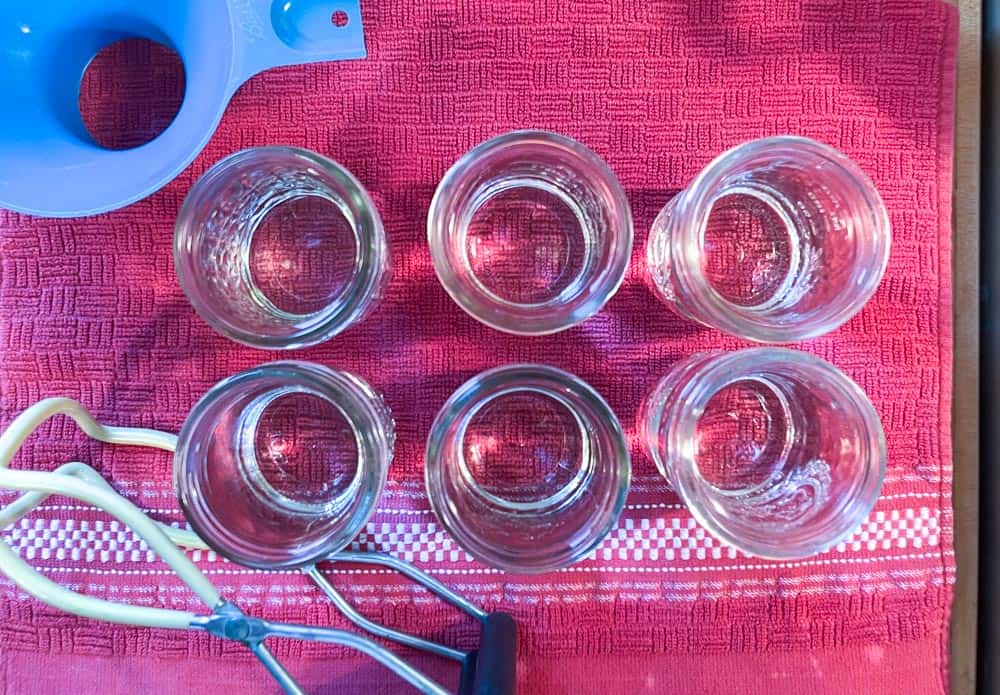
- Wash jars in HOT soapy water and rinse. Then fill jars with boiling water and set them aside on a clean towel. This will sterilize your jars for proper canning.
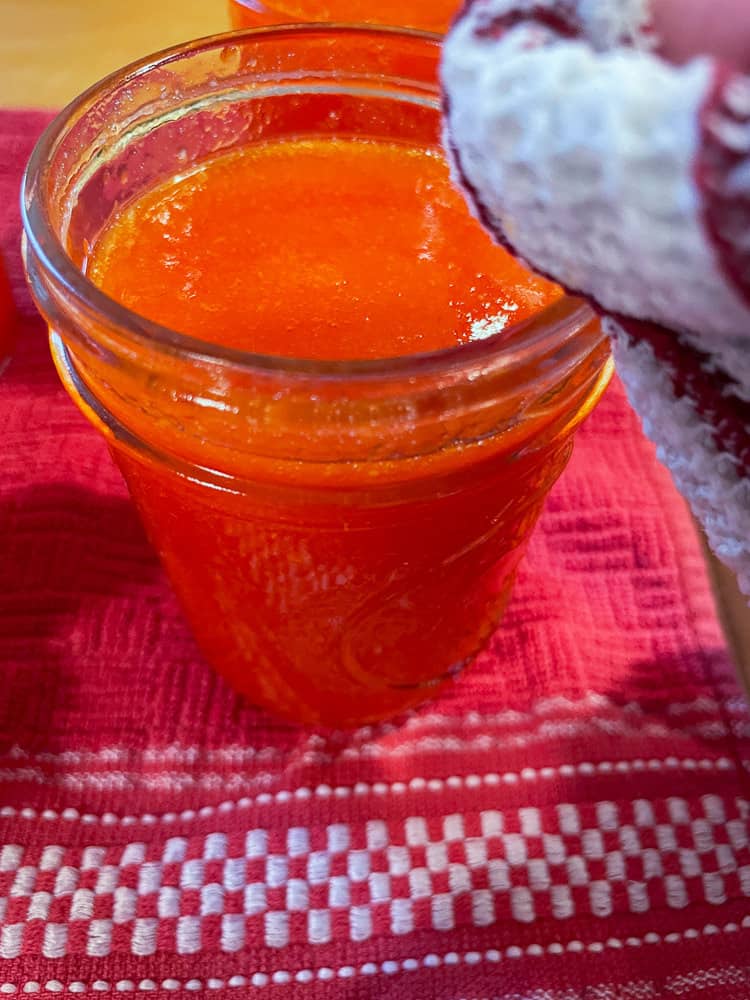
In this post, I will be showing the method for water bath canning using a batch of my homemade Sriracha Sauce Recipe! This is a hot sauce recipe and it’s safe for water bath canning because of its vinegar content. But the method to water bath can is the same no matter if you’re canning jelly or jam or pickles or hot sauce.
How To Water Bath Can:
- Once you’ve finished cooking whatever you’re going to water bath can and it’s ready to go in jars pour out the hot water in the jars and set them on a towel next to the stove.
- Make sure your canning pot is coming up to a FULL ROLLING BOIL, you can keep it just at a simmer until this point. Add more water now if you’ve lost some along the way. The water should be deep enough to cover the jars by one inch.
- Place a canning funnel in the jar and use a ladle to fill to the correct headspace for whatever you’re canning. This is generally 1/4 inch for jams and jellies, and a 1/2 inch for tomatoes, pickles, and fruits. The headspace is important to keep foods from bubbling up onto the lid and into the sealing ring. Refer to your recipe OR the USDA Guidelines for Canning

- Fill all the jars before starting the lids.
- Check for air bubbles and run a knife around the inside of the jar to knock them out if needed.
- Once all the jars are filled wet a paper towel and wipe the rims really well. They need to be clean and free of any food. You can also use a clean napkin, washcloth or even a dishtowel
- When the rims are wiped use the magnet wand to lift a single lid out of the hot water. Place lids on all the jars at one time. A fork works well to lift lids if you don’t have a magnet wand.
- Then gently screw the bands on each jar. Make sure the flat lid is centered and in the correct place. Screw the ring on until it’s set then give it a quarter turn to seal it
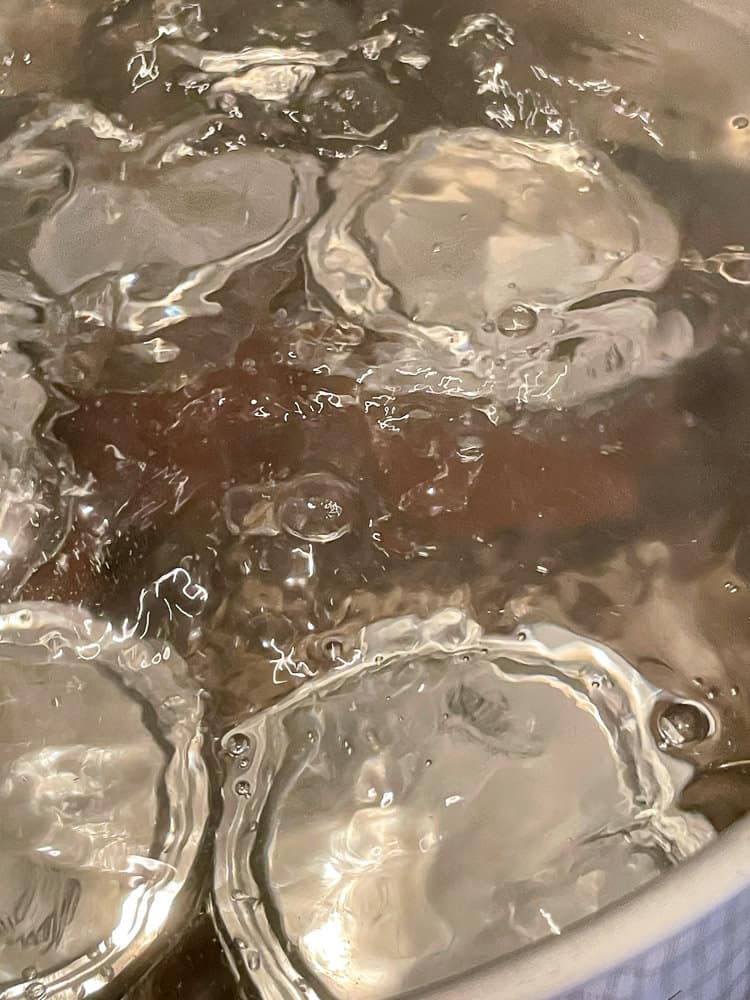
- Use the canning tongs to set the jars into the canning pot of boiling water.
- The water SHOULD cover the jars by one inch and be at a rolling boil. Don’t worry if it stops boiling as you add jars, that just means it’s adjusting itself. Adding HOT products in hot jars will quickly bring it back to boiling.
- Once boiling resumes cover the pot with the lid and begin timing. Your recipe should tell you how long to hot water bath can your product. You can reduce the heat a tiny bit to keep the water from boiling over but it must be boiling so don’t stop that. This is the reason you use a 20+quart pot, it keeps the boilovers from happening.
- Note that different products, jar sizes, different recipes, and whether or not you sterilized your jars ALL contribute to the time needed for water bath canning. A MINIMUM of 5 minutes is required for jars of jelly that were sterilized. Unsterilized jars require 5 extra minutes, washing, rinsing, and filling jars with boiling water IS sterilizing them.
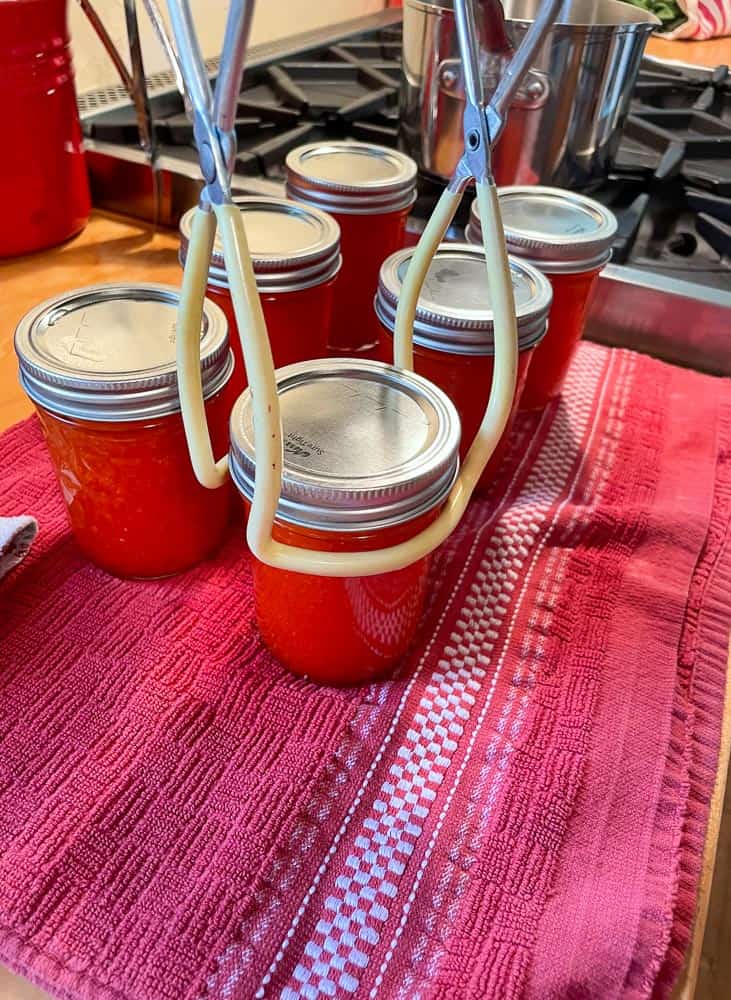
- Once the jars have been in the boiling water bath for the time required set out a clean dishtowel. Gently lift the jars out of the water and set them on the clean Dishtowel.
AFTERCARE FOR CANNED GOODS
- Leave them be. DON’T TOUCH, POKE, SHAKE, TURN OVER OR MESS with them in any way shape, or form. Tell everyone in the house to leave them alone. The jars MUST cool undisturbed.
- You will soon hear the PING that comes when the canning lid is successfully sealed. You might be tempted to touch them but don’t. If your jars are sealed touching them while hot can break the seal. Just truly leave them alone.
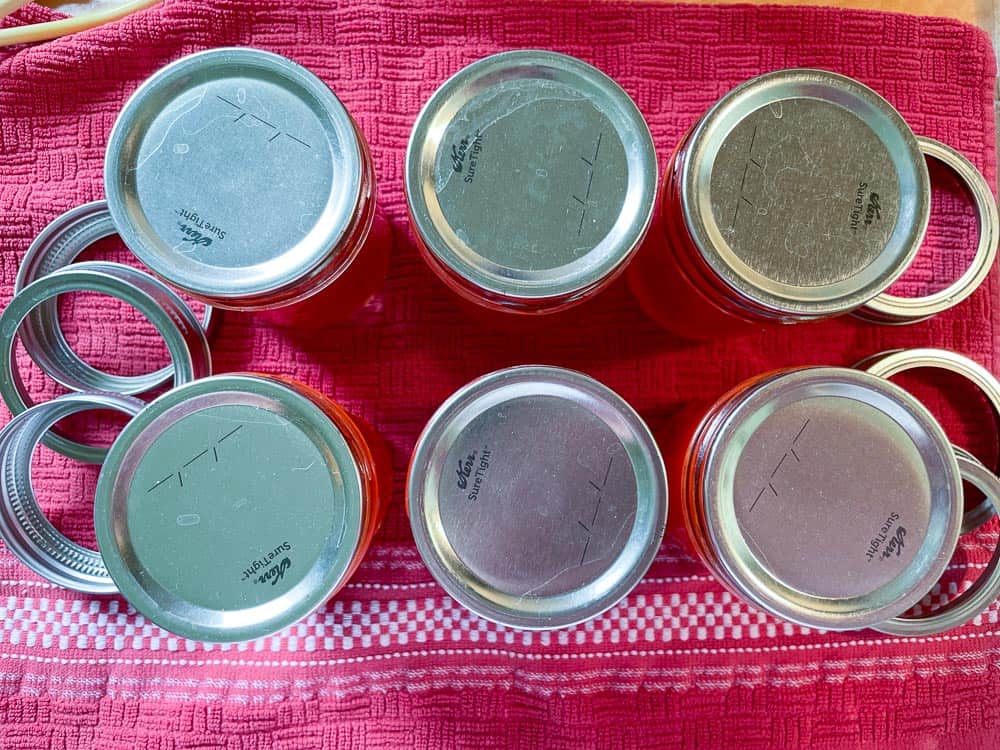
- Once the jars are completely cool touch each lid to check for a seal by gently pressing down. If the lid is dipped in the center it is sealed and does not move when you press it the jar is sealed.
- If the lids move up and down or just down when you press it the jar is not sealed and it needs to be put in the fridge for immediate consumption
- Once you’ve checked each jar for seals remove the ring lids for storage. Removing the rings allows you to see immediately if a seal goes bad in storage. keeping the ring on can cause jars to look sealed when in actuality the jar seal is not correct.
- Write on the metal lid with a marker the product name and the month and year so you can keep track of your canned goods and use the oldest jars first.
That’s pretty much all there is to know about the method of water bath canning!
When you’re first starting out canning it can feel really overwhelming and weird. But with practice, you’ll be a pro in no time at all! And ALWAYS feel free to drop a comment for help!
Happy Canning!